Why your espresso shots are channeling and how to stop it
There’s nothing more frustrating than investing in a great espresso machine and high-quality beans, only to pull a shot that’s sour, bitter, and watery. You follow the steps, but the result is a disappointing mess that spurts from the portafilter. This common problem is called channeling, and it’s the primary obstacle between you and a delicious, balanced espresso. Channeling occurs when water finds a path of least resistance through your coffee puck, leading to uneven extraction. This means some parts of the coffee are over-extracted (causing bitterness) while others are under-extracted (causing sourness). In this guide, we will break down exactly what channeling is, identify its causes, and provide you with actionable steps to eliminate it for good.
What is espresso channeling and how do you spot it?
Imagine a river hitting a dam. If the dam has weak spots or cracks, the water will force its way through those specific points instead of flowing evenly over the top. Espresso channeling is the exact same principle. The pressurized water from your machine is meant to saturate the finely-ground coffee puck uniformly. When there are inconsistencies in the puck’s density—cracks, clumps, or less-compacted areas—the water exploits these weak spots. It “channels” through them, aggressively extracting the coffee along that path while neglecting the rest.
Spotting channeling is easiest with a bottomless (or naked) portafilter. Here’s what to look for:
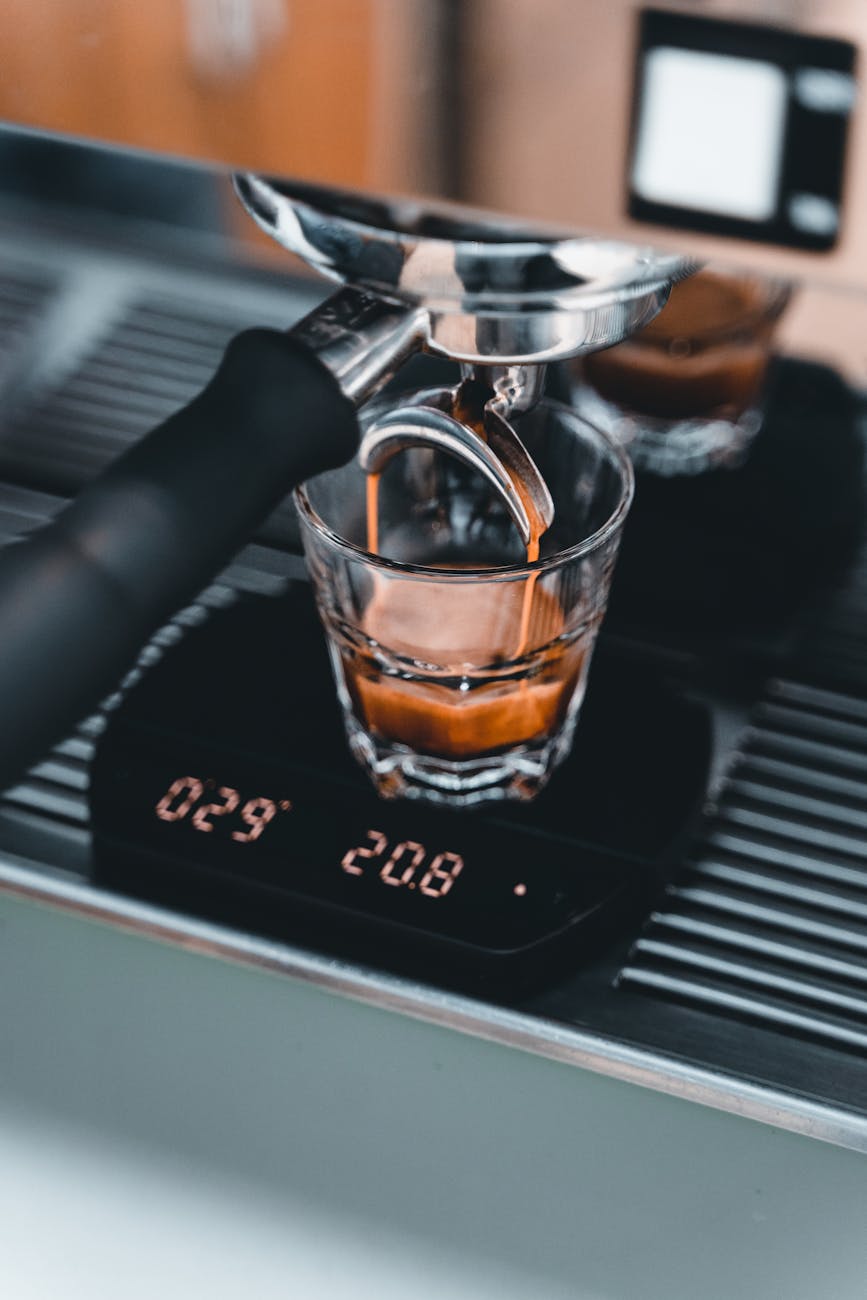
- Early blonding: You’ll see premature light-colored streaks in the stream of espresso. This indicates water is rushing through a channel too quickly.
- Spurts and jets: Instead of a single, uniform cone of espresso forming in the center, you’ll see tiny, aggressive streams shooting out in different directions.
- “Dead spots”: You might notice areas on the bottom of the filter basket that stay dry or have very little espresso coming through them.
Even without a bottomless portafilter, you can diagnose channeling by taste and timing. A channeled shot will often run very fast and have a thin, watery body. The taste is the biggest giveaway: a confusing combination of sourness (from the under-extracted grounds the water bypassed) and bitterness or astringency (from the over-extracted grounds in the channel itself). It’s an unbalanced and unpleasant experience.
The culprit: Flaws in your puck preparation
While it’s tempting to blame your grinder or machine, over 90% of channeling issues stem from how you prepare the coffee puck before you even lock it into the machine. A perfect extraction requires a coffee bed of uniform density, and that starts with distribution.
The biggest enemy of good distribution is clumping. When coffee comes out of the grinder, especially a finer espresso grind, it tends to form small clumps due to static and moisture. If these clumps are left in the portafilter, they create dense pockets that are difficult for water to penetrate. The water will naturally flow around them, creating channels in the surrounding, less-dense areas. Simply shaking the portafilter is not enough to fix this.
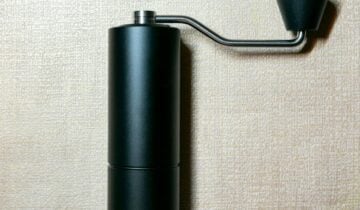
The most effective solution is a technique called the Weiss Distribution Technique (WDT). This involves using a tool with very fine needles (like acupuncture needles) to stir the grounds in the portafilter. This action breaks up every single clump and evenly distributes the coffee particles, eliminating density differences. This single step is the most impactful change you can make to stop channeling.
Many baristas also use a distribution tool or leveler after WDT. While these can help create a flat surface, be cautious. A cheap distribution tool can sometimes compact the top layer of coffee while leaving underlying clumps and voids, giving a false sense of security. WDT addresses the problem at its core.
Refining your tamping and checking your equipment
Once you have perfectly distributed, fluffy grounds, the next step is tamping. Think of tamping not as an act of force, but as an act of creating a level and uniformly compacted puck. A perfect tamp cannot fix bad distribution, but a bad tamp can certainly ruin it.
The most important aspects of tamping are:
- Be level: Your primary goal is to apply pressure evenly across the entire surface of the coffee. If you tamp at an angle, one side of the puck will be denser than the other, inviting water to flow down the less-dense side. Use your fingertips to feel the rim of the portafilter and ensure the tamper is parallel to it before you press down.
- Be consistent: The old advice of “tamp with 30 pounds of pressure” is largely a myth. Whether you press hard or soft is less important than pressing with the same pressure every single time. Consistency is key to repeatable results.
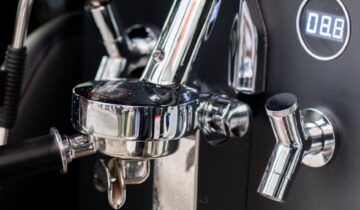
- Ensure proper tamper fit: A tamper that is too small for your portafilter basket will leave a ring of loose, untamped grounds around the edge. This is a guaranteed channel waiting to happen. Measure the inner diameter of your basket (e.g., 58.5mm) and invest in a precision tamper that fits snugly.
Finally, don’t overlook your machine’s cleanliness. A dirty shower screen with clogged holes will not dispense water evenly onto your coffee puck. This can create divots in the puck before the pressure even ramps up, creating an instant channel. Regular cleaning and backflushing are essential maintenance for good extraction.
Troubleshooting your espresso shots
Fixing channeling is a process of elimination. By methodically addressing each variable, you can pinpoint the source of your issues. The table below provides a quick reference for common symptoms and their likely causes.
| Symptom | Likely Cause | Primary Solution |
|---|---|---|
| Spurts or jets from the basket | Severe channeling due to low-density spots in the puck. | Implement the Weiss Distribution Technique (WDT) to break up all clumps. |
| Shot runs very fast and is watery | Grind is too coarse, dose is too low, or channeling is creating a fast flow. | First, ensure puck prep is perfect. If it persists, grind finer. |
| One side of the stream is faster/blonder | Uneven tamping or poor distribution. | Focus on tamping perfectly level. Check for an even bed after distribution. |
| Tastes both sour and bitter | The classic sign of uneven extraction caused by channeling. | Focus entirely on improving puck prep, from distribution to tamping. |
| Donut extraction (flows from edges first) | Tamper is too small, leaving loose grounds at the edge. | Use a precision tamper that fits your basket snugly. |
Remember that even with perfect technique, other factors like the freshness of your coffee beans and the quality of your grinder can play a role. Stale beans offer less resistance to water and are more prone to channeling. Likewise, a grinder that produces an inconsistent particle size will always make good puck prep more difficult.
The path to the perfect pull
Chasing the perfect espresso shot is a journey, and channeling is a challenge every barista faces. It can be a frustrating roadblock, but it is entirely solvable. As we’ve explored, the solution rarely lies in buying a more expensive machine, but in adopting a meticulous and consistent workflow. By focusing on creating a uniform coffee puck—primarily through effective distribution with a WDT tool—you address the root cause of the problem. Follow this with a level and consistent tamp using a properly-fitting tamper, and you eliminate the paths of least resistance that water loves to exploit. Don’t be discouraged by a bad shot; instead, see it as feedback. With patience and attention to detail, you will stop channeling and unlock the sweet, balanced, and delicious espresso you’ve been searching for.
 No products in the cart.