How to make a creamy vegan cappuccino: A guide to plant milks
The world of coffee has embraced plant-based alternatives with open arms. Walk into any coffee shop, and you’ll find a menu brimming with oat, soy, and almond milk options. Yet, recreating that perfect, velvety cappuccino at home with non-dairy milk can be a frustrating experience. Why does it curdle? Why won’t it froth? The truth is, plant-based milks behave very differently from their dairy counterpart. They require a unique approach, a little bit of science, and the right technique to transform into the silky microfoam we all crave. This guide will walk you through adapting your cappuccino recipe, helping you choose the best milk, master the steaming process, and troubleshoot common issues for a flawless plant-based coffee every time.
Choosing your plant-based champion
The first and most critical step in your journey is selecting the right milk. The ability of a milk to create stable, silky foam comes down to its protein and fat content. These components create a structure that traps air, resulting in that desirable microfoam. Traditional dairy milk is naturally high in both, making it easy to work with. Plant milks, however, vary wildly in their composition. Watery options like rice milk or standard almond milk simply lack the protein and fat needed to hold a foam.
For this reason, your best bet is to look for “barista edition” or “barista blend” milks. Manufacturers create these versions specifically for coffee by adding proteins, fats (like sunflower or canola oil), and natural emulsifiers or stabilizers (like gellan gum). These additions help the milk replicate the performance of dairy, making it much easier to steam into a glossy, pourable texture suitable for latte art. Oat and soy milk are generally the top contenders, even in their standard forms, due to their naturally higher protein and fat content.
The science of steaming non-dairy milk
Once you’ve chosen a suitable milk, you need to adjust your steaming technique. Plant-based milks are more sensitive to heat than dairy milk. Overheating is the number one cause of failure. Where dairy can be heated to around 65-70°C (150-158°F), most plant milks will start to break down or curdle past 60°C (140°F). It’s best to aim for a final temperature of 55-60°C (130-140°F). Use a thermometer until you get a feel for it.
The aeration process also needs a lighter touch.
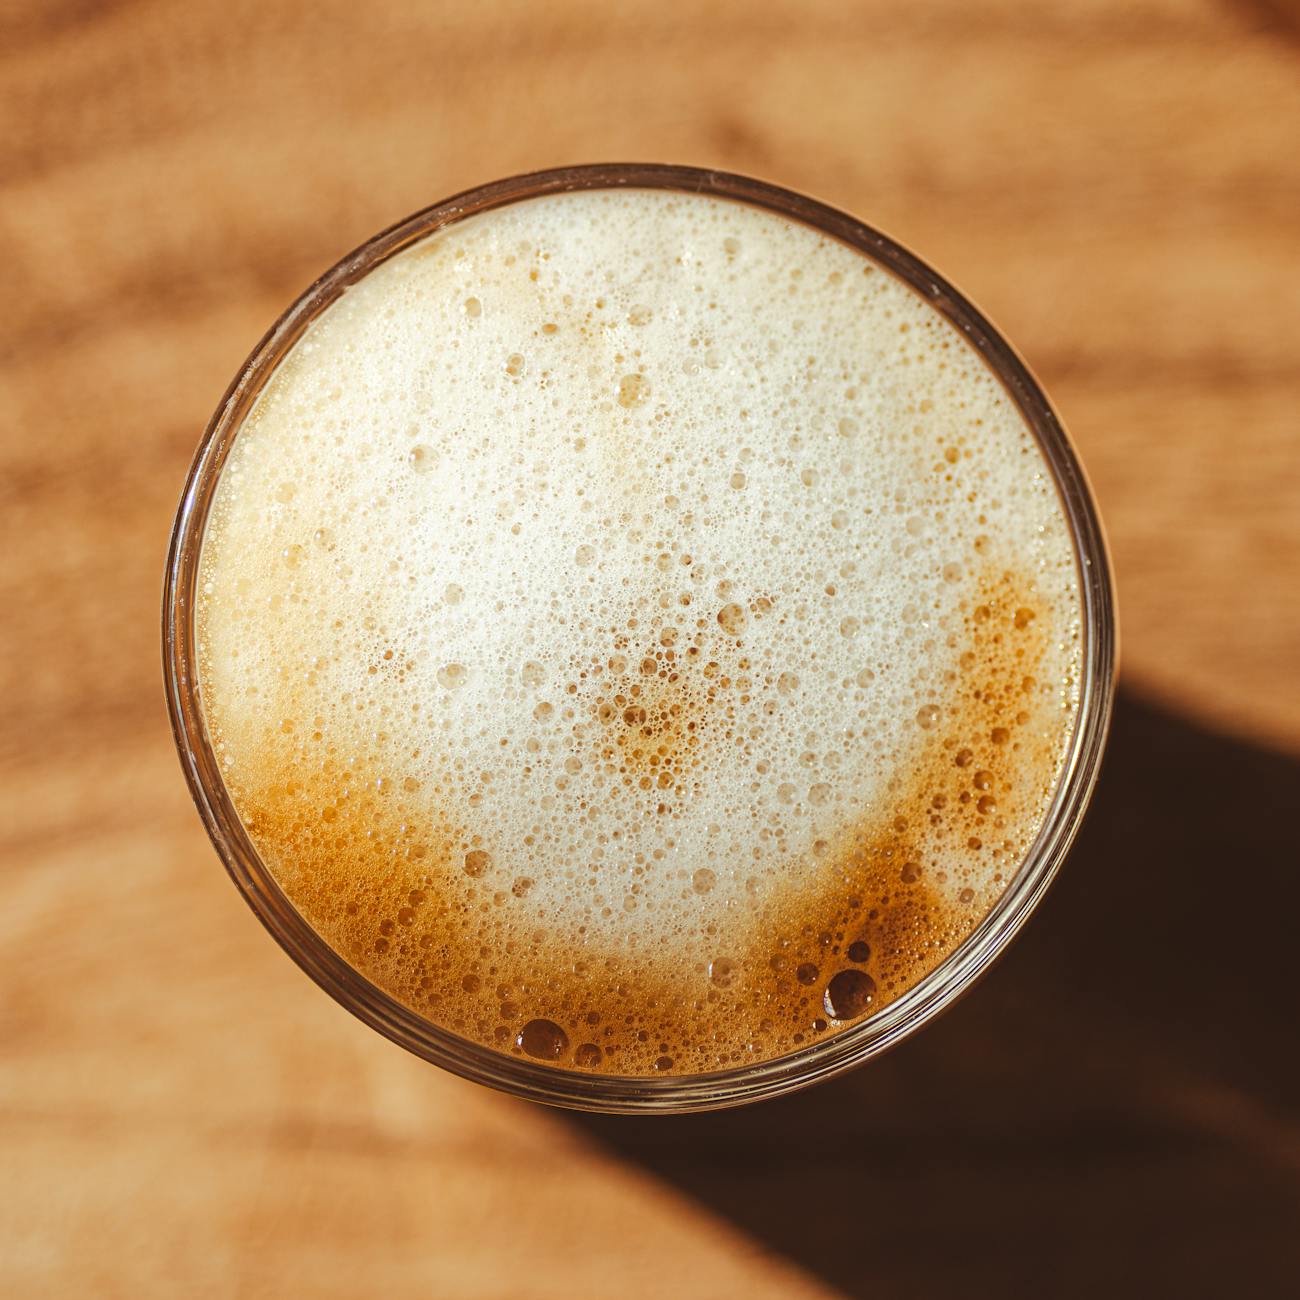
- Stretching: This is the initial phase where you introduce air by keeping the steam wand tip just below the surface. Plant milks need less stretching than dairy. A short, 3-5 second hiss is often enough. Over-aerating will create large, stiff bubbles that resemble dish soap foam, not creamy microfoam.
- Texturing: After stretching, submerge the steam wand deeper into the pitcher and angle it to create a spinning vortex. This phase is crucial for breaking down any large bubbles and integrating the air into the milk, creating a smooth, homogenous texture. Continue this vortex until the pitcher is just too hot to touch comfortably.
Immediately after steaming, swirl the milk in the pitcher and tap it on the counter to pop any final bubbles before you pour.
A practical comparison of popular plant milks
Every plant milk brings a unique flavor and texture to the cup. What works for one person might not for another. Oat milk has become the industry standard for its neutral flavor and incredibly creamy texture, while soy offers fantastic stability for latte art. Here is a breakdown of the most common choices.
| Milk type | Frothing ability | Flavor profile | Best for |
|---|---|---|---|
| Oat milk (Barista) | Excellent | Creamy, neutral, slightly sweet | Latte art and a dairy-like experience. |
| Soy milk | Very good | Distinct, slightly beany, rich | Stable, dense foam and high protein. |
| Almond milk (Barista) | Good | Nutty, lighter body | Those who enjoy a nutty flavor. |
| Coconut milk (Barista) | Fair to good | Pronounced coconut flavor | Specialty drinks where a coconut flavor is desired. |
Troubleshooting common problems
Even with the right milk and technique, you might run into issues. Don’t get discouraged; these are common learning hurdles.
- Problem: My milk is splitting or curdling in the coffee.
This is usually a reaction between the milk and the coffee’s acidity, often triggered by a temperature difference. Solution: Let your espresso shot sit for 30-60 seconds before pouring the milk. This allows it to cool slightly, reducing the shock. Alternatively, try a coffee with lower acidity, like a dark roast or beans from Brazil or Sumatra. - Problem: My foam has big, airy bubbles.
This means you introduced too much air during the stretching phase. Solution: Keep the steam wand tip just at the surface for a shorter period. Focus more on the texturing phase, ensuring you create a strong vortex to break down the bubbles and create a silky texture. - Problem: My foam separates from the milk too quickly.
This indicates the foam wasn’t fully integrated with the milk. Solution: After steaming, be sure to swirl the pitcher vigorously. This polishes the milk and folds the foam back into the liquid, creating a uniform, glossy consistency that is perfect for pouring. Pour it as soon as it’s ready, as it will separate if left to sit.
Crafting the perfect plant-based cappuccino is both an art and a science. It begins with a crucial choice: selecting a high-quality, barista-grade milk designed to withstand the heat and pressure of steaming. From there, success hinges on technique. Remember to heat your milk gently, never letting it get too hot, and to aerate it with a light touch to avoid a bubbly mess. Mastering the vortex is key to achieving that silky, integrated microfoam that makes a cappuccino so special. While you may encounter curdling or weak foam along the way, these are simply learning opportunities. With a little practice and experimentation with different milks like oat, soy, or almond, you will find your perfect recipe for a delicious, creamy, and satisfying vegan cappuccino at home.


 No products in the cart.