Adjusting coffee volume for the perfect ratio on automatic machines
Welcome to the secret that baristas know but many home coffee lovers miss: the key to a truly exceptional cup of coffee lies in the ratio of coffee to water. While your super-automatic espresso machine promises convenience with the push of a button, its factory settings are often a generic guess. They don’t account for your specific beans, your roast preference, or your unique taste. This article will guide you through the simple yet transformative process of adjusting the coffee volume on your automatic machine. We will demystify the “brew ratio,” explain why it’s the most critical variable for flavor, and provide a step-by-step guide to reprogramming your machine. Prepare to unlock the full potential of your coffee beans and elevate your daily ritual from good to spectacular.
Understanding the golden ratio of coffee
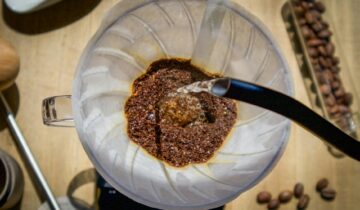
Before we touch any buttons, we need to understand the core concept: the brew ratio. Simply put, this is the relationship between the weight of your dry coffee grounds and the weight of the final liquid espresso in your cup. It’s expressed as a ratio, like 1:2, which means for every one gram of coffee grounds, you get two grams of espresso. This ratio is the single most important factor controlling the strength and flavor profile of your coffee. A different ratio can take the same bean from sour and underdeveloped to sweet and balanced, or even bitter and over-extracted.
While manual brewing offers infinite control, automatic machines work with a fixed dose of grounds, typically between 8-12 grams per shot. Our control, therefore, comes from adjusting the amount of water pushed through that dose. Here are the foundational ratios to aim for:
- Espresso: The industry standard is typically a 1:2 to 1:2.5 ratio. If your machine uses 10 grams of coffee, you should aim for 20-25 grams of liquid espresso in your cup. This provides a balanced shot with a pleasant body and a rich concentration of flavors.
- Ristretto: A more concentrated, shorter shot, the ristretto uses a 1:1 to 1:1.5 ratio. For a 10-gram dose, you would want only 10-15 grams of liquid. This highlights the coffee’s sweetness and acidity while reducing bitterness.
- Lungo: A longer, more diluted shot, the lungo uses a 1:3 to 1:4 ratio. With a 10-gram dose, you would program the machine to produce 30-40 grams of liquid. This results in a less intense cup with more subtle flavors.
Why your machine’s factory settings are holding you back
You might be wondering why you need to bother with this if your machine already has “espresso” and “lungo” buttons. The reason is that manufacturers program these buttons for a generic, middle-of-the-road experience. The default volumes are often too large, pushing excessive water through the coffee puck. This leads to over-extraction, a common problem where the water starts pulling out bitter, harsh, and astringent compounds from the coffee grounds after all the good flavors have already been extracted.
Furthermore, not all coffee beans are created equal. A light-roasted Ethiopian bean, which is very dense, requires more water and contact time to properly extract its delicate, floral notes. In contrast, a dark-roasted Sumatran bean is more porous and soluble, meaning it will extract much faster. Using the same large water volume for this dark roast will quickly lead to a bitter, ashy-tasting cup. By learning to adjust the volume, you are tailoring the brewing process to the specific bean you are using, just as a professional barista would.
A practical guide to programming your coffee volume
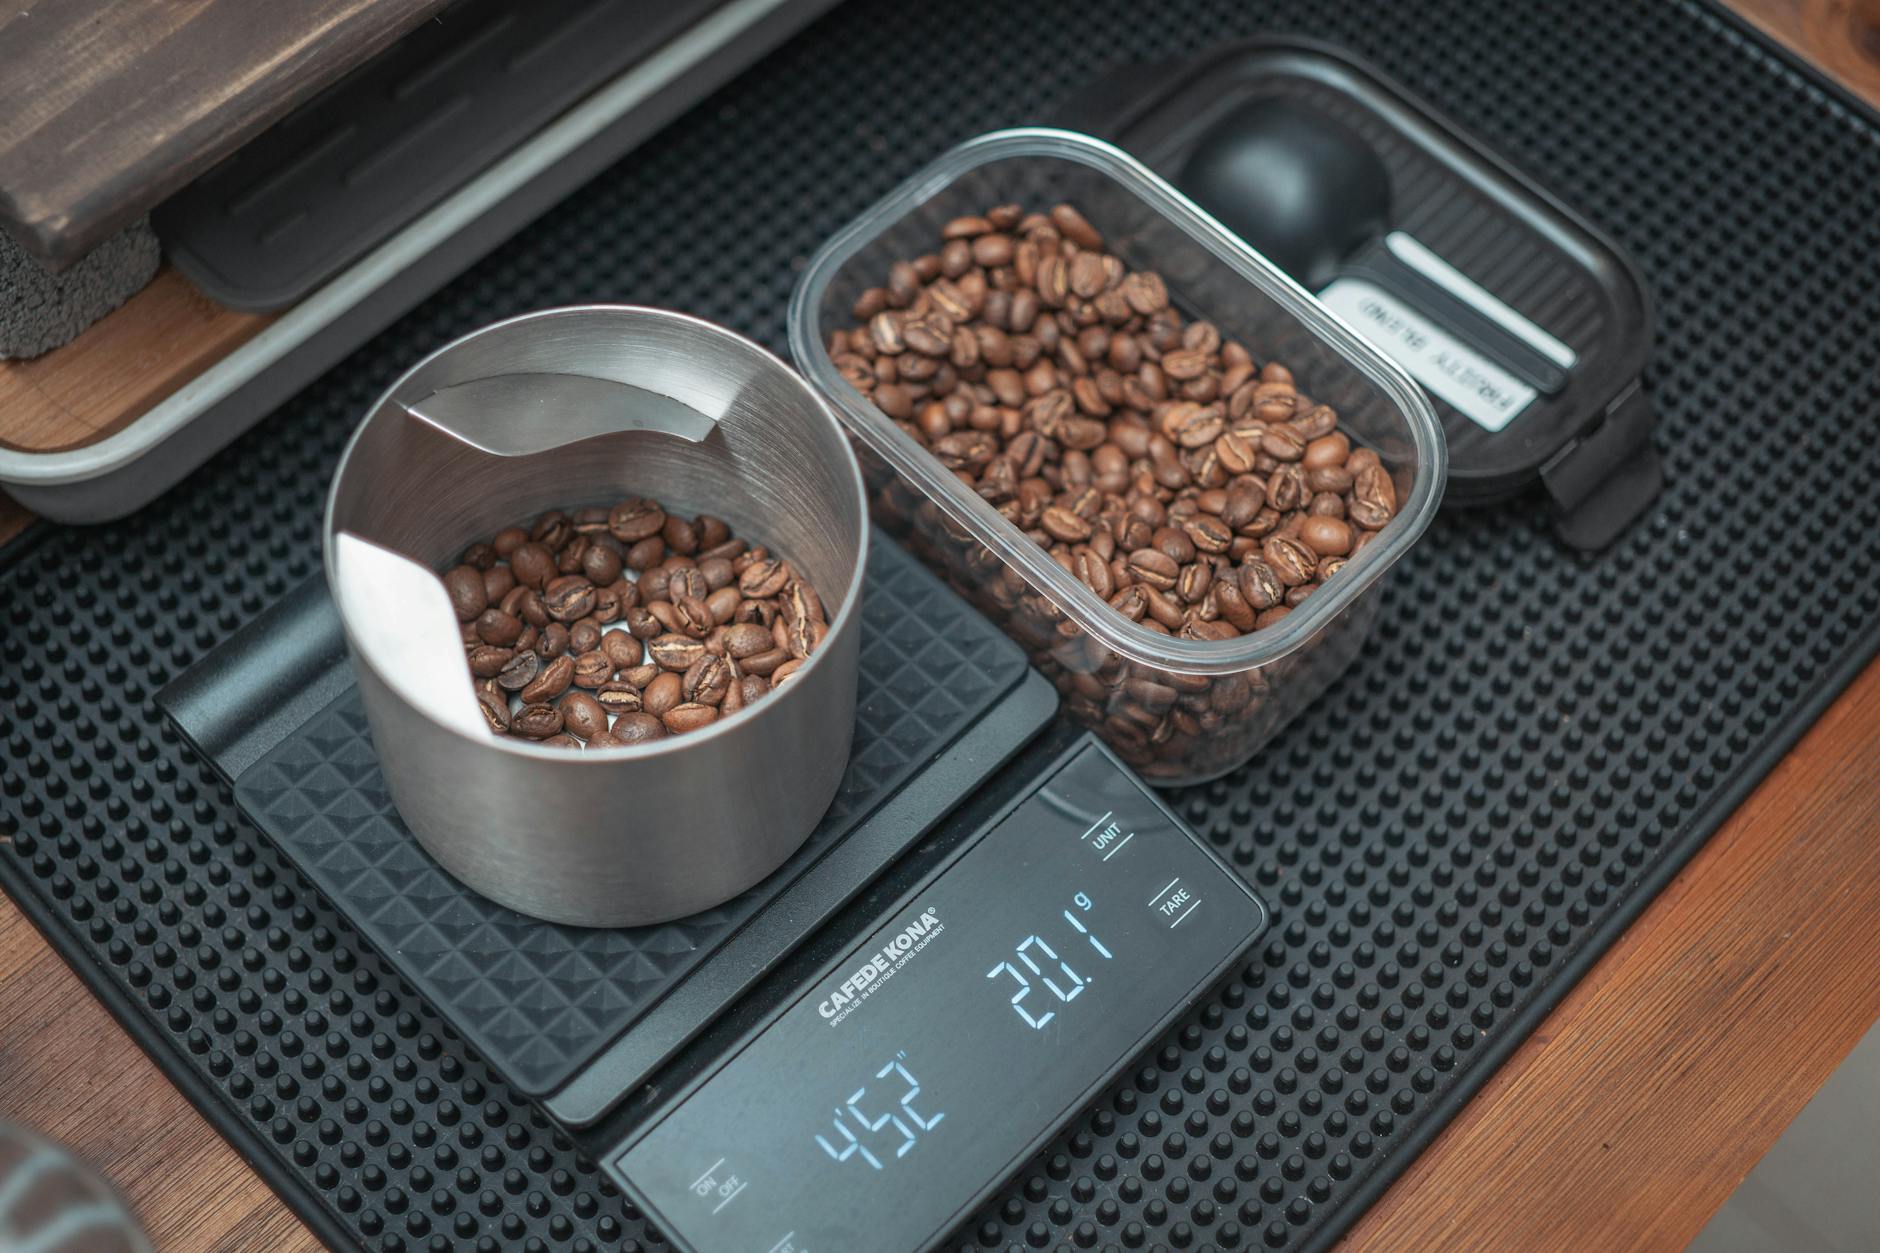
Now for the fun part: taking control of your machine. The process is surprisingly simple and usually requires just two tools: your coffee cup and a small digital scale that can measure in grams. A coffee scale is a fantastic investment for any coffee enthusiast, as measuring by weight is far more accurate than measuring by volume (milliliters).
Here’s the step-by-step process. (Note: The exact button combination may vary slightly by brand, so consult your machine’s manual to confirm how to enter programming mode).
- Prepare your scale. Place your empty espresso cup on the digital scale and “tare” it to zero out the weight.
- Enter programming mode. On most machines, this is done by pressing and holding the button you wish to program (e.g., the espresso button) until it starts to blink.
- Start the brew. The machine will begin to brew a shot into your cup on the scale.
- Watch the weight. Keep a close eye on the number on your scale. You are waiting for it to reach your target output weight based on the ratios we discussed earlier. For a standard 1:2 espresso ratio, you might be aiming for 20-25 grams.
- Stop and save. Once the scale displays your target weight, press the same button again. This will stop the flow of water and, on most machines, save this new volume as the default for that button.
- Taste and refine. Now, taste your coffee. Is it balanced? Too strong? Too weak? If it’s too intense or sour (under-extracted), you can reprogram the button for a slightly higher volume (e.g., 2 grams more). If it’s bitter (over-extracted), program it for a slightly lower volume.
This simple calibration puts you in complete control of your final cup’s flavor.
Achieving consistency with ratios
By focusing on the brew ratio, you are moving away from guesswork and into the realm of repeatable, delicious coffee. Programming your machine is the first and most important step. Once you’ve dialed in the volume for a specific bean, you can enjoy a consistently great cup every single day. The table below gives you a clear starting point for your experiments, assuming a common automatic machine dose of 10 grams.
| Drink type | Common ratio (Coffee:Water) | Example dose (grams) | Target output (grams) | Flavor profile |
|---|---|---|---|---|
| Ristretto | 1:1 – 1:1.5 | 10 g | 10 – 15 g | Sweet, intense, rich body, lower bitterness |
| Espresso | 1:2 – 1:2.5 | 10 g | 20 – 25 g | Balanced, well-rounded, classic flavor |
| Lungo | 1:3 – 1:4 | 10 g | 30 – 40 g | Milder, less intense, highlights subtle notes |
Use this as your guide. If you switch to a new type of coffee bean, don’t be afraid to run a quick test shot. A small adjustment of a few grams of water can make all the difference, ensuring you are always getting the best possible flavor from your investment in quality beans and your automatic machine.
Conclusion
Your automatic coffee machine is a powerful tool, but its true potential is only unlocked when you move beyond its generic factory presets. As we’ve explored, the foundation of great coffee is the brew ratio—the precise relationship between coffee grounds and water. By understanding how different ratios create different flavor profiles, from a sweet ristretto to a balanced espresso, you gain ultimate control. Taking a few minutes to calibrate your machine’s volume settings with a digital scale is a simple, one-time task that pays daily dividends in flavor. It transforms your machine from a simple appliance into a personalized brewing system tailored to your beans and your palate. Stop settling for “good enough” and start brewing the perfect cup, every time.

 No products in the cart.