How to clean and maintain the Gaggia Classic solenoid valve
The Gaggia Classic is a legendary espresso machine, beloved by home baristas for its robust build and potential for creating exceptional coffee. At the heart of its performance lies a critical component: the 3-way solenoid valve. This small but mighty part is responsible for controlling water flow and releasing pressure from the group head after you pull a shot, which results in a dry, easy-to-knock-out coffee puck. Over time, however, this valve can become clogged with mineral scale and coffee oils, leading to a range of frustrating issues. A poorly functioning solenoid can cause low pressure, weak water flow, or soupy pucks. This guide will provide a comprehensive, step-by-step walkthrough on how to clean and maintain your Gaggia Classic’s solenoid valve, restoring its performance and ensuring delicious espresso for years to come.
What the solenoid valve does and why it gets clogged
Before diving into the cleaning process, it’s helpful to understand exactly what the solenoid valve does. Think of it as a smart traffic controller for the water in your machine. When you flip the brew switch, an electromagnet activates the valve, opening a path for hot water to flow from the boiler to the group head and through your coffee grounds. When you turn the switch off, the valve instantly closes this path and opens a third one, redirecting the built-up pressure from the group head into the drip tray. This rapid pressure release is what dries out the coffee puck.
This constant exposure to water and coffee residue makes it a prime location for two main problems:
- Scale Buildup: If you use hard water, mineral deposits (limescale) will gradually accumulate inside the tiny passages of the valve. This is the most common culprit, constricting water flow and eventually causing a complete blockage.
- Coffee Oil and Grounds: Microscopic coffee grounds and sticky oils can be forced back into the system during the brewing process. Over time, these residues bake onto the internal components of the valve, creating a gummy sludge that can cause the valve’s plunger to stick.
A clog from either of these sources will disrupt the valve’s function, leading directly to the performance issues that signal it’s time for a deep clean.
Recognizing the signs of a clogged valve
Your Gaggia Classic will usually give you clear signals when the solenoid valve is struggling. Ignoring these symptoms can lead to poor-tasting espresso and potentially damage your machine. If you notice one or more of the following issues, a clogged solenoid is the likely cause.
Look out for these key indicators:
- No water or weak flow from the group head: This is the most obvious sign. If you turn on the brew switch and get only a trickle of water or nothing at all (but you can hear the pump working), the valve is likely blocked.
- Soupy, wet coffee pucks: If the valve isn’t releasing pressure properly, water remains in the portafilter, leaving you with a muddy mess instead of a firm, dry puck.
- Water constantly drips from the group head: After finishing a shot and turning off the brew switch, the flow should stop almost immediately. If it continues to drip or run for several seconds, the valve isn’t sealing correctly.
- The machine struggles to build pressure: A partial clog can restrict flow, preventing the machine from reaching the optimal 9 bars of pressure needed for a proper espresso extraction. Your shots will be weak and under-extracted.
Observing these symptoms means it’s time to move beyond regular backflushing and perform a full disassembly and cleaning of the valve itself.
A step-by-step guide to cleaning the valve
Cleaning the solenoid valve is a straightforward process, but it requires care and patience. Set aside about an hour for the task. Safety first: Ensure your machine is unplugged and has cooled down completely before you begin.
What you’ll need:
- Phillips head screwdriver
- Adjustable wrenches or spanners (typically 14mm and 17mm)
- A small bowl for parts
- A small, stiff brush (an old toothbrush works well)
- Espresso machine descaling solution or citric acid
- A cloth or paper towels
The cleaning process:
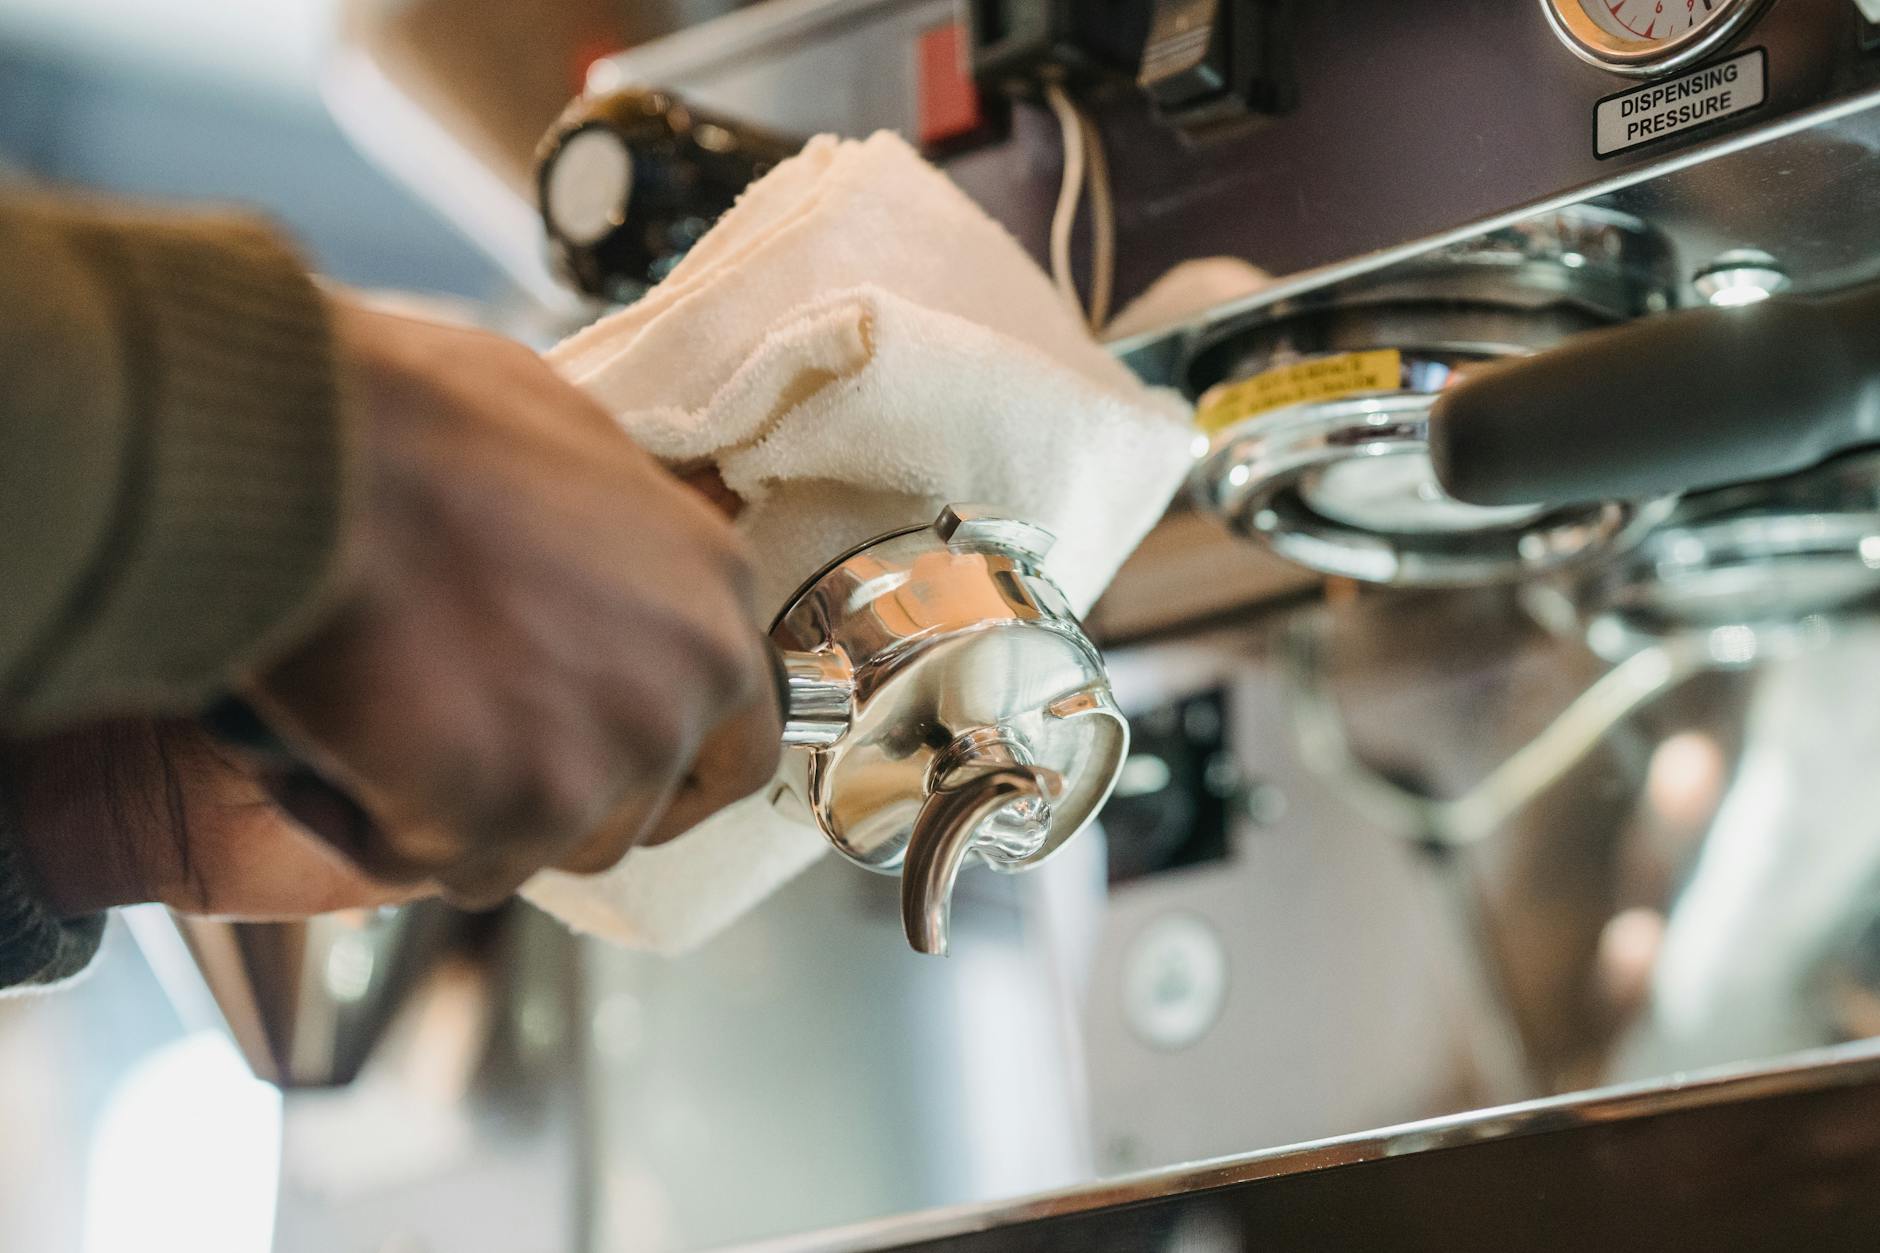
- Access the valve: Remove the water tank and drip tray. Unscrew the screws holding the top cover of your Gaggia Classic and lift it off. The solenoid valve is the brass block located near the boiler, with a black electromagnetic coil on top and two tubes connected to it. Take a quick photo with your phone for reference during reassembly.
- Remove the valve: Carefully slide the black electrical coil off the valve stem. Then, use your wrenches to loosen and disconnect the two tubes attached to the valve. Be prepared for a small amount of residual water to spill. Finally, unscrew the large nut that secures the solenoid valve to the boiler and remove the entire valve assembly.
- Disassemble the valve: The valve itself consists of three main parts: the brass body, the central stem (or shaft), and the internal plunger and spring. Use a wrench to unscrew the central stem from the brass body. Carefully remove the small plunger and spring from inside. Pay close attention to their orientation.
- Soak and scrub: Place the brass body, stem, plunger, and spring into a bowl. Do not submerge the black electrical coil. Prepare a descaling solution according to the manufacturer’s instructions and pour it over the metal parts. Let them soak for 20-30 minutes. You should see fizzing as the acid dissolves the scale. After soaking, use your small brush to scrub all the parts, paying close attention to the tiny holes and internal passages to remove any remaining scale or coffee gunk. Rinse all parts thoroughly with clean water.
- Reassemble and reinstall: Dry all the components completely. Carefully reinsert the spring and plunger into the valve body, then screw the stem back on, ensuring it’s snug but not overtightened. Reattach the valve to the boiler, reconnect the two tubes, and slide the electrical coil back onto the stem. Place the top cover back on the machine and secure it with the screws.
After reassembly, fill the water tank and run a few cycles of water through the group head to flush the system. Your water flow should be strong and stop abruptly when you flip the switch.
Preventive maintenance for a healthy machine
Cleaning a clogged valve is a reactive fix. The best long-term strategy is proactive prevention. By incorporating a few simple habits into your coffee routine, you can significantly reduce the chances of scale and coffee residue buildup, keeping your solenoid and the entire machine running smoothly.
A consistent maintenance schedule is the key to longevity. The goal is to tackle the two main culprits—scale and coffee oils—before they become a serious problem. This not only protects the solenoid valve but also improves the taste of your coffee and extends the life of your Gaggia Classic.
| Maintenance Task | Frequency | Purpose |
|---|---|---|
| Backflush with water | Daily or after each session | Rinses coffee oils and loose grounds from the group head and solenoid’s exhaust path. |
| Backflush with cleaner | Every 2-4 weeks | Uses a detergent (like Cafiza) to dissolve stubborn, baked-on coffee oils that water alone cannot remove. |
| Use filtered/soft water | Always | Drastically reduces the rate of limescale formation throughout the entire machine, including the boiler and valve. |
| Descale the machine | Every 2-3 months (depending on water hardness) | Removes mineral scale buildup from the boiler and internal pathways, preventing it from breaking off and clogging the valve. |
Conclusion
Maintaining the 3-way solenoid valve is a vital aspect of owning a Gaggia Classic. It is the component that ensures clean pressure release and contributes to the quality of your espresso extraction. While symptoms like weak water flow and soupy pucks can be disheartening, they are often just a sign that this hardworking part needs a thorough cleaning. The disassembly and descaling process, though it may seem intimidating at first, is a manageable task for any home barista willing to get a little hands-on. By following the steps outlined in this guide, you can effectively resolve blockages and restore your machine to peak performance. More importantly, adopting a routine of preventive maintenance—regular backflushing, using quality water, and descaling—will keep your solenoid valve and your entire machine healthy, allowing you to focus on what matters most: pulling delicious espresso every day.

 No products in the cart.