How to clean and maintain the Gaggia Classic solenoid valve
The Gaggia Classic is a legendary machine in the world of home espresso, known for its robust build and ability to produce cafe-quality shots. A key component responsible for its excellent performance is the 3-way solenoid valve. This small but mighty part is what gives you that satisfyingly dry coffee puck after pulling a shot, making cleanup a breeze. However, over time, a buildup of coffee oils and mineral scale can clog this valve, leading to a host of frustrating problems, from soupy pucks to a complete lack of water flow. This comprehensive guide will walk you through everything you need to know about this crucial component, from understanding its function to performing a deep clean and implementing a preventive maintenance routine.
What is the solenoid valve and why does it matter?
Before diving into the cleaning process, it’s helpful to understand what the solenoid valve actually does. In simple terms, it’s an electronically controlled valve that directs the flow of water inside your machine. It has three primary pathways, and its function is a two-step process that separates machines like the Gaggia Classic from more basic, entry-level models.
First, when you flip the brew switch, the solenoid opens a path for hot water to travel from the boiler, through the group head, and into your portafilter to brew the espresso. This is its primary brewing function. The magic, however, happens when you turn the brew switch off. The valve instantly closes the path from the boiler and simultaneously opens a third path. This third path vents the high pressure built up in the portafilter, redirecting the excess water straight into the drip tray. This rapid pressure release is what leaves you with a compact, dry puck of coffee that’s easy to knock out.
Telltale signs of a clogged solenoid valve
Your Gaggia Classic will usually give you clear signals when the solenoid valve is getting gummed up with scale or coffee residue. Ignoring these signs can lead to poor-tasting espresso and potentially more significant issues down the line. If you notice any of the following symptoms, it’s likely time for a good cleaning.
- Wet, soupy pucks: This is the most common and classic symptom. If the valve can’t properly vent the pressure after brewing, water remains trapped in the portafilter, turning your coffee puck into a muddy mess.
- Water dripping from the group head: After you finish your shot and turn off the brew switch, you might notice a persistent drip from the group head. This indicates the valve isn’t creating a perfect seal, allowing water to slowly leak through.
- Reduced or no water flow: In severe cases, limescale can build up to the point where it completely blocks the valve’s narrow passages. This can result in a weak stream of water or, in the worst-case scenario, no water coming out of the group head at all.
- Unusual noises: A struggling solenoid might make a louder-than-usual buzzing or clicking noise as it tries to actuate. If you hear something out of the ordinary when you engage the brew switch, the valve could be the culprit.
A step-by-step cleaning guide
Cleaning the solenoid valve is a straightforward task that most Gaggia Classic owners can perform at home with basic tools. Set aside about an hour for the process, and work carefully and methodically.
1. Preparation and safety
Safety is paramount. Before you begin, ensure your Gaggia Classic is unplugged from the wall and has cooled down completely for at least an hour. Working on a hot machine is dangerous. Next, gather your tools:
- Phillips head screwdriver
- 17mm wrench or a small adjustable wrench
- A small flathead screwdriver (for prying)
- An old toothbrush or other small, stiff-bristled brush
- Espresso machine descaling solution or a citric acid solution
- A few small bowls to hold parts and screws
2. Disassembly
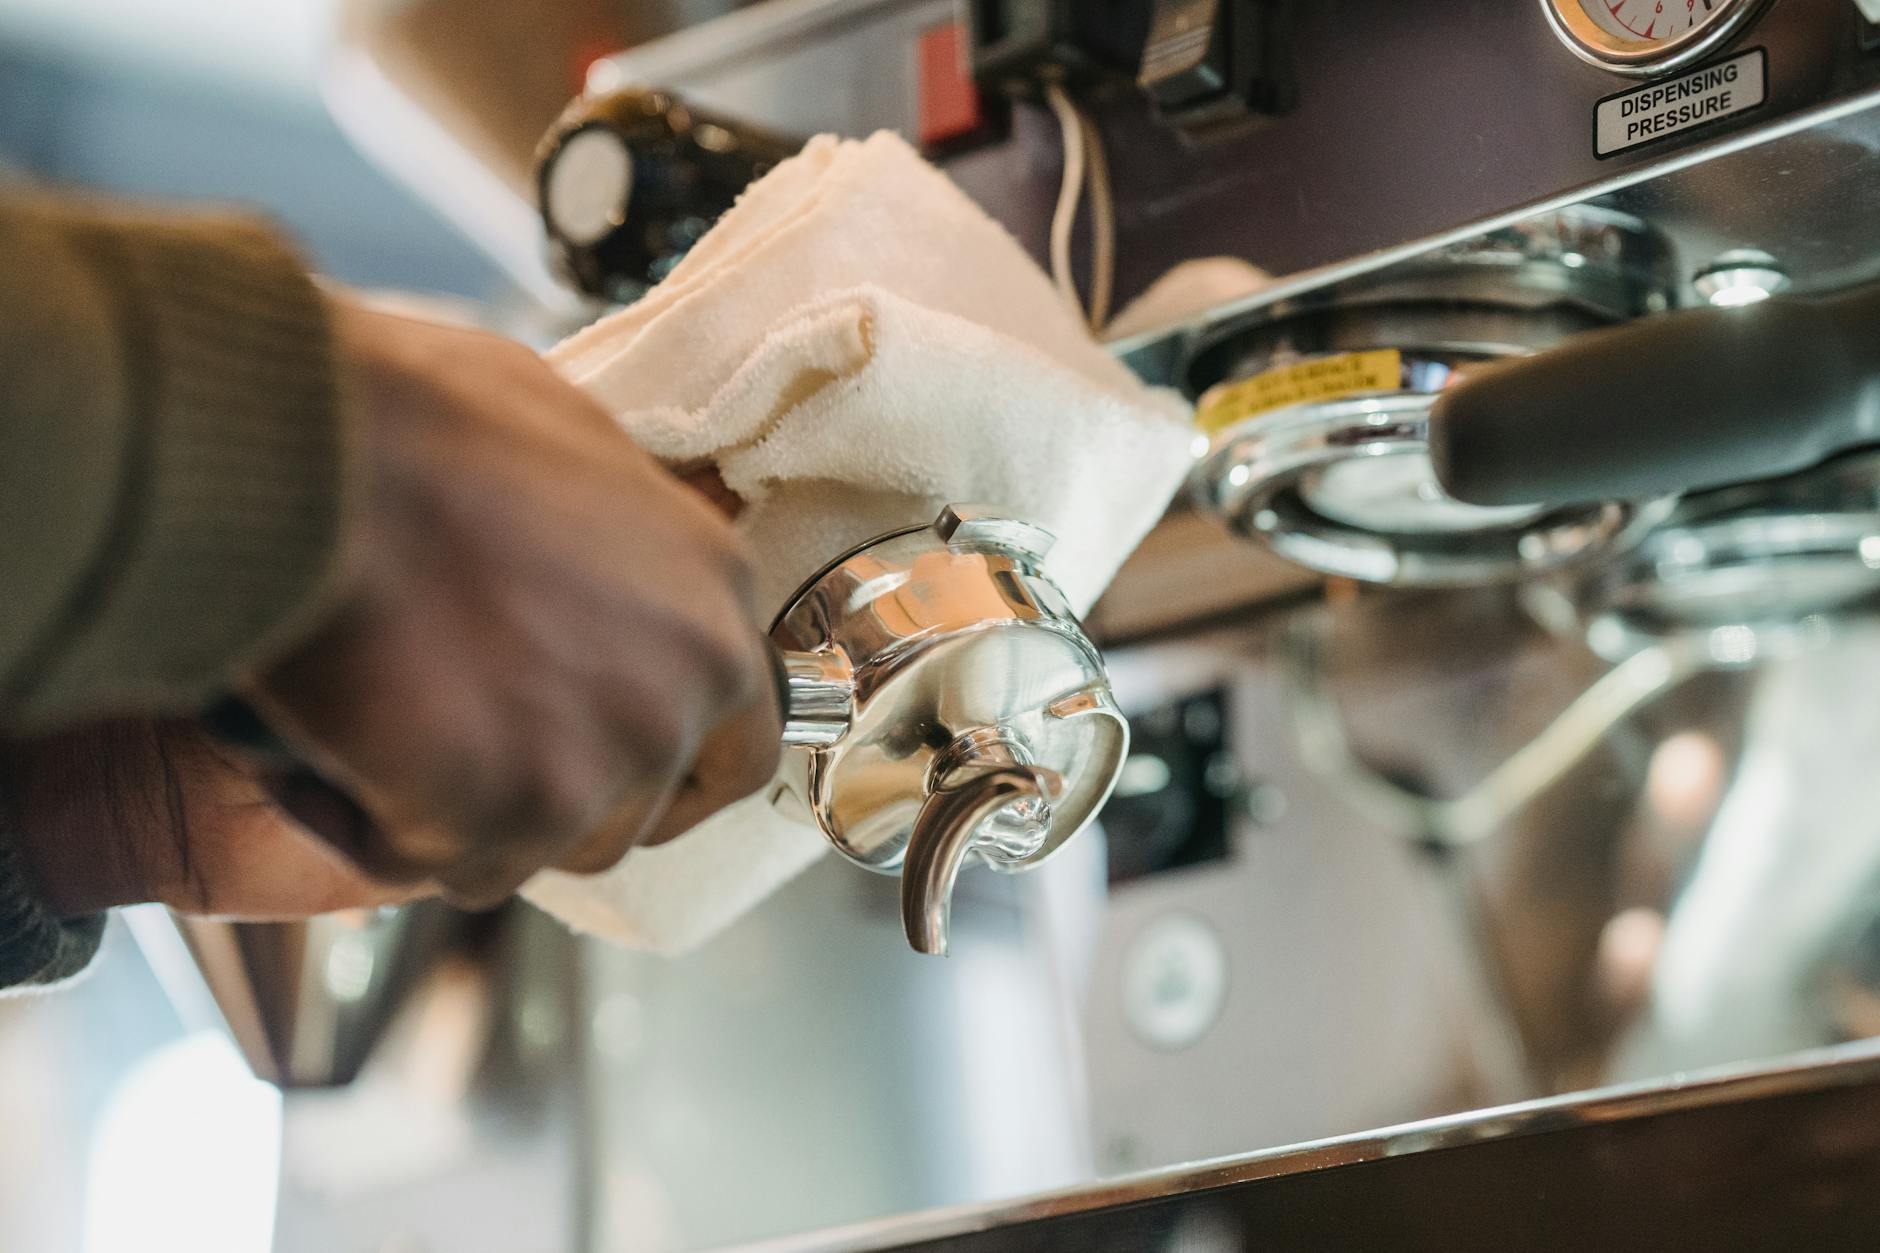
First, remove the machine’s top lid by undoing the screws holding it in place. This will expose the internal components. The solenoid valve is easy to spot; it is a brass block attached to the front of the boiler with a black electromagnetic coil on top. Before you go any further, take a clear photo of the wiring with your phone. This simple step will prevent any confusion during reassembly.
Carefully slide the black coil off the valve stem. It should come off with a gentle pull. Next, using your 17mm wrench, carefully unscrew the main brass body of the valve from the boiler. Have a towel ready, as a small amount of residual water may spill out. Once removed, you can disassemble the valve itself. The main body houses a small plunger and a spring. Keep these tiny parts safe in one of your bowls.
3. The deep clean
Prepare your descaling solution according to the manufacturer’s instructions in a small bowl. Place all the metal parts of the valve (the brass body, plunger, and spring) into the solution and let them soak for about 20-30 minutes. After soaking, use your toothbrush to scrub every part meticulously. Pay special attention to the tiny holes and channels inside the valve body, as this is where blockages occur. Once everything is sparkling clean, rinse all components thoroughly with fresh water to remove any trace of the descaler. Reassembly is the reverse of the disassembly process. Refer to your photo to reconnect the wires correctly.
Preventive care for a healthy valve
While a deep clean will solve existing problems, the best strategy is prevention. Incorporating a few simple habits into your routine will keep your solenoid valve and your entire machine running smoothly for years, drastically reducing the need for intensive deep cleaning.
The two main enemies of your solenoid valve are coffee oils and mineral scale. Regular backflushing with a blind portafilter basket is the best way to combat coffee oil buildup. This process forces water and cleaning solution back through the group head and solenoid valve, flushing out any fresh residue. Similarly, the best way to prevent mineral scale is to control your water quality. Using filtered, softened water will dramatically slow the rate of scale formation. Following a regular maintenance schedule is key.
| Task | Frequency | Purpose |
|---|---|---|
| Backflush with water | Daily | Rinses out fresh coffee grounds and oils from the group head and valve. |
| Backflush with detergent | Every 2-3 weeks | Dissolves stubborn, built-up coffee oils that water alone cannot remove. |
| Descale the machine | Every 2-4 months | Removes mineral scale buildup from the boiler, pipes, and solenoid valve. |
By following this routine, you address both major causes of solenoid valve failure before they become a problem, ensuring consistent performance and better-tasting espresso.
Maintaining your Gaggia Classic’s solenoid valve is an essential skill for any owner who wants to get the most out of their machine. While it may seem daunting at first, the process is quite manageable with a bit of patience and care. We’ve seen that this valve is the secret behind a clean, dry coffee puck and that common issues like soupy grounds and group head drips are clear indicators that it needs attention. By following the detailed steps for disassembly, deep cleaning, and reassembly, you can easily restore your machine to its peak performance. Most importantly, adopting a proactive maintenance routine of regular backflushing and descaling with filtered water will prevent these problems from recurring, ensuring your Gaggia Classic has a long, healthy life on your coffee bar.


 No products in the cart.