A step-by-step guide: Adjusting water hardness on your Gaggia Velasca
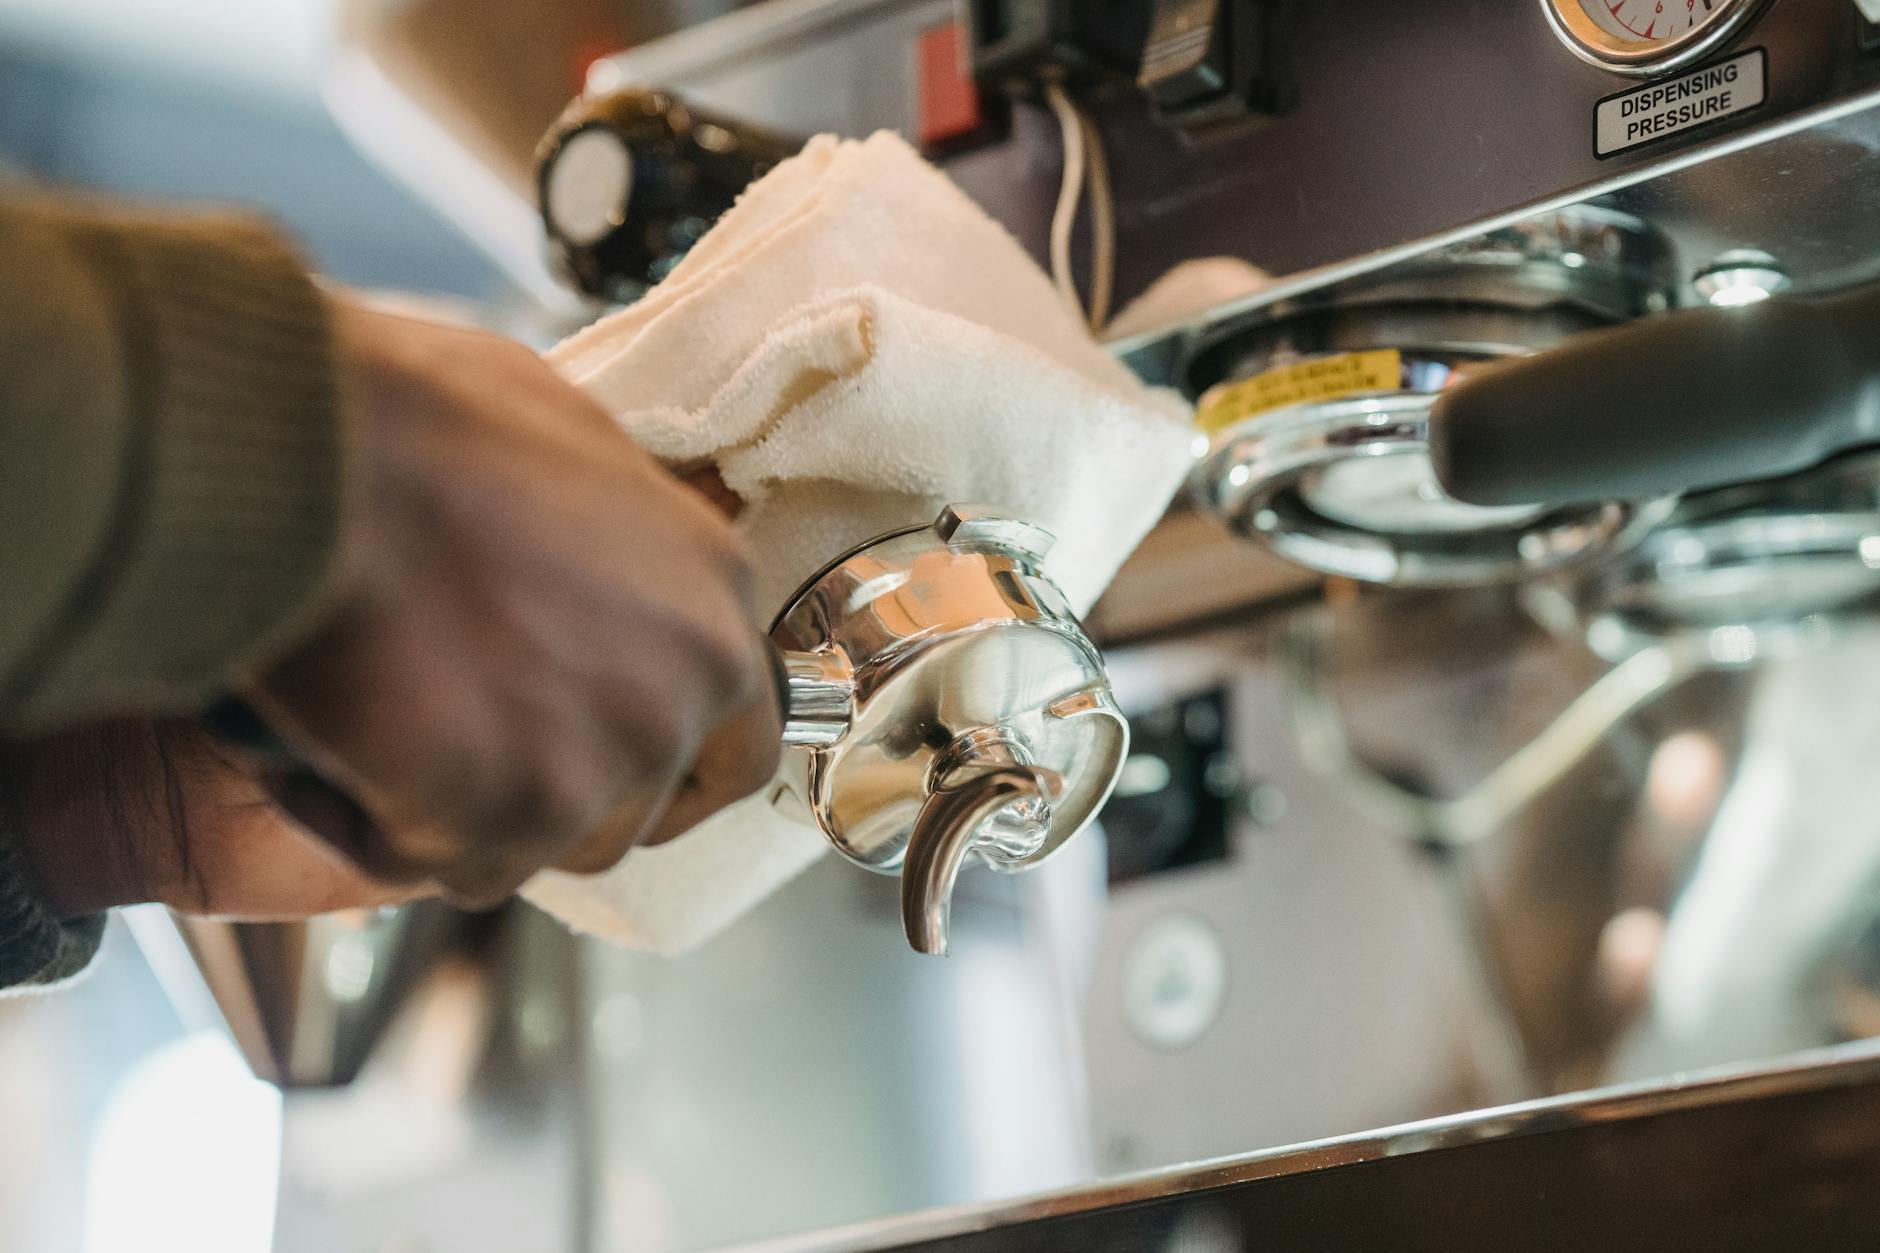
Owning a Gaggia Velasca is an investment in quality, convenience, and delicious, bean-to-cup coffee. To ensure your machine consistently delivers the best possible espresso and remains in peak condition, a few simple maintenance steps are crucial. One of the most important, yet often overlooked, is setting the correct water hardness level. The mineral content of your water directly impacts both the flavor in your cup and the internal health of your machine. Limescale buildup from hard water is a leading cause of performance issues and breakdowns. This guide will walk you through everything you need to know, from testing your water to programming your Velasca, helping you protect your investment and elevate your daily coffee ritual.
Why water hardness matters for your machine and your coffee
Before diving into the “how,” it’s essential to understand the “why.” Water hardness refers to the concentration of dissolved minerals, primarily calcium and magnesium, in your water. This mineral content has two significant effects on your super-automatic espresso machine.
First is the impact on flavor. Very hard water can lead to over-extraction, creating a bitter or chalky taste that masks the delicate and complex notes of your coffee beans. By contrast, water that is too soft can result in a flat, uninspired brew. Finding the right balance allows the coffee’s true flavor profile to shine. Second, and more critically for your machine’s longevity, is the issue of limescale. When hard water is heated, these minerals precipitate out and form a hard, chalky deposit inside the machine’s boiler, thermoblock, and water lines. This buildup forces the machine to work harder to heat water, can cause blockages, and will eventually lead to costly repairs. By telling your Gaggia Velasca how hard your water is, you ensure it prompts you to descale at the correct intervals, preventing damage before it starts.
Testing your water hardness accurately
You cannot program the correct setting without first knowing your water’s hardness level. Guessing is not an option, as an incorrect setting either leads to unnecessary descaling cycles or, worse, allows limescale to build up unnoticed. Fortunately, Gaggia typically includes a total hardness test strip with the Velasca. If you’ve misplaced it, they are inexpensive and widely available online or at pet stores for aquarium testing.
Follow these simple steps to get an accurate reading:
- Fill a glass with the cold tap water you will use to fill the machine’s reservoir.
- Unwrap a single test strip and dip it into the water for just one second.
- Remove the strip from the water and gently shake off any excess droplets.
- Hold the strip level and wait for about one minute. You will see small colored squares on the strip change color.
- Compare the results on your strip to the key provided on the packaging or in your machine’s manual. Count the number of squares that have changed color (usually from green to pink or red).
This result directly corresponds to the setting you will program into your machine. Use the table below to find your machine’s correct setting.
| Test strip result (squares changed) | Water hardness level | Gaggia Velasca setting |
|---|---|---|
| 1 Square | 1 – 7 °dH (Soft) | Setting 1 |
| 2 Squares | 8 – 14 °dH (Medium) | Setting 2 |
| 3 Squares | 15 – 21 °dH (Hard) | Setting 3 |
| 4 Squares | > 21 °dH (Very Hard) | Setting 4 |
How to program the water hardness setting
Once you have your test result, it’s time to program it into your Gaggia Velasca. This process is straightforward and only takes a minute. The machine needs to be on and in standby mode (the main screen is lit) to access the programming menu. While button names can vary slightly between models like the Velasca and Velasca Prestige, the process is generally the same.
Here is a step-by-step guide to enter the menu and adjust the setting:
- With the machine on, press and hold the AROMA/PRE-GROUND button (it often has a coffee bean and scoop icon) for about 5 to 6 seconds. This will take you into the programming menu.
- You will now be able to cycle through the different menu options. Use the ESPRESSO or COFFEE buttons to navigate. Press the button repeatedly until you see the water hardness symbol (often represented by a water droplet) or the text “WATER HARDNESS” on the screen.
- Press the AROMA/PRE-GROUND button again to select and enter the water hardness setting menu. The display will now show the current setting, from 1 to 4.
- Use the ESPRESSO or COFFEE buttons to change the number to match the result from your water test (e.g., if 3 squares changed color, select “3”).
- Once you have selected the correct number, confirm your choice by pressing the AROMA/PRE-GROUND button one last time.
The machine will save your new setting and automatically exit the programming menu, returning to the standby screen. Your Gaggia Velasca now knows exactly when it will need to be descaled.
The link between hardness settings and descaling
Adjusting the water hardness setting is not just an arbitrary task; it directly calibrates the machine’s internal descaling alert system. The Velasca doesn’t magically detect scale, but instead, it counts the liters of water that pass through its system. By telling it you have very hard water (Setting 4), you are instructing it to trigger the “DESCALE” alert after a smaller volume of water has been used. Conversely, if you have soft water (Setting 1), the machine will allow a much larger volume of water to pass through before prompting you for maintenance.
This intelligent system ensures you are not wasting time and descaling solution on a machine that doesn’t need it, nor are you risking permanent damage by letting scale accumulate. When the descaling light or message appears, it is crucial to perform the maintenance cycle promptly using a Gaggia-approved descaling solution. Ignoring this alert can lead to poor performance, cold coffee, and can even void your warranty. Think of this setting as the foundation of your machine’s preventative health care plan.
Conclusion
Properly setting the water hardness on your Gaggia Velasca is a fundamental step in ensuring you get the most out of your machine. As we’ve explored, this simple adjustment provides a twofold benefit that cannot be overstated. Firstly, it helps you dial in the taste of your coffee, preventing the flat or bitter flavors that can result from mismatched water mineral content. Secondly, and more importantly, it customizes the machine’s internal maintenance clock, providing a crucial defense against the damaging effects of limescale. By taking a few minutes to test your water and program the result, you are actively preserving the internal components, ensuring thermal efficiency, and extending the lifespan of your espresso machine. This proactive measure is one of the most effective ways to protect your investment and guarantee countless delicious coffee experiences for years to come.


 No products in the cart.