
The Gaggia Classic Pro is a legend in the world of home espresso, celebrated for its robust build, powerful steam, and commercial-grade components. However, its Achilles’ heel has always been thermal stability. The simple bimetallic thermostat that controls its boiler creates a wide temperature swing, meaning your brew water can be too hot one moment and too cold the next, leading to inconsistent shots. Many enthusiasts solve this by installing a PID controller, but that involves cost and technical work. This article is for those who want to unlock the Classic Pro’s full potential without that upgrade. We will explore practical, low-cost techniques like temperature surfing and strategic flushing to tame the machine’s temperature and pull consistently delicious espresso every single time.
Understanding the Gaggia’s heating cycle
Before you can control the temperature, you need to understand why it’s unstable in the first place. The heart of the issue lies in the Gaggia Classic Pro’s thermostat. It’s not a precise digital controller; instead, it’s a simple bimetallic switch. Think of it like an old-school home thermostat: it doesn’t maintain an exact temperature. Instead, it operates within a range, often called a “deadband.”
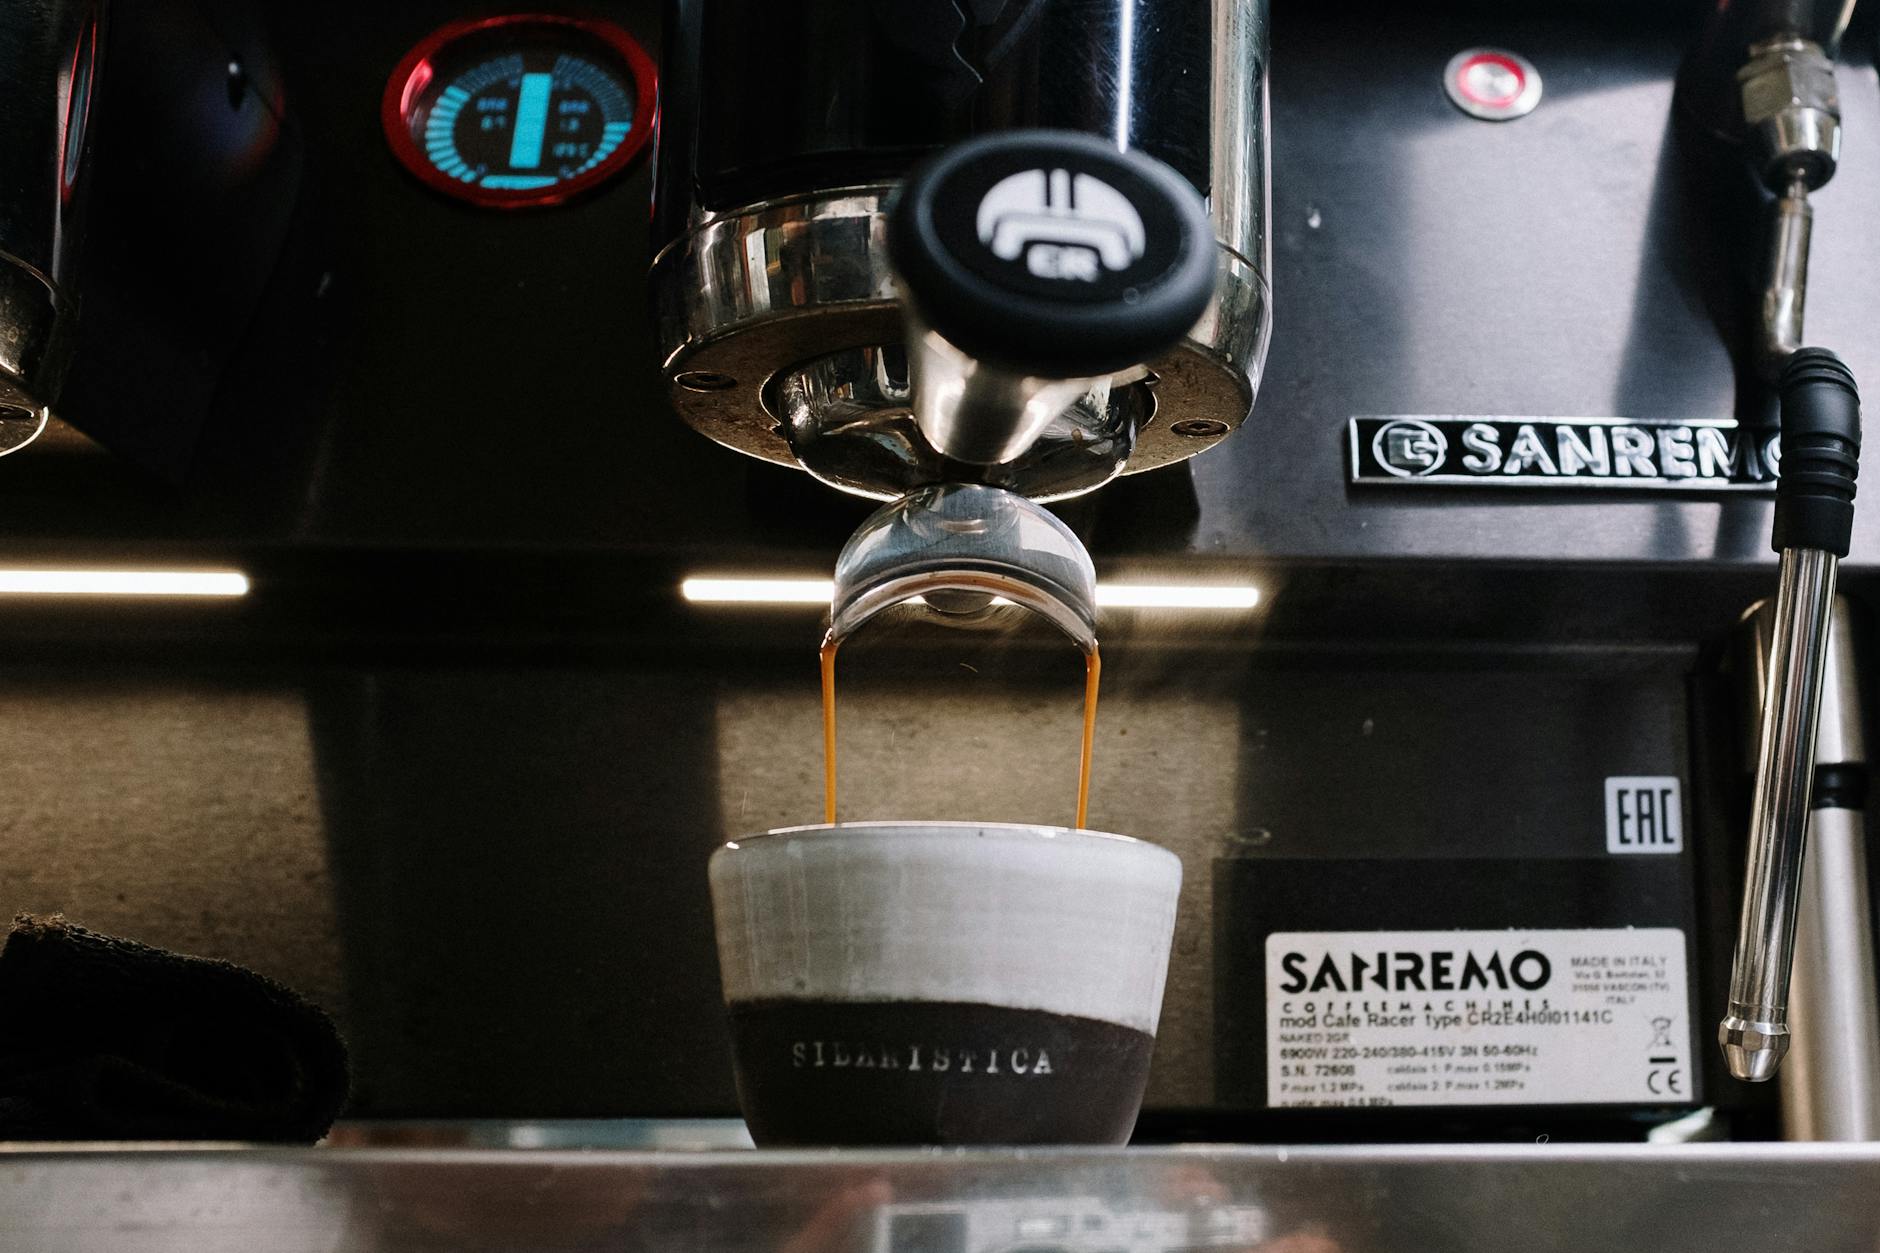
Here’s how it works: the heating element turns on when the boiler temperature drops to a certain low point (e.g., 95°C). It then heats the water until it reaches a high point (e.g., 105°C), at which point the thermostat clicks off, and the “ready” light turns off. The boiler then begins to cool down naturally until it hits the low point again, and the cycle repeats. This swing of 10°C or more is far too wide for espresso, where a change of just one or two degrees can drastically alter the taste. Pulling a shot at the peak of the cycle can result in bitter, over-extracted coffee, while pulling it at the bottom can lead to sour, under-extracted shots. The goal of the following techniques is to manually intervene in this cycle to brew at a more consistent and ideal temperature.
The art of temperature surfing
Temperature surfing is the most powerful technique in your non-PID toolkit. It’s the process of manually timing your shot to “catch” the boiler’s temperature at a predictable point within its heating or cooling curve. This turns an inconsistent cycle into a repeatable routine. While it requires some practice, mastering it is incredibly rewarding. One of the most common and effective methods is the “cooling flush” or “rebound” technique.
Here is a step-by-step guide:
- Warm up properly. Ensure your machine, including the portafilter locked into the group head, has been warming up for at least 20 minutes.
- Initiate a heating cycle. Open the brew switch and flush water through the group head until the ready light turns on. This signifies the thermostat has detected the low point and has started heating. Close the brew switch immediately.
- Wait for the peak. Now, wait for the ready light to turn off. This is your signal that the boiler has reached the top of its temperature range and the heating element is now off.
- Start your timer. As soon as the light goes off, start a timer. The water in the boiler is now at its hottest and will begin to cool.
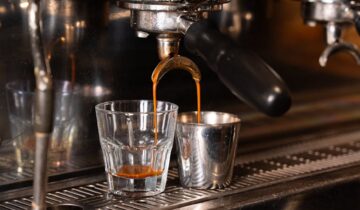
- Pull your shot. After a specific amount of time—typically between 5 and 15 seconds—lock in your portafilter and start brewing. This “cooling time” is the variable you need to dial in. A shorter wait means a hotter brew (good for light roasts), while a longer wait means a cooler brew (better for dark roasts). Experiment to find the time that produces the best taste for your beans.
By following this routine, you are no longer guessing the brew temperature. You are starting from the same peak temperature every time and letting the boiler cool for a measured duration, giving you incredible consistency from shot to shot.
Strategic flushing and preheating
While temperature surfing controls the boiler, you also need to manage the temperature of everything the water touches on its way to your cup. The massive brass group head and portafilter on the Gaggia Classic Pro are great for thermal mass, but they can also act as huge heat sinks if not properly heated, instantly cooling your perfectly surfed brew water.
Preheating is non-negotiable. A 20 to 30-minute warm-up period is essential. Don’t just turn the machine on and pull a shot five minutes later. During this time, keep the portafilter locked into the group head so it can absorb heat and reach thermal equilibrium with the rest of the machine. A cold portafilter can easily drop your brew water temperature by several degrees, ruining your shot before it even begins.
The pre-shot flush. A brief one or two-second flush of water right before you lock in your portafilter serves two purposes. First, it purges any stagnant, potentially super-heated water sitting in the group head. Second, it gives a final blast of heat to the shower screen and your basket, ensuring every component is at a stable temperature. This is different from the longer flush used to initiate a heating cycle for surfing; this is just a quick “hello” to wake up the group head.
Simple mods and best practices
Beyond active temperature management, a few simple adjustments and habits can further improve your consistency and make your machine more forgiving of slight temperature variations. These practices work in synergy with temperature surfing to create a holistic approach to better espresso.
First, consider the OPV (Over-Pressure Valve) spring modification. Out of the box, the Gaggia Classic Pro often brews at a very high pressure (12-15 bar). By swapping the stock spring for a 9-bar or 6.5-bar spring, you can lower the brew pressure to the specialty coffee standard. Lower pressure makes puck preparation less critical and leads to a softer, more balanced extraction that is less prone to channeling, especially when the temperature isn’t absolutely perfect. This is a cheap and easily reversible modification that has a huge impact on shot quality.
Next, always maintain a consistent puck preparation routine. Use a scale to weigh your dose, a distribution tool (like a WDT) to break up clumps, and a calibrated tamper to ensure a level and consistent tamp. Eliminating these variables means that any differences you taste in your shots can be more reliably attributed to your temperature surfing, allowing you to dial it in more effectively.
Finally, the table below summarizes the techniques discussed to help you create a consistent workflow.
| Technique | Purpose | Difficulty | Cost |
|---|---|---|---|
| Full preheating | Stabilize group head & portafilter temp | Easy | Free |
| Temperature surfing | Hit a consistent point in the heating cycle | Medium (requires practice) | Free |
| OPV spring mod | Make extraction more forgiving to variables | Easy | Low ($) |
| Consistent puck prep | Remove other variables to isolate temperature | Medium (requires practice) | Free / Low ($) |
By combining these hardware and software tweaks, you create a stable and predictable system for making excellent espresso.
Conclusion
While a PID controller offers a “set it and forget it” solution to thermal stability, it’s far from the only path to great espresso with a Gaggia Classic Pro. By understanding the machine’s inherent heating cycle, you can learn to work with it, not against it. The manual art of temperature surfing, combined with the discipline of proper preheating and a consistent workflow, empowers you to take direct control over the most critical variable in your brew. These techniques are not just workarounds; they are skills that deepen your understanding of the espresso-making process. They are completely free, require no permanent modification, and can elevate your shots to a level of quality and consistency that you might have thought was only possible with a significant financial investment.
 No products in the cart.