Step-by-step guide to backflushing your Gaggia Classic Pro safely
Owning a Gaggia Classic Pro is a gateway to crafting café-quality espresso at home. It’s a robust, beloved machine for a reason. But to keep it pulling rich, flavorful shots, regular maintenance is non-negotiable. Over time, coffee oils, fine grounds, and residue build up inside the group head, turning rancid and negatively impacting the taste of your coffee. This is where backflushing comes in. It’s a vital cleaning process that targets the heart of your machine: the group head and its three-way solenoid valve. This guide will walk you through every step of safely and effectively backflushing your Gaggia Classic Pro, ensuring both the longevity of your machine and the deliciousness of your daily brew.
Why backflushing is essential for your Gaggia
Many new espresso machine owners confuse backflushing with simple rinsing or descaling, but it’s a distinct and crucial task. When you pull a shot, pressurized hot water is forced through the coffee grounds. When you stop the shot on a machine with a three-way solenoid valve like the Gaggia Classic Pro, that valve opens to relieve the pressure, sending excess water and coffee grounds from the group head straight to the drip tray. This ‘whoosh’ sound is the valve doing its job. However, not all the coffee oils and micro-grounds get flushed out. Over days and weeks, this gunk accumulates on the shower screen, in the gasket, and deep within the valve itself. This buildup not only makes your espresso taste bitter and stale but can also lead to blockages, uneven water flow, and eventually, a costly repair to a clogged solenoid.
Backflushing is the process of forcing water backwards through this system using a specialized cleaner to dissolve and dislodge this stubborn residue. It’s a deep clean for the parts of your machine that touch the coffee but can’t be seen, ensuring every shot you pull is as fresh and clean as the last.
Gathering your tools and supplies
Before you begin, you’ll need a few specific items. Having everything ready will make the process smooth and efficient. You can’t properly backflush without these tools, so consider them a necessary investment in your machine’s health.
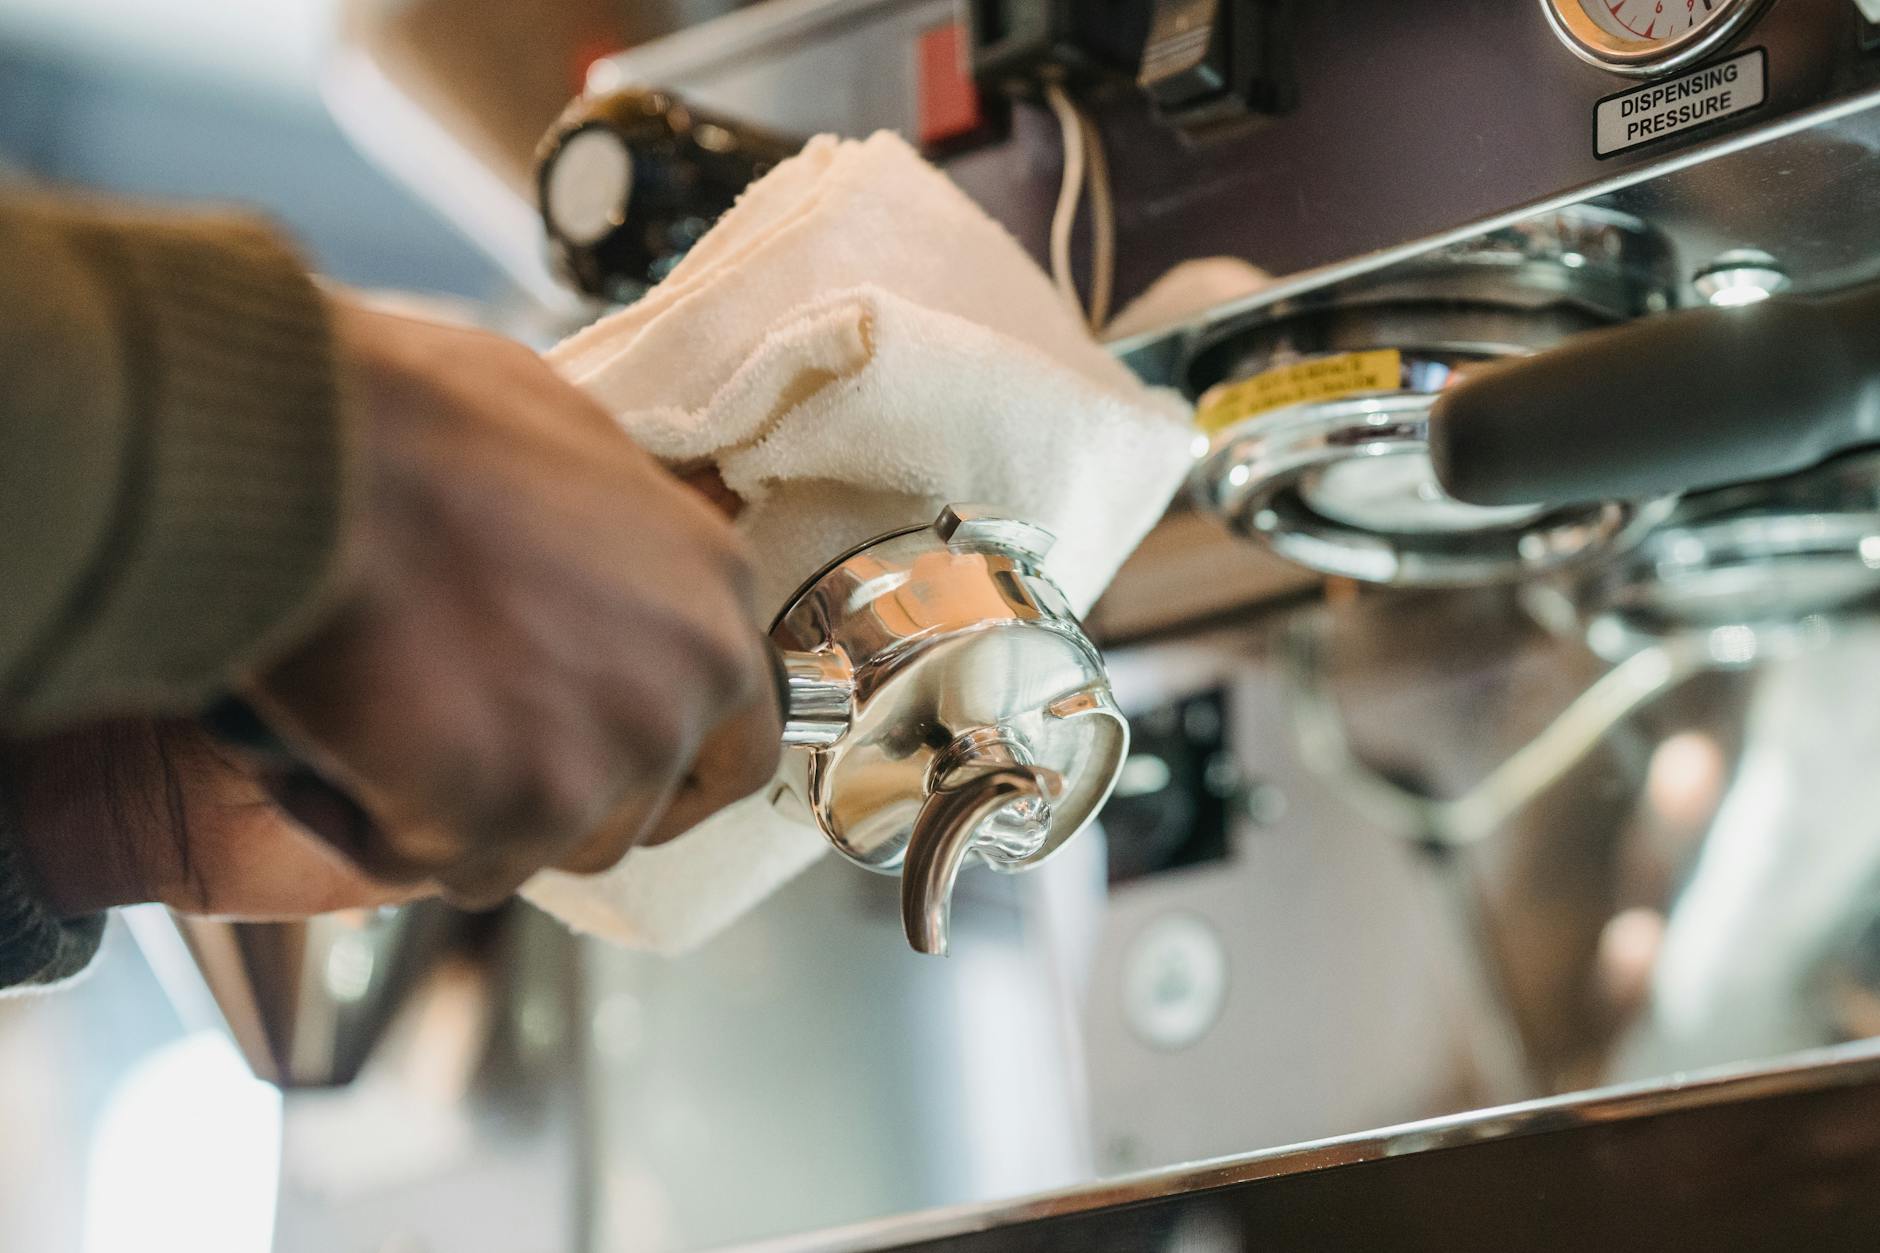
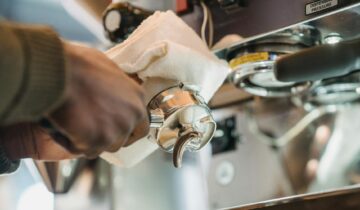
- Blind basket: This is the most important tool. It looks like a regular portafilter basket but has no holes. This solid bottom forces the water and cleaning solution back up into the group head instead of down into a cup.
- Espresso machine cleaner: Use a powder or tablet specifically designed for backflushing, such as Cafiza or Puly Caff. Do not use vinegar or regular dish soap, as they can damage the machine’s internal components and leave behind unwanted residue.
- Group head brush: A simple brush with angled bristles helps you scrub the rubber gasket and shower screen to remove loose grounds.
- A spare towel: You’ll want a cloth for wiping down the portafilter and the area around the group head.
With these items in hand, you are ready to give your machine the deep clean it deserves.
The step-by-step backflushing process
Follow these steps carefully for a safe and effective cleaning cycle. The entire process should take no more than 10-15 minutes.
Step 1: The initial water rinse
First, we’ll loosen up any surface-level debris with a plain water backflush. Turn on your Gaggia Classic Pro and let it heat up fully. Replace your regular filter basket with the blind basket in your portafilter. Lock the portafilter into the group head as if you were pulling a shot. Now, activate the brew switch for about 10 seconds, then turn it off. You will hear the solenoid valve release pressure into the drip tray. Repeat this on-and-off cycle 4 to 5 times.
Step 2: Cleaning with detergent
Now it’s time for the deep clean. Remove the portafilter and add a small amount (about 1/4 teaspoon) of your espresso machine cleaning powder into the blind basket. Lock the portafilter back into the machine. Repeat the same process as before: activate the brew switch for 10 seconds, then turn it off. You will see foamy, brown-tinted water discharge into the drip tray—that’s the old coffee oil being dissolved! Let the machine rest for about 20 seconds between cycles to allow the detergent to work. Repeat this cycle 4 to 5 times.
Step 3: The final thorough rinse
This is the most critical step for taste. You must remove every trace of the cleaning detergent. Remove the portafilter and rinse the blind basket and portafilter head completely with water. Lock the clean, empty portafilter back in and repeat the water-only backflush cycle (10 seconds on, then off) at least 8 to 10 times. Keep going until the water discharging into the drip tray is perfectly clear and free of any foam or bubbles. When in doubt, rinse a few more times. It’s better to be safe than sorry.
Step 4: Final cleanup
Remove the portafilter. Run the brew switch for a few seconds to rinse the shower screen. Use your group head brush to scrub around the gasket and screen, dislodging any remaining particles. Wipe everything down with your towel. To be extra safe and re-season the group, pull one “sacrificial” shot of espresso and discard it. Your machine is now clean and ready to go.
Backflushing frequency and best practices
Knowing how to backflush is one thing, but knowing when is key to long-term machine health. Your usage habits will dictate the ideal frequency. A consistent routine prevents major buildup and makes each cleaning session quicker and easier.
Here is a simple schedule to follow:
| User type | Water-only backflush | Detergent backflush |
|---|---|---|
| Light home user (1-2 shots/day) | At the end of each session | Every 2 weeks |
| Heavy home user (3+ shots/day) | At the end of each session | Once a week |
| Office/light commercial use | Daily at the end of the day | Every 2-3 days |
A few final tips to keep in mind: never run the pump for more than 15 seconds at a time with the blind basket in place, as this puts unnecessary strain on it. Also, use only the recommended amount of detergent; more is not better and will only make rinsing it out more difficult. Finally, remember that backflushing only cleans the group head path. You still need to descale your machine periodically to remove mineral buildup from the boiler, a completely separate but equally important maintenance task.
Conclusion
Backflushing your Gaggia Classic Pro is not an optional chore; it is a fundamental practice for any owner who values taste and machine longevity. By regularly performing this simple maintenance, you actively fight the buildup of rancid coffee oils that ruin the flavor of your espresso and can cause permanent damage to the machine’s three-way solenoid valve. The process is straightforward: an initial water rinse to loosen debris, a cleaning cycle with a proper detergent to dissolve oils, and a thorough final rinse to leave the system pristine. By investing just a few minutes each week and following the steps outlined in this guide, you ensure your Gaggia Classic Pro will continue to be a reliable partner in your coffee journey, rewarding you with clean, delicious, and consistent espresso for years to come.
 No products in the cart.