Mastering high-altitude espresso: A PID guide for the Gaggia Classic
Brewing exceptional espresso is a delicate dance of variables, with water temperature being one of the most critical partners. For those living at high altitudes, this dance becomes significantly more complex. The lower atmospheric pressure causes water to boil at a reduced temperature, throwing standard brewing recipes into disarray and often leading to bitter, over-extracted shots. Fortunately, for owners of the venerable Gaggia Classic, there is a powerful solution. By retrofitting a Proportional-Integral-Derivative, or PID, controller, you can seize absolute control over your machine’s temperature. This article will guide you through understanding the high-altitude problem and leveraging a PID to master your Gaggia Classic, transforming it into a precise instrument for crafting perfect espresso, no matter your elevation.
The high-altitude brewing conundrum
At sea level, water boils at 100°C (212°F). The ideal temperature range for brewing espresso is generally accepted to be between 90-96°C (195-205°F), comfortably below the boiling point. As you ascend in altitude, atmospheric pressure decreases, which allows water to turn to steam at lower temperatures. For example, at 1,500 meters (about 5,000 feet), water boils at roughly 95°C (203°F). Suddenly, the entire ideal brewing range is either dangerously close to or even above the point of boiling.
Attempting to brew with water that is boiling or “flash boiling” as it hits the coffee puck has disastrous effects on flavor. It causes instant over-extraction of the most soluble, bitter compounds in the coffee, resulting in a harsh, astringent, and unpleasant cup. The stock Gaggia Classic, with its simple bimetallic thermostat, is ill-equipped for this challenge. It operates with a wide temperature deadband, meaning the temperature in the boiler can swing by 10-15°C. At high altitude, this swing can easily push the brew water past its local boiling point, making consistency impossible.
Why a PID is your secret weapon
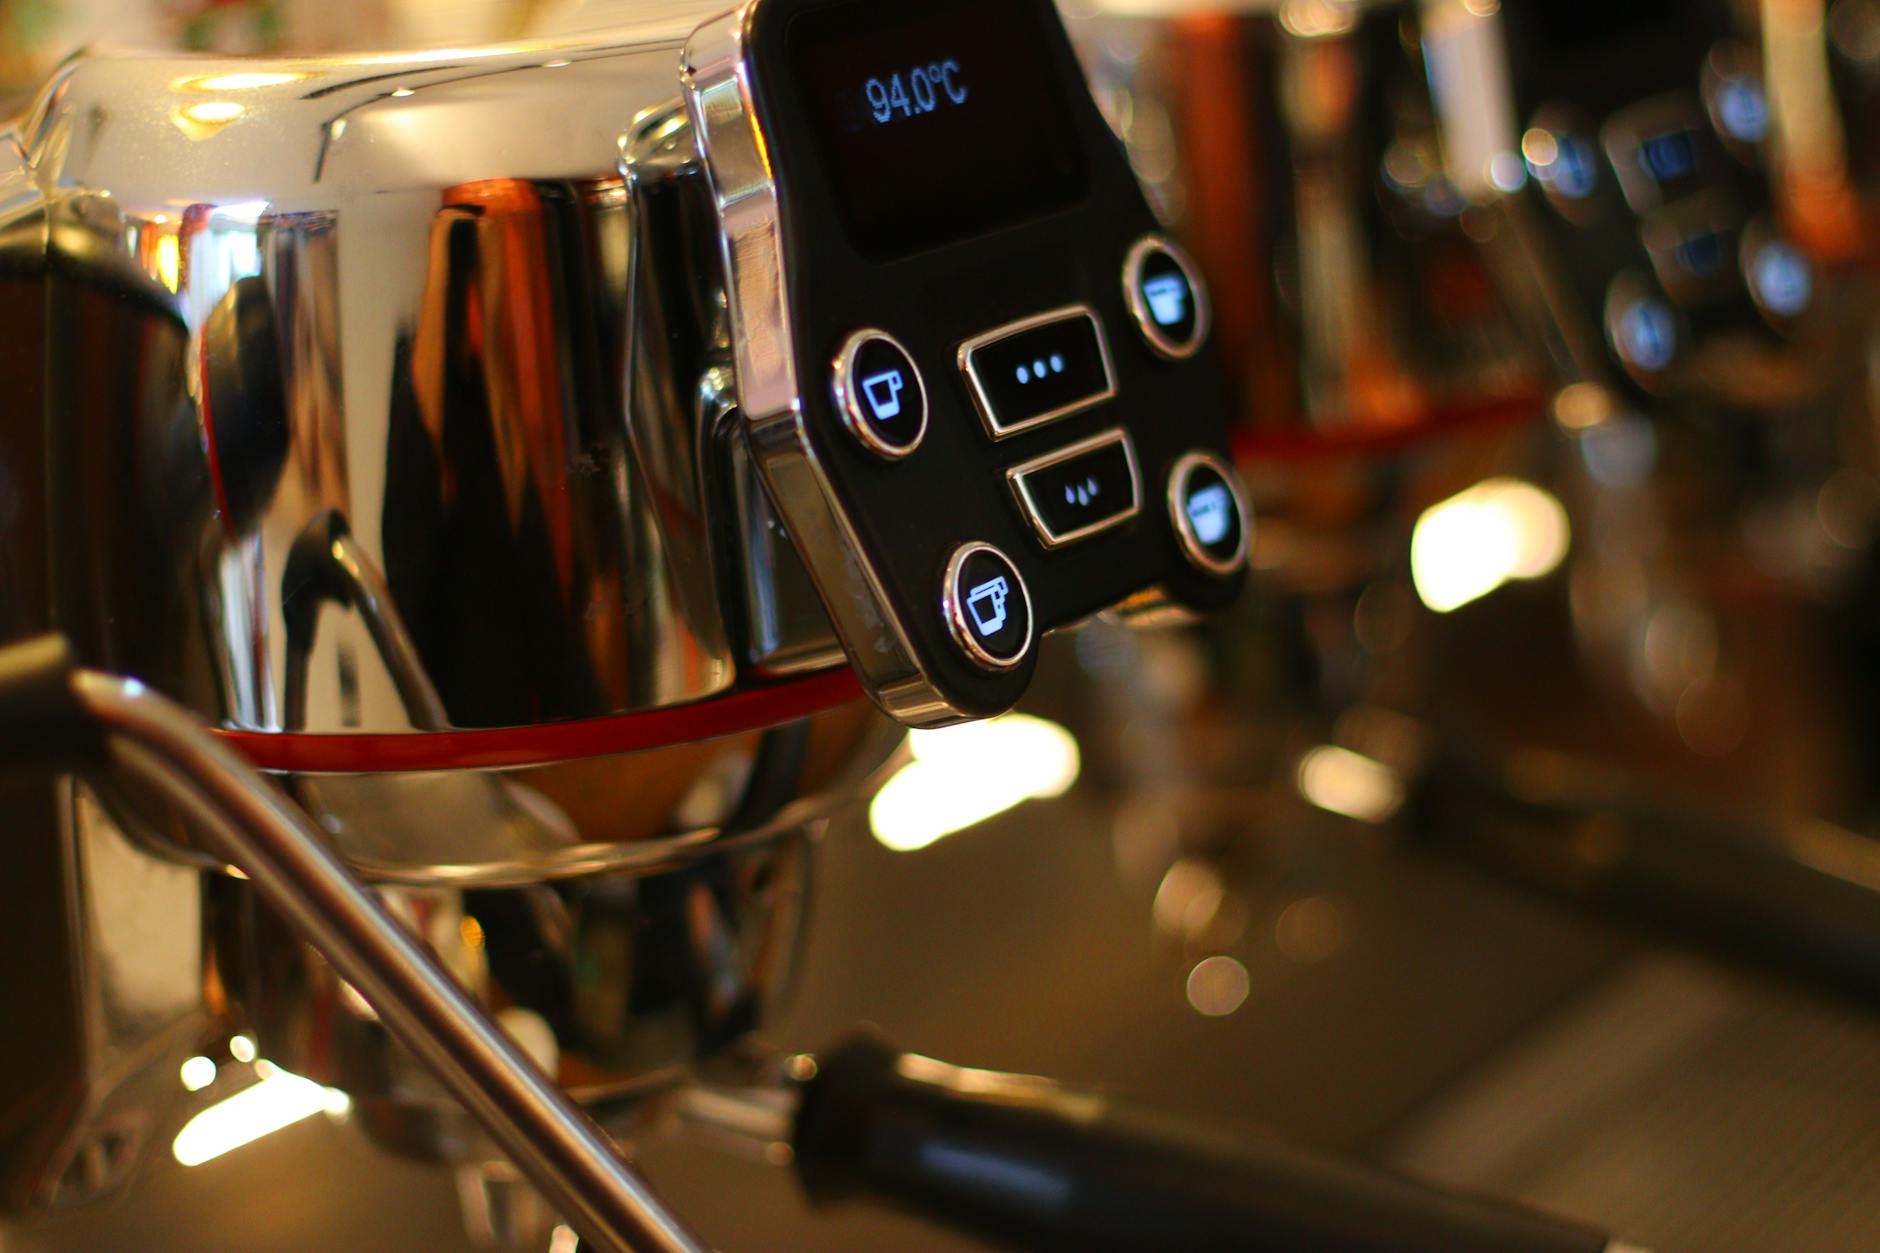
This is where a PID controller becomes an essential upgrade, not just a luxury. Unlike the Gaggia’s stock “on/off” thermostat, a PID is an intelligent device. It constantly measures the boiler temperature via a precise sensor (a thermocouple or RTD) and uses a sophisticated algorithm to make tiny, rapid adjustments to the heating element. It learns how your boiler heats and cools, and it anticipates temperature changes to hold your chosen setpoint with incredible accuracy, often within a fraction of a degree.
For the high-altitude brewer, the benefits are transformative:
- Precision control: A PID allows you to set and maintain a specific brew temperature that is safely below your local boiling point. No more guesswork or temperature surfing.
- Unwavering stability: It eliminates the wild temperature swings of the stock thermostat. This stability ensures that the water hitting your coffee is at the exact temperature you intend, shot after shot.
- Repeatability: Once you discover the perfect temperature for a specific bean at your altitude, you can program it into the PID and replicate those results flawlessly every time. It turns a temperamental machine into a reliable tool.
In essence, the PID gives you the one thing the stock machine cannot: absolute authority over brew temperature, which is the key to solving the high-altitude puzzle.
Installation and initial PID setup
Installing a PID on a Gaggia Classic is a popular and well-documented modification, with several pre-packaged kits available from suppliers like Auber Instruments or Shades of Coffee. While you should always follow the specific instructions provided with your kit, the general process involves opening the machine, replacing the stock brew thermostat with the PID‘s more accurate temperature sensor, mounting the controller, and wiring it to a Solid State Relay (SSR) that will manage the power to the heating element.
Once installed, the initial configuration is crucial. The most important setting is the brew temperature, often labeled as SV (Set Value). However, you aren’t setting your desired brew temperature directly. The PID measures the temperature inside the boiler, not at the group head where the water meets the coffee. There is always heat loss on this journey. To account for this, you must program an “offset.” For a Gaggia Classic, a starting offset of around 10°C (18°F) is common. This means to achieve a 92°C brew temperature, you might set your PID‘s SV to 102°C. You will also need to run the PID‘s “auto-tune” function, which allows the controller to learn your machine’s thermal properties and calculate the correct P, I, and D values for maximum stability.
Dialing in your high-altitude brew temperature
With your PID installed and configured, you can begin the process of mastering your brew. This is a systematic process of calibration and tasting.
Step 1: Know your ceiling. First, determine the boiling point of water at your specific altitude. You can find this online or use a chart like the one below as a reference. This temperature is your absolute maximum; you cannot brew hotter than this without introducing steam into the puck.
| Altitude (feet) | Altitude (meters) | Boiling Point (°F) | Boiling Point (°C) |
|---|---|---|---|
| Sea Level | 0 | 212°F | 100°C |
| 2,000 ft | 610 m | 208°F | 97.8°C |
| 5,000 ft | 1,524 m | 203°F | 95°C |
| 7,000 ft | 2,134 m | 199°F | 92.8°C |
| 10,000 ft | 3,048 m | 194°F | 90°C |
Step 2: Choose a starting point. Select a target brew temperature that is a few degrees below your local boiling point. For instance, if you live at 5,000 ft where water boils at 95°C, a good starting point for your brew water would be 92°C. This provides a safe buffer.
Step 3: Taste and adjust. Now, dial in by taste. Using a consistent dose and grind size, pull a shot. Is it sour and thin? Your water is likely too cool, indicating you should raise the temperature. Increase the SV on your PID by a small increment (0.5°C or 1°F) and try again. Is the shot bitter and harsh? The water is likely too hot. Lower the temperature. By making small, methodical adjustments to this one variable, you can zero in on the perfect temperature that brings out the best in your coffee beans, fully compensating for the effects of altitude.
Conclusion
Brewing excellent espresso at high altitudes presents a genuine scientific challenge, as the lower boiling point of water can easily lead to over-extraction. The stock Gaggia Classic, while a beloved machine, lacks the thermal stability to consistently navigate this problem. The installation of a PID controller is the definitive solution, elevating the machine from a capable hobbyist tool to a precise brewing instrument. By understanding your altitude’s physical limitations, installing and configuring the PID to provide rock-solid temperature stability, and systematically dialing in your brew temperature by taste, you can overcome the conundrum. The PID empowers you to unlock your Gaggia’s full potential and produce consistently delicious, balanced espresso, proving that not even altitude can stand in the way of a perfect cup.
 No products in the cart.