Installing a PID (Proportional-Integral-Derivative) controller on a Gaggia Classic is one of the most popular and impactful upgrades for any home barista. This modification transforms the machine’s notoriously wide temperature swings into a rock-solid, stable environment for brewing espresso, unlocking a new level of consistency and flavor. However, the DIY installation process, while manageable for many, is filled with potential pitfalls that can lead to frustration, a non-working machine, or even safety hazards. Rushing the process or misunderstanding key steps can turn an exciting upgrade into a costly mistake. This guide will walk you through the most common errors enthusiasts make during a Gaggia Classic PID installation, ensuring you can tackle this project with confidence and achieve perfect results.
Rushing the preparation and disassembly
The journey to a successful PID installation begins long before you pick up a screwdriver. One of the most frequent mistakes is a lack of thorough preparation. Many users, eager to see the results, jump straight into disassembly without fully understanding the process. Before you begin, you must read the instructions provided with your specific PID kit from start to finish. Kits from different suppliers, like Shades of Coffee or Auber Instruments, have unique components and wiring diagrams tailored to various Gaggia Classic models. Not all Classics are built the same; a machine from 2002 will have different internal wiring than one from 2018.
Another common oversight is not having the right tools on hand. You will need more than just a Phillips head screwdriver. A proper set of wire strippers, a crimping tool for spade connectors, and small zip ties are essential for a clean and secure installation. It is also critical to work on a completely cool and unplugged machine. Attempting to work on a hot boiler is dangerous and makes handling components difficult. As you disassemble the machine, keep track of every screw and small part. Using a magnetic tray or labeled containers can save you a major headache during reassembly.
Incorrect wiring and component placement
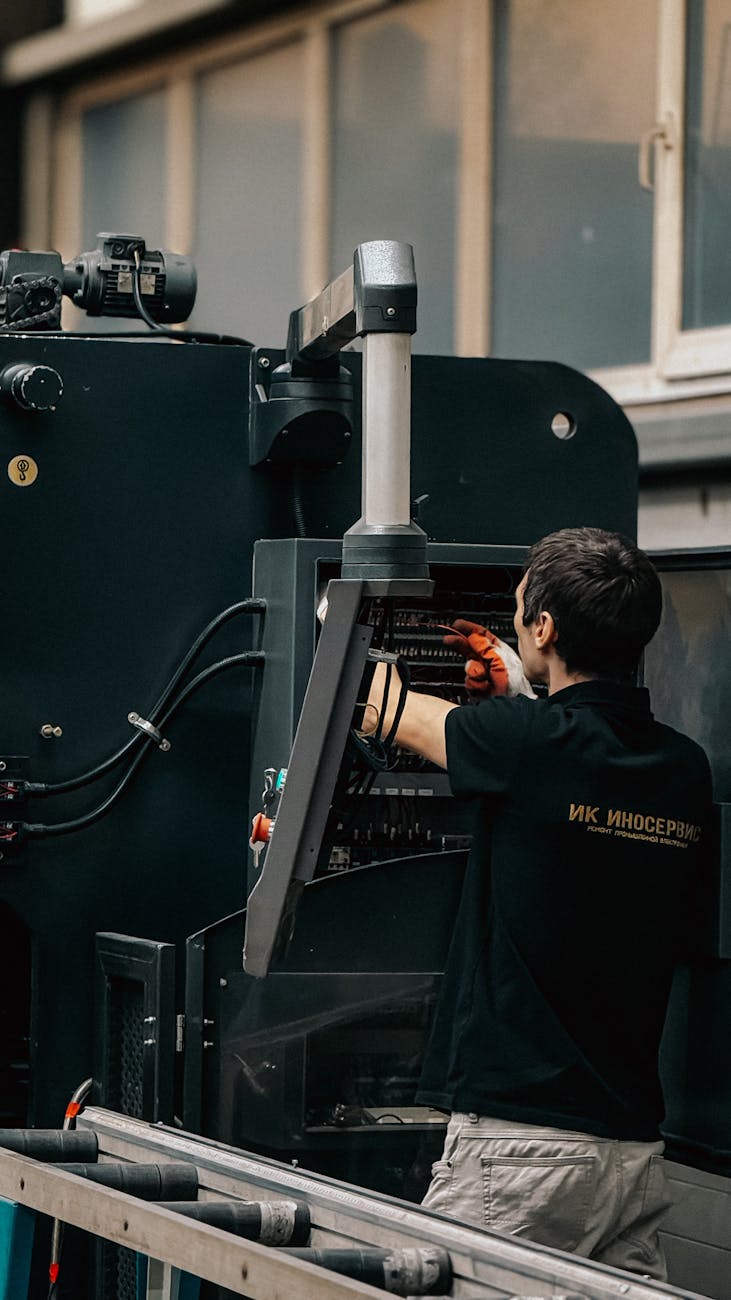
This is where the most critical and potentially damaging mistakes occur. The heart of the PID installation involves rerouting the machine’s original wiring through the new controller and a Solid State Relay (SSR). Misinterpreting the wiring diagram is a common failure point. Pay close attention to the wires leading to the brew thermostat and the boiler heating elements. Taking photos with your phone before you disconnect anything can be an invaluable reference.
Component placement is just as important as correct wiring. The two key components you’ll be installing are the SSR and the thermocouple.
- Solid State Relay (SSR): The SSR controls the power to the heating element and generates heat during operation. A frequent error is mounting it in a location with poor airflow or attaching it to a plastic part. The SSR must be mounted directly to the metal chassis of the machine, which acts as a heat sink to dissipate heat and prevent it from overheating and failing.
- Thermocouple: This is the sensor that reads the boiler temperature. For it to work correctly, it needs to have a solid thermal connection to the boiler. The mistake here is not securing it tightly or failing to use the supplied thermal paste. The thermocouple should be installed where the original brew thermostat was located, ensuring the metal ring terminal is flat against the boiler surface. An inaccurate temperature reading makes the entire PID system useless.
Neglecting critical safety precautions
When you modify an appliance that combines water and high-voltage electricity, safety cannot be an afterthought. The single most important rule is to always unplug the machine from the wall outlet before opening the casing. This seems obvious, but it is a step some people forget in their excitement. Verifying that the power is off with a multimeter is an extra step that provides peace of mind.
Proper grounding is another non-negotiable safety requirement. The Gaggia Classic’s metal body is connected to a ground wire to protect against electric shock in case of a fault. When you are moving wires around, it is easy to forget to re-secure the ground wire to the chassis. Ensure this connection is tight and secure before you finish the installation. Furthermore, all your new electrical connections, especially the crimped spade connectors, must be fully insulated. Use the included insulator sleeves or heat shrink tubing to cover any exposed metal. This prevents wires from accidentally touching the chassis or each other, which could cause a dangerous short circuit.
Improper PID configuration and final checks
Getting the hardware installed correctly is only half the battle. Once the machine is reassembled, the PID controller itself needs to be configured. A common mistake is assuming the PID will work perfectly with its default factory settings. These generic settings are not optimized for the specific thermal properties of the Gaggia Classic’s boiler. Your PID kit’s instructions will provide recommended starting values for the P, I, and D parameters. You must enter these initial settings before doing anything else.
After inputting the base parameters, the next crucial step is running the PID’s “autotune” function. Many users skip this, leading to poor performance like significant temperature overshooting or slow response times. The autotune process allows the controller to “learn” how your specific machine heats and cools, automatically calculating the optimal PID values for maximum stability. Finally, before you close up the machine for good, it’s wise to fill the boiler and turn it on to check for leaks, especially around the new thermocouple installation. A small drip can lead to bigger electrical problems down the line.
| Common Mistake | Why It’s a Problem | How to Avoid It |
|---|---|---|
| Incorrect Thermocouple Placement | Inaccurate temperature readings, defeating the purpose of the PID. | Mount it securely under the M4 screw where the boiler thermostat was, using thermal paste for good contact. |
| Poor SSR Mounting | Overheating and premature failure of the Solid State Relay. | Attach the SSR firmly to the metal frame of the machine to act as a heat sink. |
| Loose Wire Connections | Intermittent power, short circuits, or complete failure to operate. | Use a proper crimping tool and ensure all spade connectors are tight and fully insulated. |
| Forgetting to Autotune | Temperature overshooting or instability, resulting in poor shots. | Always run the PID’s autotune function after installation as per the kit’s instructions. |
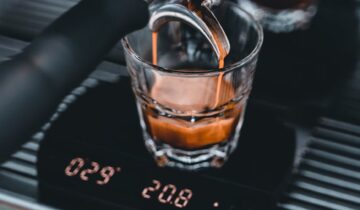
Successfully installing a PID kit on your Gaggia Classic is an incredibly rewarding project that elevates your machine to a new performance tier. While the process can seem intimidating, avoiding the common mistakes outlined here will set you up for success. By taking your time with preparation, carefully following your wiring diagram, prioritizing electrical safety at every step, and properly configuring the controller, you can prevent frustration and ensure a safe, reliable installation. The reward for your patience and attention to detail will be a Gaggia Classic that is capable of producing exceptionally consistent and delicious espresso, giving you precise control over the most critical variable in brewing. Your efforts will pay off with every perfectly temperature-controlled shot you pull.

 No products in the cart.