Unlock perfect espresso: How to fit a scale under your Gaggia spouts
For any aspiring home barista, consistency is the ultimate goal. You pull one perfect, syrupy-sweet shot of espresso and spend the next week chasing that same result. The secret to ending this cycle of frustration isn’t some magic bean or expensive tamper; it’s precision. The most crucial tool for precision is a digital scale. However, owners of the beloved Gaggia Classic Pro and similar models face a common physical barrier: a lack of space between the portafilter spouts and the drip tray. This article is your guide to overcoming that challenge. We will explore why weighing your shots is non-negotiable for quality, diagnose the Gaggia-specific clearance issue, and provide practical, effective solutions to fit a scale into your workflow and finally achieve shot-to-shot consistency.
Why weighing your espresso is a game-changer
If you’re still timing your shots or eyeing the volume in your cup, you’re relying on guesswork. The single most important variable for controlling the taste of your espresso is the brew ratio. This is simply the ratio of the dry coffee grounds in your portafilter to the liquid espresso in your cup. A common starting point is a 1:2 ratio. For example, if you use 18 grams of ground coffee, you aim for a 36-gram liquid espresso yield.
Why is weight so much better than volume? The volume of a shot is heavily influenced by crema, the reddish-brown foam on top of an espresso. The amount of crema can vary dramatically based on the freshness of the beans, the roast level, and the coffee’s origin. A shot with a lot of crema will look much larger than a shot with less, even if they have the exact same liquid weight. By weighing your output, you remove this variable entirely. You are measuring the actual extracted coffee, ensuring that you can repeat your results with incredible accuracy every single time. This control allows you to consistently hit the sweet spot of your coffee beans.
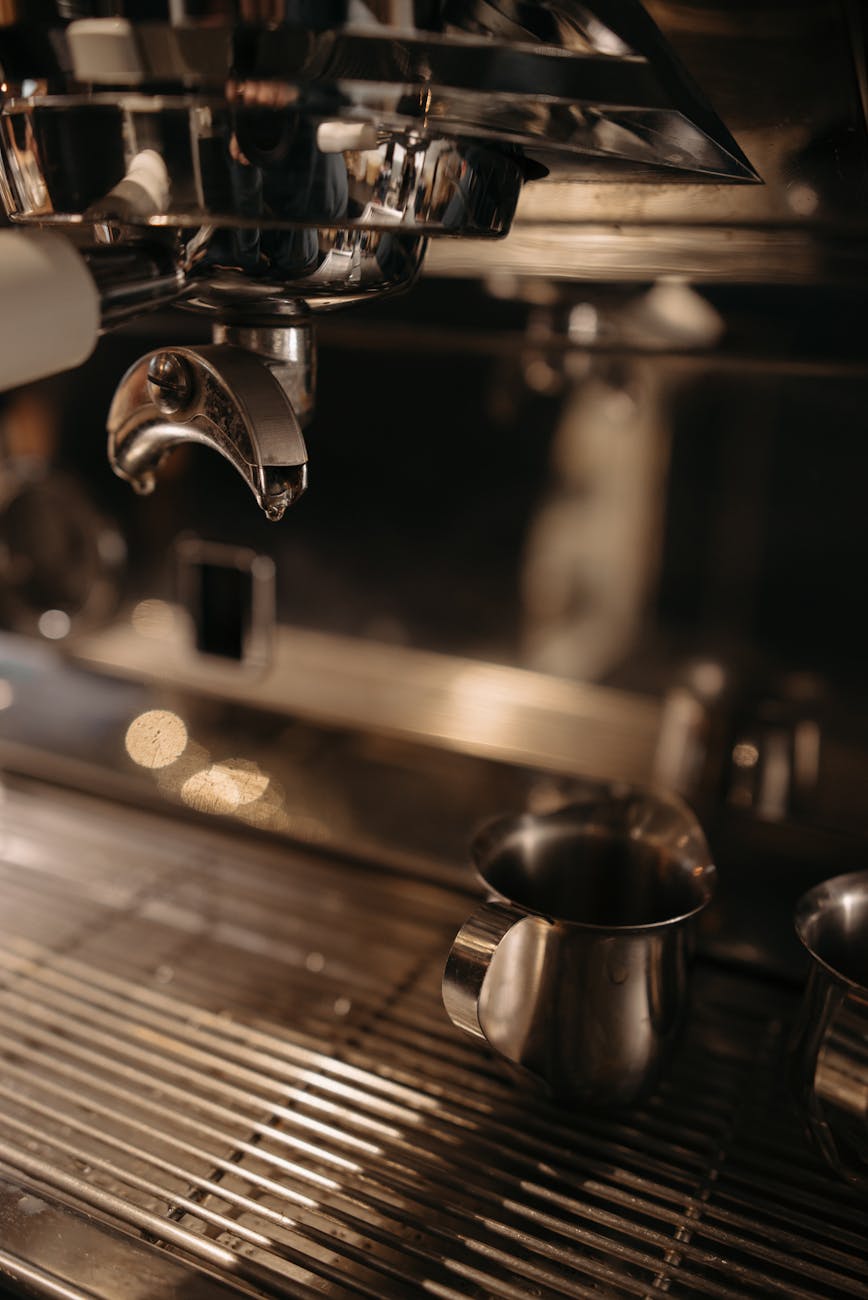
The Gaggia challenge: A tight squeeze
The Gaggia Classic family of machines is renowned for its robust build and fantastic potential, all packed into a compact, counter-friendly design. Unfortunately, this compact design creates a significant challenge for the modern barista. The vertical clearance between the bottom of the standard double-spout portafilter and the top of the stock drip tray is notoriously small. For many, it’s impossible to fit a standard-sized cup and a typical kitchen scale in this space without the cup touching the spouts.
This forces users into less accurate methods. Some will time the shot and hope for the best. Others will pull the shot into a cup and then place it on a scale, but this method has a major flaw. You can’t stop the shot in real-time. By the time you stop the pump and weigh the cup, you’ve likely overshot your target yield, as a few extra grams of coffee will have dripped through. This reintroduces the very guesswork you are trying to eliminate, making it difficult to truly dial in your espresso.
Finding the right tools for the job
Fortunately, the espresso community has developed excellent solutions to the Gaggia clearance problem. The solution is typically a combination of a smaller scale and a modified drip tray.
Low-profile scales are the first and most important investment. These are specifically designed for espresso workflows, prioritizing a slim form factor without sacrificing functionality. When shopping for one, look for a scale that is less than 2.5cm (1 inch) tall. Key features include 0.1-gram accuracy, a fast response time to show weight changes instantly, and a built-in timer. This allows you to monitor both yield and time with a single device.
Here’s a look at the types of scales available:
| Scale Type | Typical Height | Key Features | Best For |
|---|---|---|---|
| Budget Espresso Scale | 20-23mm | Basic weight & timer, USB-C charging | Baristas on a tight budget who need the essentials. |
| Mid-Range (e.g., Timemore) | 15-20mm | Very slim, fast response, sometimes auto-timer functions. | The majority of home users looking for the best balance of price and performance. |
| Premium (e.g., Acaia) | 15-17mm | Extremely fast, flow-rate indicators, Bluetooth app connectivity. | Enthusiasts who want the most data and the highest-end experience. |
The second tool is a slim drip tray. Several third-party manufacturers produce low-profile drip trays specifically for Gaggia machines. These are often 3D-printed or crafted from stainless steel and can be up to half the height of the original tray. This modification alone can add the crucial 1-2 centimeters of extra space needed to comfortably fit your preferred cup and a low-profile scale. While they hold less wastewater and require more frequent emptying, the trade-off is well worth it for the gain in workflow efficiency and accuracy.
Putting it all together for the perfect workflow
The ultimate setup for a Gaggia owner often involves combining several solutions to maximize space and efficiency. By pairing a low-profile scale with a slim drip tray, you create enough room for most standard espresso cups. However, for total freedom, many users adopt a bottomless (or naked) portafilter.
While primarily used as a diagnostic tool to identify channeling in your coffee puck, a bottomless portafilter has a huge secondary benefit: it removes the spouts entirely. This gives you maximum possible clearance, allowing you to fit even larger mugs and almost any espresso scale underneath. With this setup, the lack of space becomes a complete non-issue.
Your new, precision-focused workflow will look like this:
- Install your slim drip tray.
- Place your low-profile scale and cup on the tray.
- Press the tare button to zero out the scale.
- Insert your prepared portafilter and start the shot and the scale’s timer simultaneously.
- Watch the weight on the scale’s display climb.
- Stop the pump 1-2 grams before your target weight to account for the last few drips that will fall into the cup.
By following these steps, you gain complete control over your brew ratio, enabling you to pull delicious, repeatable shots every time.
Conclusion
Achieving cafe-quality espresso at home on a Gaggia Classic Pro is not about luck; it is about precision. The biggest obstacle to that precision has always been the physical challenge of fitting a scale into the cramped workspace. As we’ve discussed, this limitation prevents the accurate measurement of brew ratios, which is the foundation of a consistent shot. However, this is a solvable problem. By investing in a purpose-built low-profile espresso scale and complementing it with a slim drip tray or a bottomless portafilter, you can completely transform your workflow. You move from a world of guesswork and frustration to one of data-driven control and repeatability. Taking these steps will unlock your machine’s true potential and empower you to consistently create exceptional espresso.

 No products in the cart.