Slow feed your espresso grinder: Get single-dosing results without the fancy hopper
The quest for the perfect espresso shot is a journey filled with variables. From bean origin and roast level to water temperature and pressure, every detail matters. One of the most critical factors, however, is the coffee grind. Many home baristas use excellent grinders that are unfortunately designed with large hoppers for cafe workflows, leading to stale beans and inconsistent grounds. The solution often proposed is an expensive single-dose grinder or a specialty low-profile hopper. But what if you could achieve the superior consistency and freshness of single dosing using the standard equipment you already own? This article will guide you through the technique of slow feeding your espresso grinder, a simple yet transformative method to elevate your coffee game without spending another dime.
Why slow feed your grinder?
Before diving into the “how,” it’s essential to understand the “why.” Slow feeding is a technique where you introduce beans into the running burrs gradually, rather than dumping them all in at once from a full hopper. This simple change in workflow directly addresses several key issues that plague standard grinders, resulting in a more uniform and predictable extraction.
The primary benefit is the dramatic reduction of a phenomenon known as “popcorning.” When you drop a dose of beans into an empty grinder throat, they hit the spinning burrs and bounce around chaotically, much like popcorn in a hot pan. This causes beans to be shattered and chipped unpredictably before they are properly drawn into the burrs, leading to an inconsistent particle size distribution. By feeding the beans in a slow, controlled stream, you maintain a small, consistent mass of beans above the burrs, which helps to smoothly guide them into the grinding chamber. This leads directly to a more uniform grind, which is the foundation of a balanced and delicious espresso shot.
Furthermore, this method is integral to a single-dosing workflow, which ensures maximum freshness. Instead of letting beans sit in a hopper for days, exposed to light and air, you weigh out only what you need for each shot. This keeps the rest of your beans perfectly preserved. While slow feeding itself doesn’t eliminate grind retention—stale grounds left inside the grinder—it is a core part of the single-dosing process that, when combined with other techniques, minimizes the amount of old coffee making its way into your fresh shot.
Essential tools and preparation
Transitioning from a hopper-fed workflow to slow feeding requires a slight adjustment and a few key tools, most of which you likely already have. The goal is to create a repeatable process that removes guesswork and adds precision. This preparation phase is just as important as the feeding technique itself.
Here’s what you’ll need:
- A standard espresso grinder: The very machine you’re looking to upgrade through technique, not replacement.
- A high-precision scale: Accuracy to 0.1 grams is crucial for weighing your beans (input) and your grounds (output) to measure retention.
- A dosing cup: Any small cup or container works. It’s used to weigh your beans and provides better control when pouring into the grinder.
- An air bellows or puffer (optional but recommended): Tools like the Option-O Blind Shaker or a dedicated grinder bellows are excellent for forcing out retained grounds after grinding. A simple rocket air blaster used for camera lenses can also work well.
- A small spray bottle for RDT (optional): The Ross Droplet Technique involves adding a single, tiny spritz of water to your beans before grinding. This dramatically reduces static, leading to less mess and fewer grounds clinging to your grinder’s exit chute.
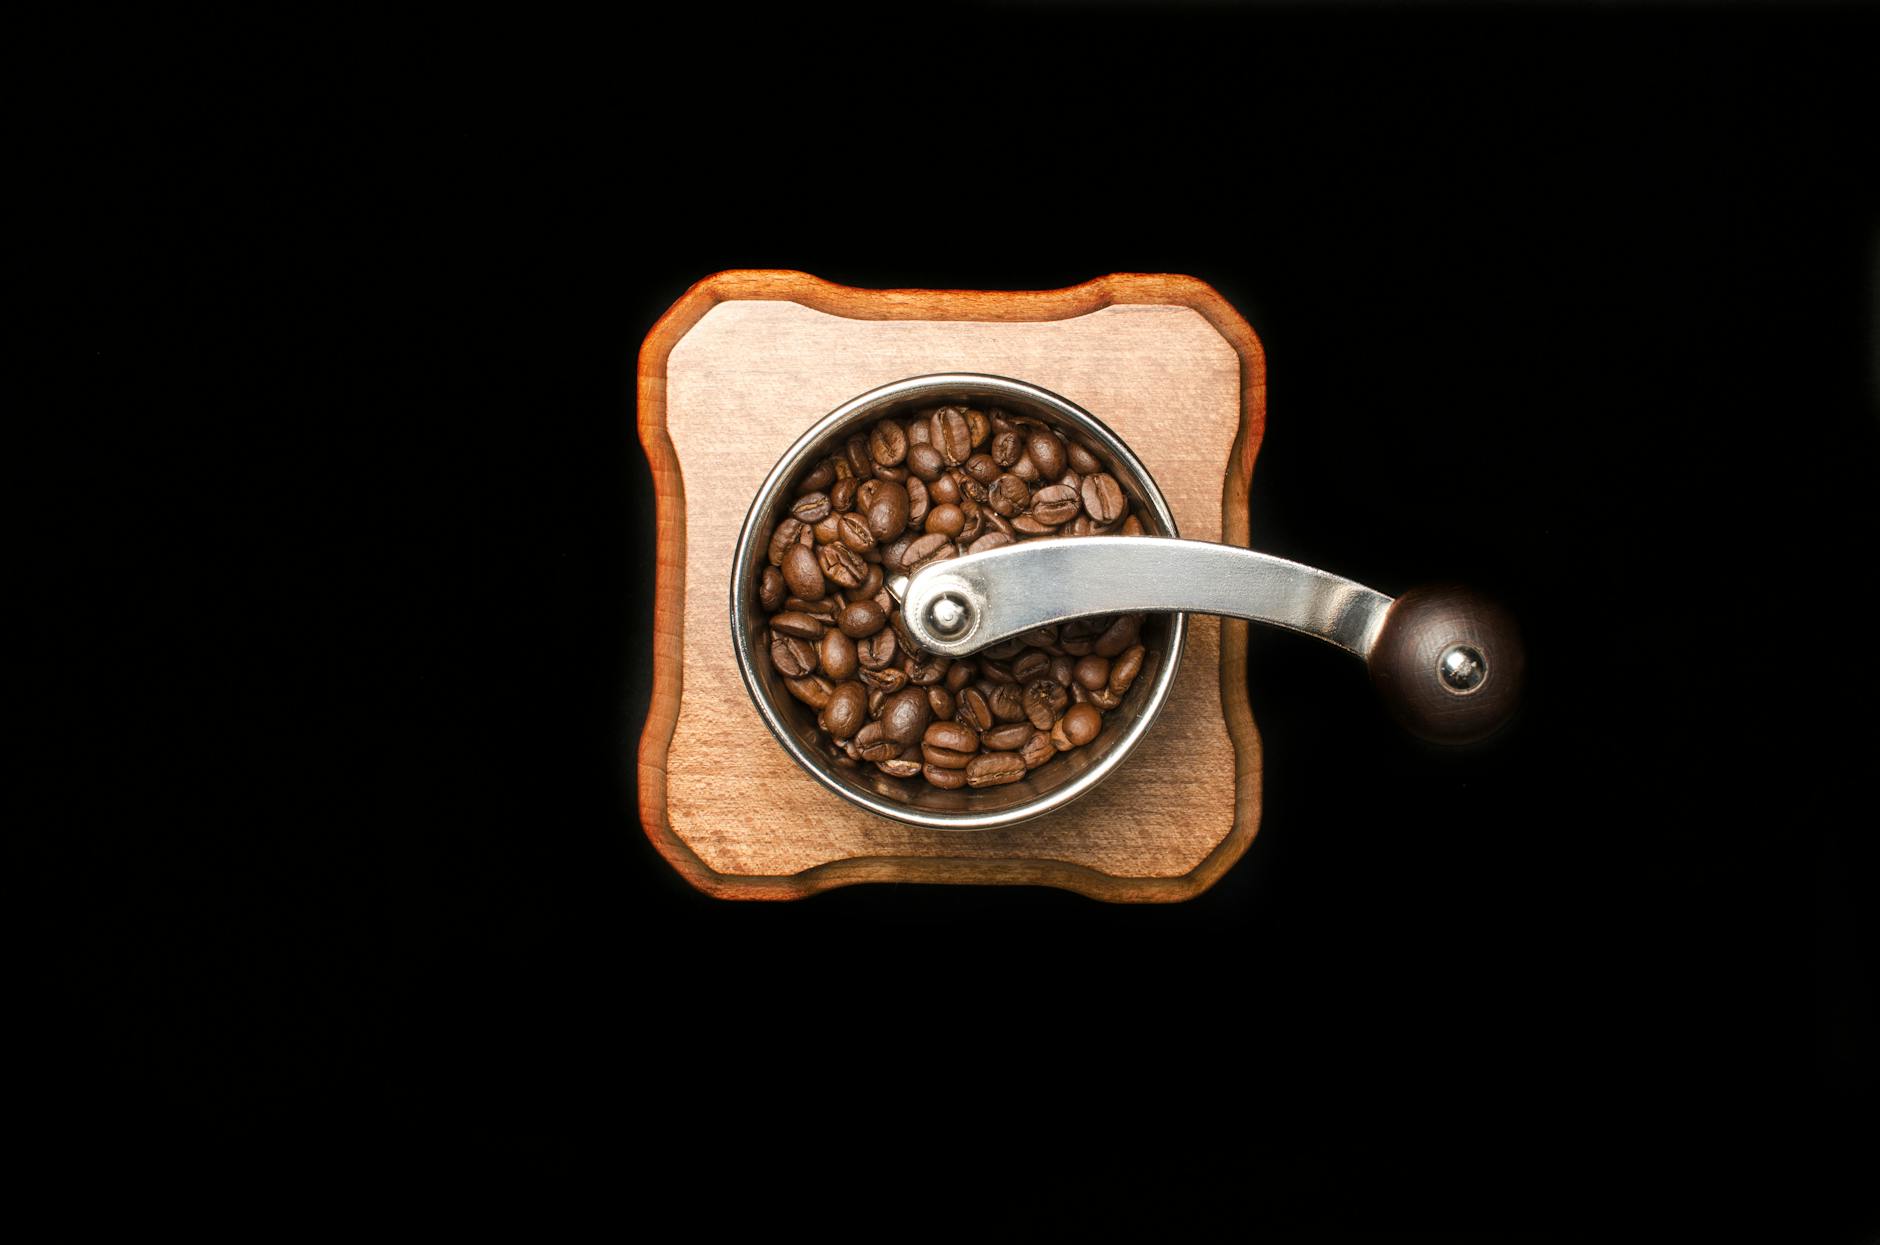
Your new workflow will begin here. First, ensure your grinder’s hopper is empty and clean. Instead of filling it up, you will now weigh your precise dose of whole beans—for example, 18.0 grams—into your dosing cup. If you’re using RDT, give the beans a single quick spritz of water and shake the cup to distribute the moisture evenly. This simple preparation sets the stage for a clean, consistent, and controlled grind.
The slow feeding technique step-by-step
With your beans weighed and tools ready, you can now move to the core technique. The process is tactile and relies on your senses, particularly your hearing. Mastering this will give you an unparalleled level of control over your grind quality.
Step 1: Turn the grinder on first. This is a non-negotiable rule. Always start the motor before any beans are introduced. Dropping beans onto stationary burrs and then starting the motor can cause it to stall, and it doesn’t allow the burrs to reach their optimal grinding speed. Let the grinder run empty for a second or two.
Step 2: Pour the beans slowly and steadily. Pick up your dosing cup and begin pouring the beans into the throat of the grinder in a thin, controlled stream. Don’t dump them. Your goal is to maintain a consistent grinding noise. Listen to the pitch of the motor; a high-pitched whir means the burrs are empty, while a low, laboring growl means they are overloaded. You are looking for a steady, constant grinding sound in between.
Step 3: Clear the retained grounds. Once the last bean has been ground, the motor’s pitch will rise. This is the moment to use your bellows. Place it over the grinder’s throat and give it several firm pumps. You will see a small cloud of fluffy grounds exit the chute—this is the retained coffee that would have otherwise stale and ended up in your next shot.
Step 4: Weigh your output. Grind directly into your portafilter placed on your scale, or into a separate catch cup. After clearing the chute with the bellows, check the final weight. If you started with 18.0g of beans, an output of 17.9g or 18.0g is an excellent result, indicating minimal retention. This confirms you are grinding a truly fresh dose every time.
Dialing in your grind for slow feeding
Switching from hopper-based grinding to slow feeding will almost certainly require you to adjust your grind setting. This is not a sign of a problem; it’s a sign that the method is working. The lack of bean weight from a full hopper pushing down on the burrs changes how they operate. This new, less-forced grinding environment is more efficient and consistent, but it produces a different particle size at the same numerical setting.
Typically, you will need to grind significantly finer when slow feeding. If you pull a shot with your old setting, it will likely gush out in under 15 seconds. Don’t be alarmed. This is your new baseline. Start by making a substantial adjustment toward a finer setting. Pull another shot and check the time. Continue making small, incremental adjustments until you hit your target extraction time (e.g., 25-30 seconds for a given ratio). While this initial dialing-in process may use a bit of coffee, the reward is immense. Once you find the right setting, the shot-to-shot consistency you’ll experience will be far superior to what was possible with a full hopper.
To illustrate the differences, here is a comparison of the two methods:
| Feature | Hopper feeding | Slow feed / Single dosing |
|---|---|---|
| Grind consistency | Less consistent due to popcorning and changing bean weight. | Highly consistent due to a controlled feed rate and no popcorning. |
| Bean freshness | Low. Beans are exposed to air and light in the hopper. | Maximum. Beans are stored in an airtight container until use. |
| Grind retention | High. Several grams of stale grounds can be exchanged with each new dose. | Very low (typically <0.2g) when combined with a bellows. |
| Workflow | Fast and convenient for high volume. | More deliberate and hands-on, requires weighing each dose. |
| Grind setting | Coarser setting required. Varies as hopper level changes. | Finer setting required. Extremely stable from shot to shot. |
Conclusion
Embracing a slow feed, single-dosing workflow is one of the most impactful and cost-effective upgrades you can make to your home espresso setup. It transforms a standard, hopper-based grinder into a precision tool capable of producing exceptionally consistent grounds. By simply changing your technique—weighing each dose, starting the motor first, and pouring beans in a slow, steady stream—you can drastically reduce popcorning and improve uniformity. When paired with tools like a bellows to clear retained grounds, this method allows you to enjoy the freshest possible coffee, free from the stale remnants of previous shots. While it requires a bit of initial effort to redial your grind setting, the resulting improvement in shot quality and consistency is well worth it. It proves that in the world of espresso, thoughtful technique can often be more valuable than expensive new equipment.


 No products in the cart.