Improving workflow efficiency: Setting up a Gaggia Classic coffee station at home
The Gaggia Classic is an iconic entry point into the world of home espresso, beloved for its robust build and potential for incredible coffee. However, wrestling with bags of beans, scattered tools, and a messy counter can quickly turn a morning ritual into a frustrating chore. True coffee enjoyment comes not just from the final sip, but from a smooth, repeatable process. This article will guide you through setting up a dedicated Gaggia Classic coffee station focused on workflow efficiency. We will explore how strategic placement, the right accessories, and a well-organized layout can transform your brewing experience, saving you time and helping you pull consistently delicious shots with the grace of a professional barista.
Choosing the right location for your Gaggia Classic station
The foundation of an efficient workflow is location. Where you place your Gaggia Classic and its accompanying gear can make or break your daily coffee-making routine. Tucking your machine into a cramped corner or far from a sink will introduce unnecessary steps and clutter. The ideal spot should balance accessibility, functionality, and aesthetics. First, consider counter space. You need enough room not just for the machine, but for your grinder, tamping area, and knock box to exist in a logical sequence. A linear arrangement is often the most effective, allowing you to move from one step to the next without backtracking.
Next, think about proximity to essential services. Your station should be near a power outlet capable of handling both the Gaggia and a grinder. Being close to a sink is a massive advantage for rinsing your portafilter, filling the machine’s reservoir, and cleaning the steam wand. This proximity minimizes drips and spills across your kitchen floor. Finally, consider the surrounding environment. Placing your setup under cabinets might restrict access to the water tank and make filling it cumbersome. A location with good lighting is also crucial for visually assessing your grind and the quality of your espresso shot.
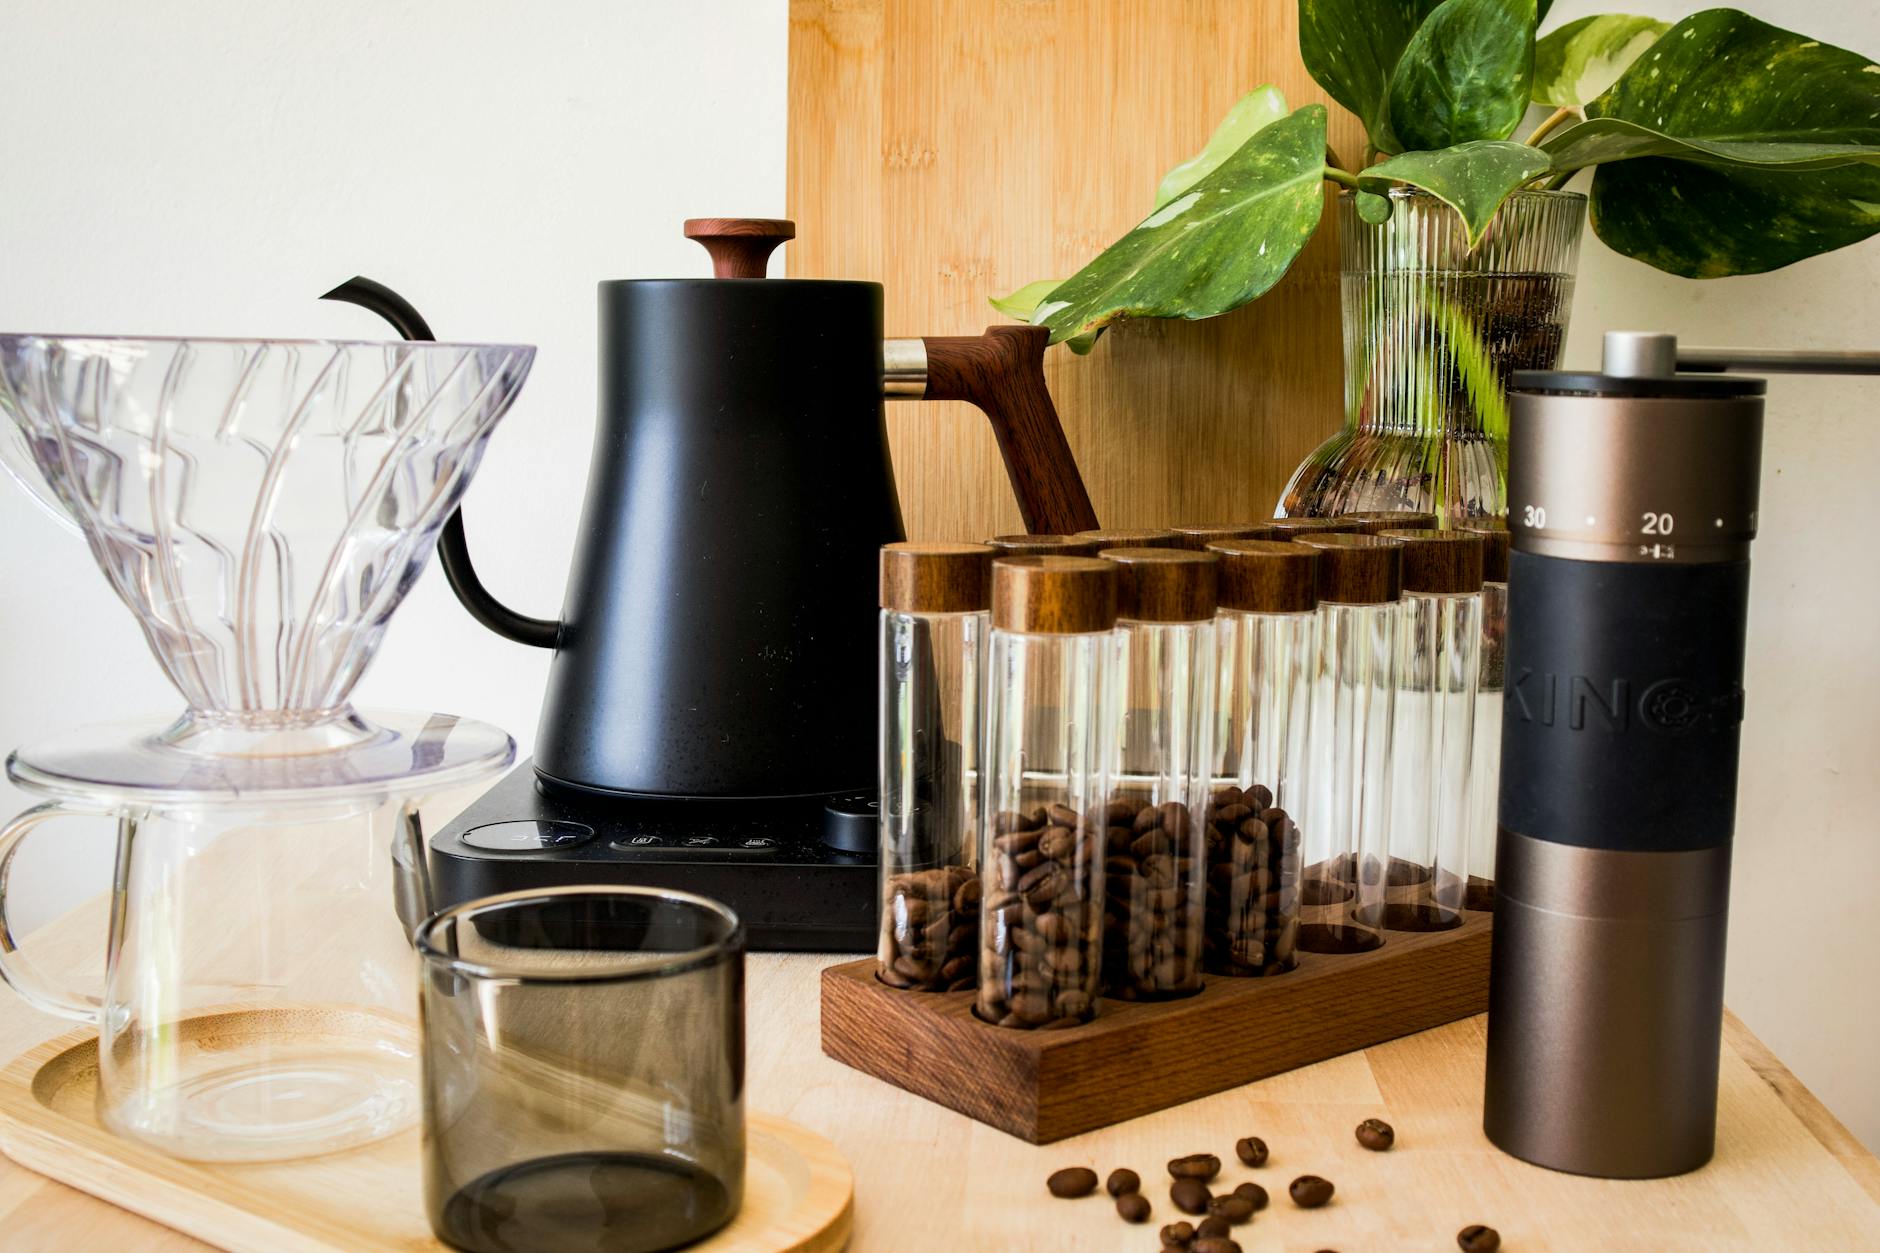
Essential tools and accessories for a streamlined workflow
While the Gaggia Classic is the heart of your station, a set of well-chosen tools is the circulatory system that keeps everything flowing smoothly. Investing in the right accessories not only improves the quality of your espresso but also drastically cuts down on mess and prep time. This isn’t about buying every gadget available; it’s about selecting items that solve specific workflow problems.
A quality burr grinder is non-negotiable and should be considered a partner to your machine. Placing it right next to your Gaggia allows for a simple ‘grind-and-tamp’ motion. Other key efficiency boosters include:
- Knock box: Instead of walking to the trash can with a dripping portafilter, a small knock box on your counter provides an immediate place to discard used coffee pucks.
- Tamping mat or station: This protects your counter, provides a stable surface for tamping, and often includes cutouts to hold your tamper and distributor, keeping them from rolling away.
- Digital scale: Weighing your beans before grinding and your espresso shot as it extracts is the key to consistency. A small scale that fits on your drip tray makes this effortless.
- WDT tool: A simple Weiss Distribution Technique tool (or even a paperclip) breaks up clumps in your grounds, preventing channeling and leading to a more even extraction with less fuss.
- Milk frothing pitcher: If you enjoy lattes or cappuccinos, having at least one dedicated pitcher of the right size is essential for achieving good microfoam and avoiding waste.
These tools, when kept within arm’s reach, eliminate friction points in your routine, making the process faster and more enjoyable.
Organizing your station: The ‘mise en place’ approach
In professional kitchens, ‘mise en place’—a French term meaning “everything in its place”—is a philosophy that ensures perfect efficiency. Applying this concept to your coffee station is transformative. The goal is to create distinct zones for each stage of the espresso-making process, allowing you to move seamlessly from one to the next. A logical flow might start from left to right (or right to left, depending on your dominant hand and kitchen layout): preparation, brewing, and cleanup.
Your preparation zone should house your whole beans (preferably in an airtight container), your scale, and your grinder. This is where you measure and grind your coffee. The next logical step is the brewing zone, centered around your Gaggia Classic. Here, you should have your tamping mat, tamper, distribution tool, and portafilter. After grinding, you move your portafilter here for puck prep and then lock it into the machine. Finally, the cleanup zone contains your knock box for spent pucks and should be nearest the sink for quick rinsing. Organizing your cups, whether on top of the machine or on a small shelf, also falls into this structured approach.
Using trays to group related items can further enhance organization and make cleaning easier. A small tray for your tamping tools keeps your counter free of stray coffee grounds.
| Zone | Items | Purpose |
|---|---|---|
| Preparation Zone | Coffee beans, scale, grinder | Measure and grind fresh coffee for each shot. |
| Brewing Zone | Gaggia Classic, tamping mat, tamper, WDT tool | Prepare the coffee puck and extract the espresso. |
| Serving Zone | Cups, milk pitcher, syrups (if used) | Prepare the final beverage. |
| Cleanup Zone | Knock box, microfiber cloths, sink access | Dispose of puck and clean tools immediately. |
Developing a clean-as-you-go routine
An efficient workflow isn’t just about speed during preparation; it’s also about integrating cleaning into the process to prevent it from becoming a separate, time-consuming task. A messy station slows you down and can negatively impact the taste of your coffee. Adopting a ‘clean-as-you-go’ habit is the final piece of the efficiency puzzle.
This starts the moment your shot is finished. Immediately after steaming milk, wipe the steam wand with a damp cloth and purge it. This prevents milk from baking onto the wand, which is difficult to remove later. After you’ve knocked out your coffee puck, give the portafilter a quick rinse to remove residual oils and grounds. Keep a dedicated microfiber cloth handy to wipe down the machine, drip tray, and counter after each session. These small actions take only seconds but prevent the buildup of coffee grime. Incorporating a quick water backflush at the end of your session also keeps the group head clean. By making these minor cleaning steps an integral part of your brewing ritual, you ensure your station is always ready for the next use and that deep cleaning tasks are needed far less frequently.
Conclusion
Creating an efficient Gaggia Classic coffee station is an investment in your daily routine. It elevates the act of making coffee from a simple task to a delightful and seamless ritual. By thoughtfully selecting a location with access to power and water, you lay the groundwork for success. Equipping your station with essential tools like a quality grinder, a knock box, and a scale eliminates frustrating bottlenecks and promotes consistency. Organizing these elements using a logical ‘mise en place’ approach creates a natural, flowing process from bean to cup. Finally, integrating a ‘clean-as-you-go’ mindset ensures your station remains pristine and always ready for action. Ultimately, a well-designed setup not only saves you time but also empowers you to unlock the full potential of your Gaggia Classic, producing better-tasting espresso with satisfying ease.

 No products in the cart.