The Gaggia Classic is a legendary entry-point into the world of home espresso. Its powerful pump and commercial-style components offer the potential for truly exceptional coffee. However, many new owners quickly encounter a frustrating problem: channeling. This is when water punches a hole through the coffee puck instead of flowing through it evenly, leading to a shot that is simultaneously sour and bitter. It’s a common issue, but thankfully, one with a simple and effective solution. This article will explore how to prevent channeling on your Gaggia Classic by mastering one of the most important puck preparation steps: the Weiss Distribution Technique, or WDT. We will guide you from understanding the problem to implementing the technique for consistently delicious espresso.
Understanding channeling on the Gaggia Classic
Before we can fix the problem, we need to understand it. Channeling occurs when water finds a path of least resistance through your puck of coffee grounds. Instead of extracting flavor evenly from all the coffee, it over-extracts from the channel and under-extracts everywhere else. You can often see it happening: a beautiful, syrupy stream of espresso will suddenly be joined by a fast, blond, watery spray from another part of the basket. The result in the cup is a disappointing, unbalanced flavor.
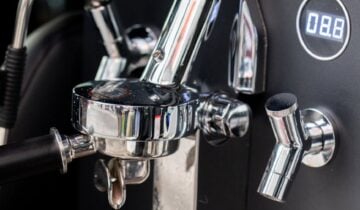
The Gaggia Classic, especially the Gaggia Classic Pro, is particularly susceptible to this for a couple of reasons. Firstly, it uses a powerful vibratory pump that delivers water at a high pressure right from the start of the shot. This initial blast of pressure can easily fracture a poorly prepared puck. Secondly, many grinders, especially those at a similar price point to the Gaggia, produce grounds with some degree of clumping. These clumps create dense spots and empty pockets within the portafilter basket, which are perfect weak points for water to exploit and create a channel.
Introducing the Weiss Distribution Technique (WDT)
The Weiss Distribution Technique is a method developed in 2005 by coffee enthusiast John Weiss to address the issue of clumpy grounds and improve espresso extraction. The core idea is simple: use a set of fine needles to stir the coffee grounds in the portafilter before tamping. This action accomplishes two crucial goals. First, it breaks up any and all clumps created by the grinder. Second, and most importantly, it evenly distributes the coffee grounds throughout the basket, eliminating dense spots and filling in voids. This creates a coffee bed of uniform density.
A homogenous coffee bed is the key to preventing channeling. When the puck has a consistent density from top to bottom and side to side, water is forced to flow through it evenly. This promotes a uniform extraction, allowing you to pull the full range of sweet, complex flavors from your coffee beans. It transforms puck preparation from a game of chance into a deliberate and repeatable process, giving you far more control over the quality of your Gaggia Classic espresso shots.
The essential tools for perfect distribution
While the concept of WDT is simple, having the right tools makes the process significantly more effective and less messy. Trying to stir with a toothpick or a paperclip simply won’t cut it, as they are too thick and tend to push grounds around rather than fluffing them up. Here are the essential tools:
- A WDT Tool: This is a handle with several very fine needles, typically 0.3mm to 0.4mm in diameter. Acupuncture needles are a popular choice for their thinness and rigidity. You can make a DIY version by sticking needles into a cork or buy a professionally made one online. Thinner needles are better as they de-clump without creating new channels in the grounds.
- A Dosing Funnel: This is a ring that sits on top of your portafilter basket. Grinding and performing WDT can be a messy process, and a funnel prevents coffee grounds from spilling over the side. This not only keeps your workspace clean but ensures your full coffee dose makes it into the basket for a consistent recipe.
Choosing the right WDT tool can depend on your budget and commitment. A simple DIY tool is highly effective, but purpose-built tools often have better ergonomics and a more even needle distribution.
| Tool Type | Price Range | Key Features | Best For |
|---|---|---|---|
| DIY (Cork & Needles) | Under $10 | Extremely low cost; uses readily available acupuncture needles. | Beginners or those on a tight budget who want to test the technique. |
| 3D Printed / Entry-Level | $15 – $30 | Better ergonomics; often comes with a stand; needles are included. | The majority of home users looking for a dedicated, affordable tool. |
| Premium / Machined | $50+ | High-quality materials (metal, wood); precision build; excellent feel. | The enthusiast who values aesthetics and top-tier build quality in their setup. |
A step-by-step guide to the WDT workflow
Now it’s time to put theory into practice. Integrating WDT into your Gaggia Classic routine is straightforward and adds less than a minute to your prep time. Follow these steps for a perfectly distributed puck:
- Grind your coffee. Place your portafilter on a scale, put the dosing funnel on top, and tare the scale. Grind your desired dose of coffee directly into the portafilter.
- Perform the WDT. Insert your WDT tool into the grounds, ensuring the needles reach the bottom of the basket. Make small, overlapping circular motions, working your way around the entire basket. This deep action breaks up clumps throughout the puck.
- Level the surface. After the deep stir, bring the needles toward the surface. Use a shallow, sweeping or raking motion across the top layer of grounds to create a flat and even bed. The goal is a surface that looks perfectly smooth and fluffy.
- Settle and tamp. Remove the dosing funnel. Give the portafilter one or two firm vertical taps on the counter. This will settle the grounds into a more compact bed. Now, place your tamper on the grounds and apply firm, even pressure to create a level and compact puck.
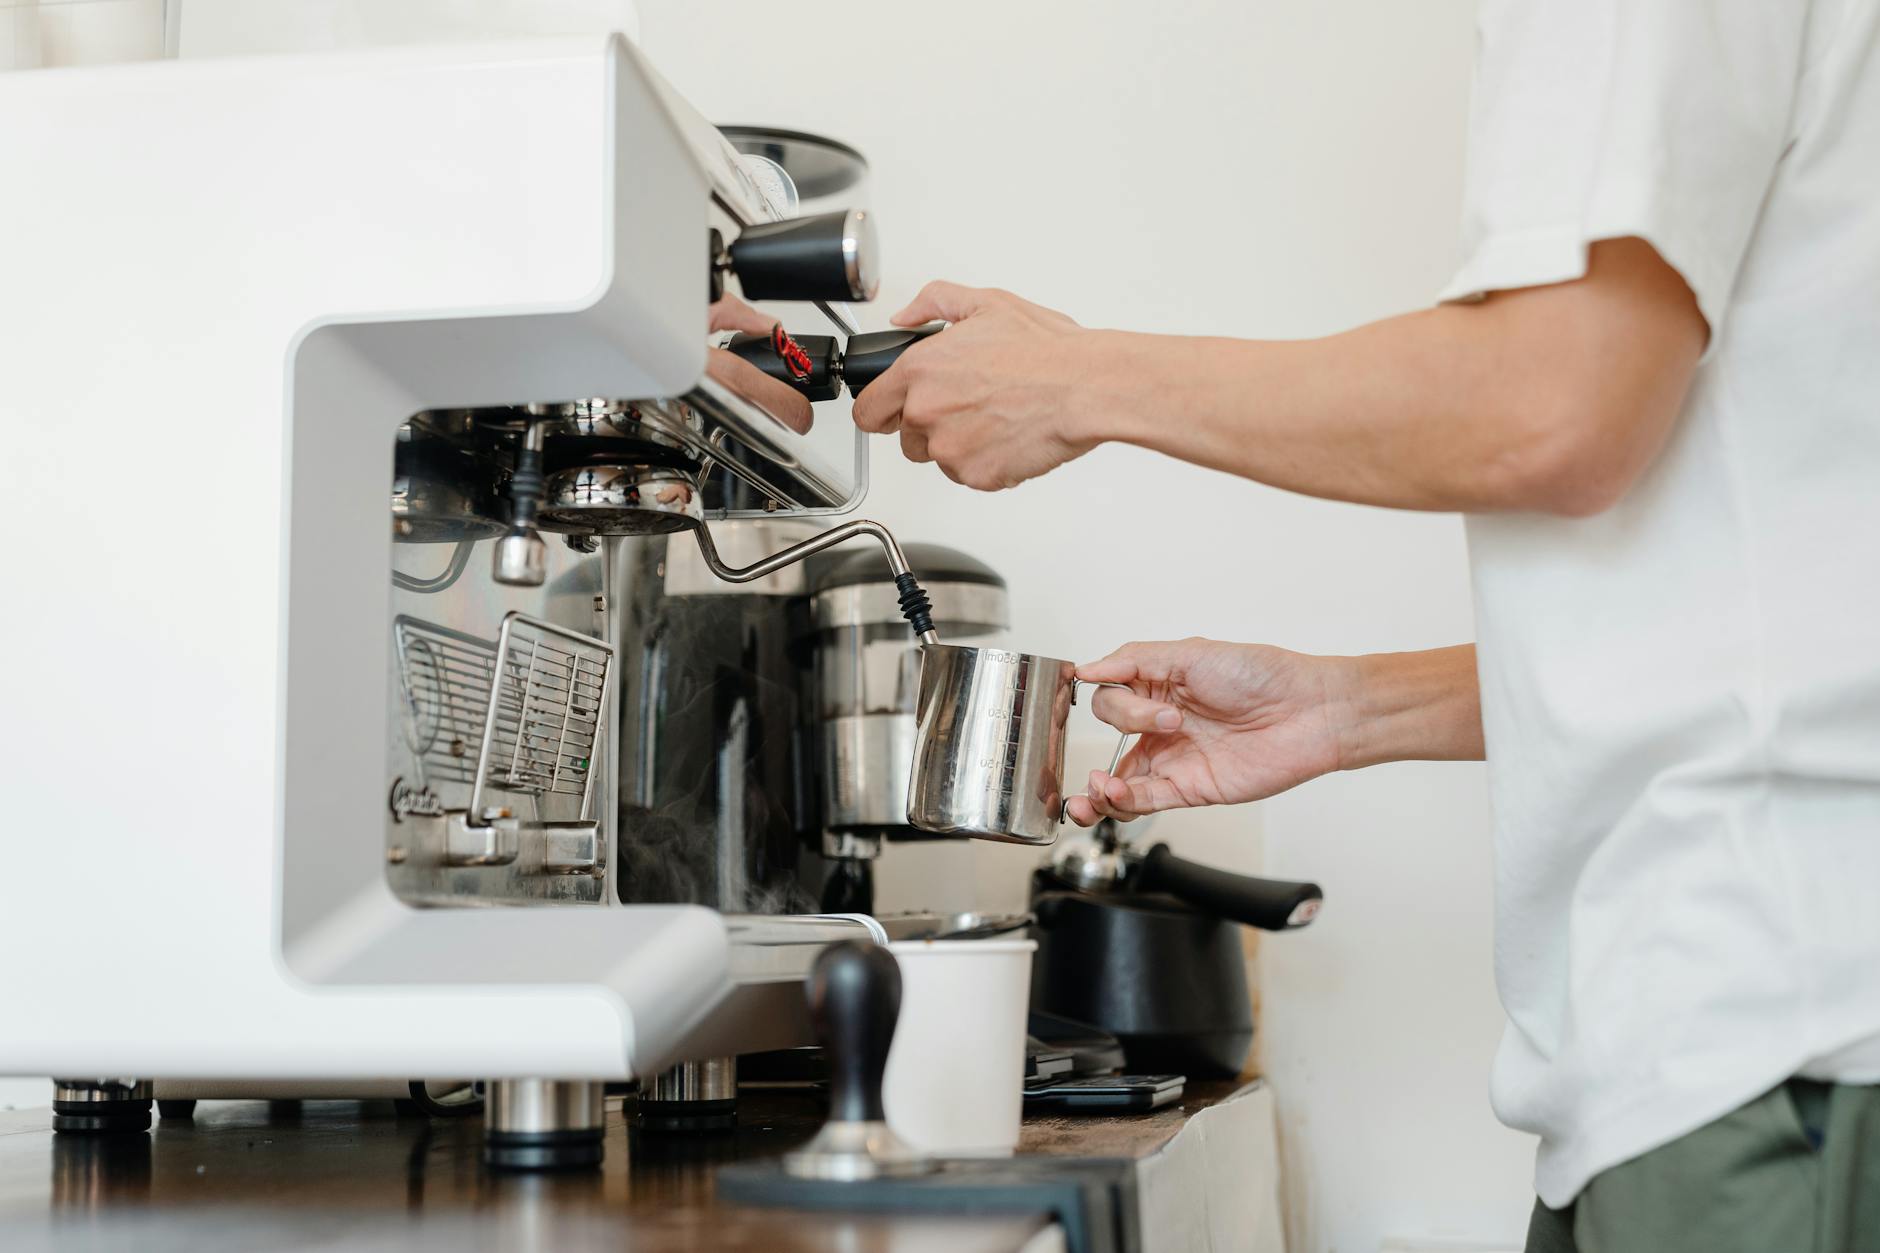
- Pull your shot. Lock the portafilter into your Gaggia Classic and start the extraction. Watch the magic happen: you should see the espresso begin to form as even drips across the bottom of the basket, which then coalesce into a single, steady stream.
By following this simple puck prep routine, you provide your Gaggia Classic with the best possible chance to produce a balanced and delicious shot of espresso, free from the tell-tale signs of channeling.
In conclusion, the frustration of channeling with a Gaggia Classic is a solvable problem. While the machine’s power can be unforgiving to a poorly prepared puck, it becomes an asset when paired with good technique. The Weiss Distribution Technique is not just a passing trend; it is a fundamental step in modern espresso preparation that directly addresses the root causes of channeling: clumps and uneven density. By investing in a simple WDT tool and a dosing funnel, and by integrating the simple steps of deep stirring and surface raking into your routine, you create a homogenous coffee bed that ensures an even extraction. This small addition to your workflow will pay massive dividends in the cup, unlocking the true potential of your Gaggia Classic and transforming your home espresso experience.

 No products in the cart.