How to align Eureka Mignon burrs for better extraction consistency
The Eureka Mignon series is celebrated among home baristas for its compact design, quiet operation, and exceptional grind quality. However, even the best grinders can benefit from a little fine-tuning. If you’ve ever struggled with inconsistent espresso shots, frustrating channeling, or a cup that tastes both sour and bitter, the culprit might not be your technique or your beans, but rather your grinder’s burr alignment. Out of the box, most grinders are not perfectly aligned, meaning the two burrs are not perfectly parallel. This slight imperfection can wreak havoc on your grind distribution. This guide will walk you through the why and how of aligning your Eureka Mignon burrs, a simple yet transformative process for achieving truly consistent and delicious espresso.
Why burr alignment is critical for your espresso
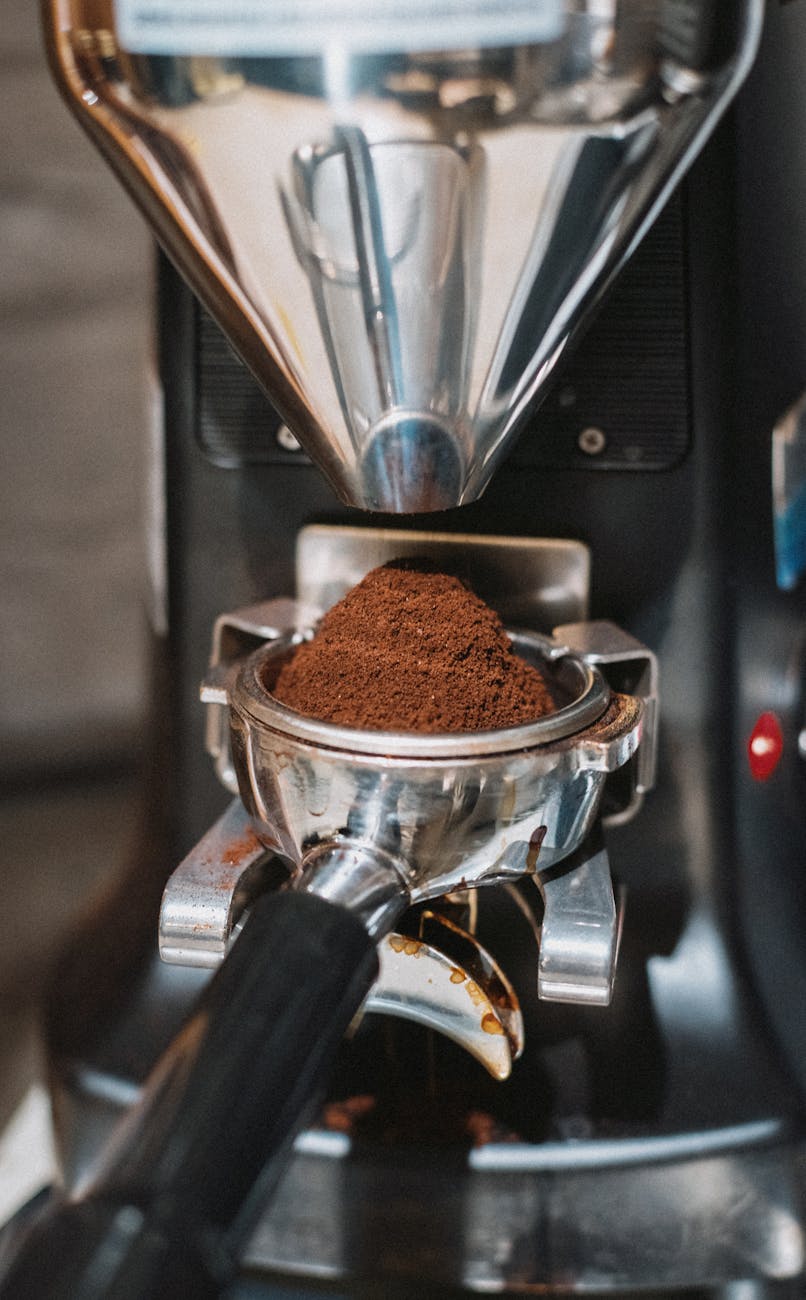
At the heart of your grinder, two burrs—one stationary and one rotating—work together to crush coffee beans into fine particles. For optimal performance, these two surfaces must be perfectly parallel to each other. When they are misaligned, the gap between the burrs is uneven. On one side, the gap is wider, and on the other, it’s tighter.
This uneven gap leads to a poor grind distribution. The wider section produces coarse particles (boulders), while the tighter section produces excessive ultra-fine particles (fines). When you pull a shot, water will rush through the areas with boulders, under-extracting them and causing sourness. Simultaneously, it will struggle to pass through the dense fines, over-extracting them and causing bitterness and astringency. This uneven flow is the primary cause of channeling, where you see spurts of water shooting through the puck. By aligning your burrs, you create a uniform gap, resulting in a more consistent particle size. This allows water to flow evenly through the coffee puck, leading to a balanced, sweet, and repeatable extraction every time.
Tools and preparation for the alignment process
Before you begin, it’s important to gather a few simple tools. The process is straightforward, but having everything on hand will make it much smoother. The goal is to diagnose the alignment using a marker and then correct it using small shims made of aluminum foil. Make sure your grinder is unplugged and empty of all beans before you start working on it.
| Tool | Purpose |
|---|---|
| Dry-erase marker | To color the burr surface for the alignment test. It wipes off easily. |
| Screwdriver | A Phillips or flathead screwdriver that fits your Mignon’s burr screws. |
| Rubbing alcohol & cloth/paper towels | For thoroughly cleaning the burrs of coffee oils and residue. |
| Aluminum foil | To create tiny shims for adjusting the burr height. |
| Vacuum or brush | To clean out any remaining coffee grounds from the grind chamber. |
The marker test: a step-by-step guide
The “marker test” is the standard method for checking burr alignment. It’s a simple visual test that shows you precisely which parts of the burrs are touching first.
- Unplug and disassemble: First and most importantly, unplug your grinder from the power source. Remove the bean hopper and vacuum out any remaining beans and grounds. Use the screwdriver to remove the screws holding the top plate of the grinder. Gently lift it off to expose the top, stationary burr.
- Clean and mark the burr: Unscrew the top burr from the housing. Thoroughly clean its flat, outer cutting surfaces with rubbing alcohol and a cloth. Once dry, take your dry-erase marker and color the outer third of these surfaces. You want a solid, even layer of ink.
- Perform the touch test: Screw the marked burr back into place. Place the top plate back on the grinder, but do not tighten the screws all the way—just enough to hold it in place. Plug the grinder in. With the motor running, very slowly and carefully turn the grind adjustment knob towards a finer setting. Listen for a faint “chirp” or “zing” sound, which is the first point of contact between the two burrs. As soon as you hear it, stop adjusting and immediately turn the grinder off.
- Analyze the results: Unplug the grinder again and remove the top burr. Look at where the marker has been wiped away.
- Perfect alignment: The marker is wiped off evenly in a 360-degree circle.
- Misalignment: The marker is only wiped off on one side (e.g., 25-50% of the circumference). This clean section is your “high spot.”
How to shim your burrs for perfect parallelism
If the marker test revealed a high spot, the next step is to use shims to raise the opposite, “low” side. This process is iterative and requires a bit of patience, but the results are well worth it.
First, identify the low spot. It will be directly opposite the area where the marker was wiped clean. The screw holes under this low area are where you will place your shims. Cut a few small squares of aluminum foil, just large enough to cover the area around a screw hole. Start with a single layer of foil for each screw in the low region.
Carefully place your foil shims on the burr carrier, aligning them with the screw holes. Then, place the burr on top of the shims and screw it back in place, ensuring it sits flat. Now, you must repeat the marker test: clean the burr again, re-apply the marker, reassemble, and listen for the chirp. After analyzing the results, you may find you need to add another layer of foil or adjust the position of the shims. The goal is to continue this process until the marker wipes off evenly across at least 80-90% of the burr’s surface at the same time. Once you achieve this, you can fully tighten all the screws and reassemble your grinder.
Conclusion
Aligning the burrs on your Eureka Mignon is one of the most impactful upgrades you can perform as a home barista. While it may seem daunting, the process is logical and requires only simple tools and a little patience. By understanding how misalignment affects your grind distribution, using the marker test to diagnose the issue, and carefully placing foil shims to correct it, you can achieve a level of grind consistency that is often reserved for much more expensive commercial grinders. The reward for your effort will be immediately noticeable in the cup: less channeling, more predictable shot times, and a significant improvement in flavor clarity and sweetness. You’ll unlock your grinder’s true potential and elevate your daily espresso from good to truly exceptional.

 No products in the cart.