Unlocking espresso perfection: How a PID kit transforms your Gaggia Classic workflow
The Gaggia Classic has earned its legendary status among home espresso enthusiasts for being a robust, capable, and affordable entry point into the world of quality coffee. For many, it’s the first serious step away from pod machines and steam toys. However, its biggest strength—simplicity—is also the source of its most significant weakness: temperature instability. The machine’s basic thermostat creates a frustratingly wide temperature swing that can sabotage even the most carefully prepared shot. This is where a PID (Proportional-Integral-Derivative) controller kit comes in. This popular modification is more than just an upgrade; it’s a complete transformation of the machine’s workflow, turning a game of guesswork into a precise, repeatable science for consistently delicious espresso.
Understanding the Gaggia Classic’s temperature problem
To appreciate what a PID does, we first need to understand the limitation of the stock Gaggia Classic. The machine’s brew temperature is regulated by a simple bimetallic thermostat. Think of it as a basic light switch for the boiler’s heating element. When the boiler temperature drops below a certain point, the thermostat clicks on, sending full power to the heater. Once it reaches an upper threshold, it clicks off entirely. The boiler then coasts until the temperature drops again, and the cycle repeats.
This crude on/off mechanism results in a massive temperature swing, often as wide as 10-15°C (20-30°F). For espresso, where a change of even one or two degrees can drastically alter the taste, this is a major problem. It forces users into a ritual known as “temperature surfing”—a complex dance of timing shots relative to when the heating light turns on or off, all in an attempt to catch the boiler at a desirable temperature. This process is inconsistent, frustrating, and makes it nearly impossible to diagnose other issues with your espresso, as you can never be sure if a bad shot was due to grind size, tamping, or the unpredictable brew water temperature.
What is a PID and how does it bring precision?
A PID controller replaces the machine’s clumsy thermostat with a small, intelligent computer. It works by constantly monitoring the boiler’s temperature via a precise sensor (a thermocouple) and making micro-adjustments to the power sent to the heating element. Instead of the “all or nothing” approach of the stock thermostat, the PID algorithm intelligently pulses power to hold the temperature incredibly stable, typically within a fraction of a degree of your target.
The name PID refers to its three control functions:
- Proportional (P): This adjusts the power based on how far the current temperature is from your target. The further away, the more power it applies.
- Integral (I): This looks at past errors and adjusts to eliminate the small, steady-state temperature droop that the proportional term alone can’t fix.
- Derivative (D): This anticipates future temperature changes by looking at the rate of change, preventing the temperature from overshooting the target.
A great analogy is a car’s cruise control. Temperature surfing is like flooring the gas pedal and then coasting, leading to a jerky ride. A PID is like a modern adaptive cruise control system, making tiny, constant adjustments to the throttle to maintain a perfectly smooth and consistent speed.
The transformed workflow: From guesswork to consistency
The most immediate and impactful change a PID brings is to the daily workflow. It eliminates the need for any temperature surfing rituals and introduces a level of control previously reserved for much more expensive machines. Let’s compare the process.
Workflow before a PID:
- Turn on the machine and wait for it to heat up.
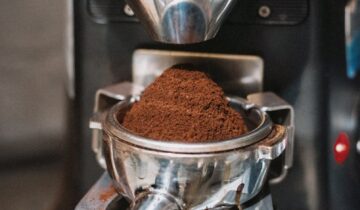
- Prepare your puck (grind, distribute, tamp).
- Watch the heating indicator light. When it turns off, the boiler is at its peak temperature.
- Start a timer and “surf” down to your desired temperature window. This might mean waiting 10, 20, or 30 seconds after the light goes off.
- Pull your shot and hope you timed it right.
- If the shot is sour or bitter, wonder if it was your timing, your grind, or something else entirely.
Workflow after a PID:
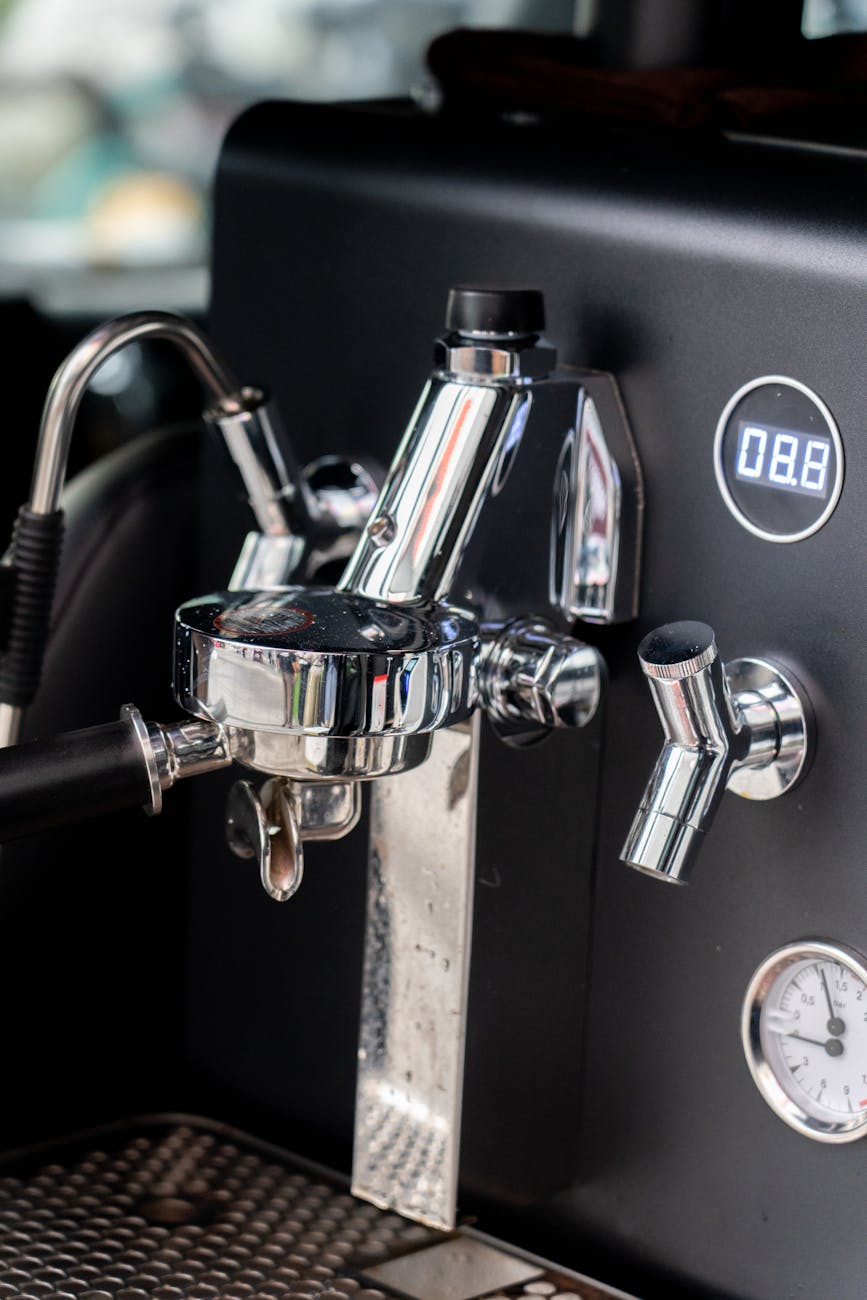
- Turn on the machine. The PID display shows the real-time boiler temperature.
- Set your desired temperature (e.g., 93°C for a medium roast).
- Prepare your puck while the machine precisely stabilizes at your target temperature.
- Once the display reads 93°C and is stable, pull your shot.
- Enjoy a perfectly extracted coffee.
This newfound consistency is a game-changer. It removes a massive variable from the equation, allowing you to confidently dial in your grinder and focus on other aspects of your technique. You can now pull shot after shot with the assurance that they were all brewed at the exact same temperature.
Beyond brew temp: Total control over your machine
While precise brew temperature is the main benefit, many PID kits offer features that enhance other aspects of the Gaggia Classic’s performance. More advanced kits can also manage steam temperature. By setting a higher, stable target for steam, the PID provides more powerful and consistent steam pressure, making it significantly easier to texture milk for lattes and cappuccinos. Say goodbye to weak, watery steam and hello to silky microfoam.
Furthermore, some PID kits unlock a professional-level feature: programmable pre-infusion. This allows you to program the machine to gently wet the coffee puck at low pressure for a few seconds before the main extraction begins at full pressure. This helps settle the coffee bed, reduces the risk of channeling (where water punches holes through the puck), and promotes a more even, balanced extraction. It’s a feature typically found on machines costing thousands of dollars, now available on your trusty Gaggia Classic.
Gaggia Classic: Stock vs. PID-modified
| Feature | Stock Gaggia Classic | Gaggia Classic with PID |
|---|---|---|
| Brew temperature control | Approximate, based on a wide range thermostat | Precise, set to a specific degree (e.g., 93.5°C) |
| Temperature stability | Poor (Swings of 10-15°C) | Excellent (Stable within +/- 0.5°C) |
| Workflow | Requires “temperature surfing” and guesswork | Simple, repeatable, and data-driven |
| Steam control | Inconsistent pressure as temperature fluctuates | Stable, powerful steam at a set temperature |
| Pre-infusion | Not available | Available on some kits, often programmable |
In conclusion, installing a PID kit on a Gaggia Classic is arguably the single most valuable modification an owner can make. It directly addresses the machine’s primary weakness—temperature instability—and in doing so, fundamentally transforms the user experience. The workflow shifts from a frustrating exercise in guesswork to a streamlined, precise process that yields consistently excellent results. By providing pinpoint control over brew and steam temperature, and even adding advanced features like pre-infusion, the PID elevates the humble Gaggia Classic. It empowers the home barista to eliminate variables, experiment with confidence, and unlock the true potential hidden within their coffee beans. For anyone serious about improving their espresso, a PID isn’t just a component; it’s the key to achieving consistency and perfection.


 No products in the cart.