The art of the pull: Mastering pressure profiling with your manual lever espresso machine
The quest for the perfect espresso shot is a journey many coffee enthusiasts embark on. While modern semi-automatic machines offer consistency, the manual lever espresso maker stands apart, offering something more profound: complete control. This direct, tactile connection to the extraction process is where the magic of pressure profiling comes alive. Unlike a machine with a fixed pressure pump, a lever allows you to manipulate the pressure applied to the coffee puck throughout the entire shot. This article will guide you through the fundamentals of pressure profiling, from understanding the mechanics of the pull to experimenting with different profiles to unlock nuanced and exquisite flavors in your coffee that you never thought possible. It’s time to move beyond the on/off switch and truly craft your espresso.
Understanding the stages of a lever pull
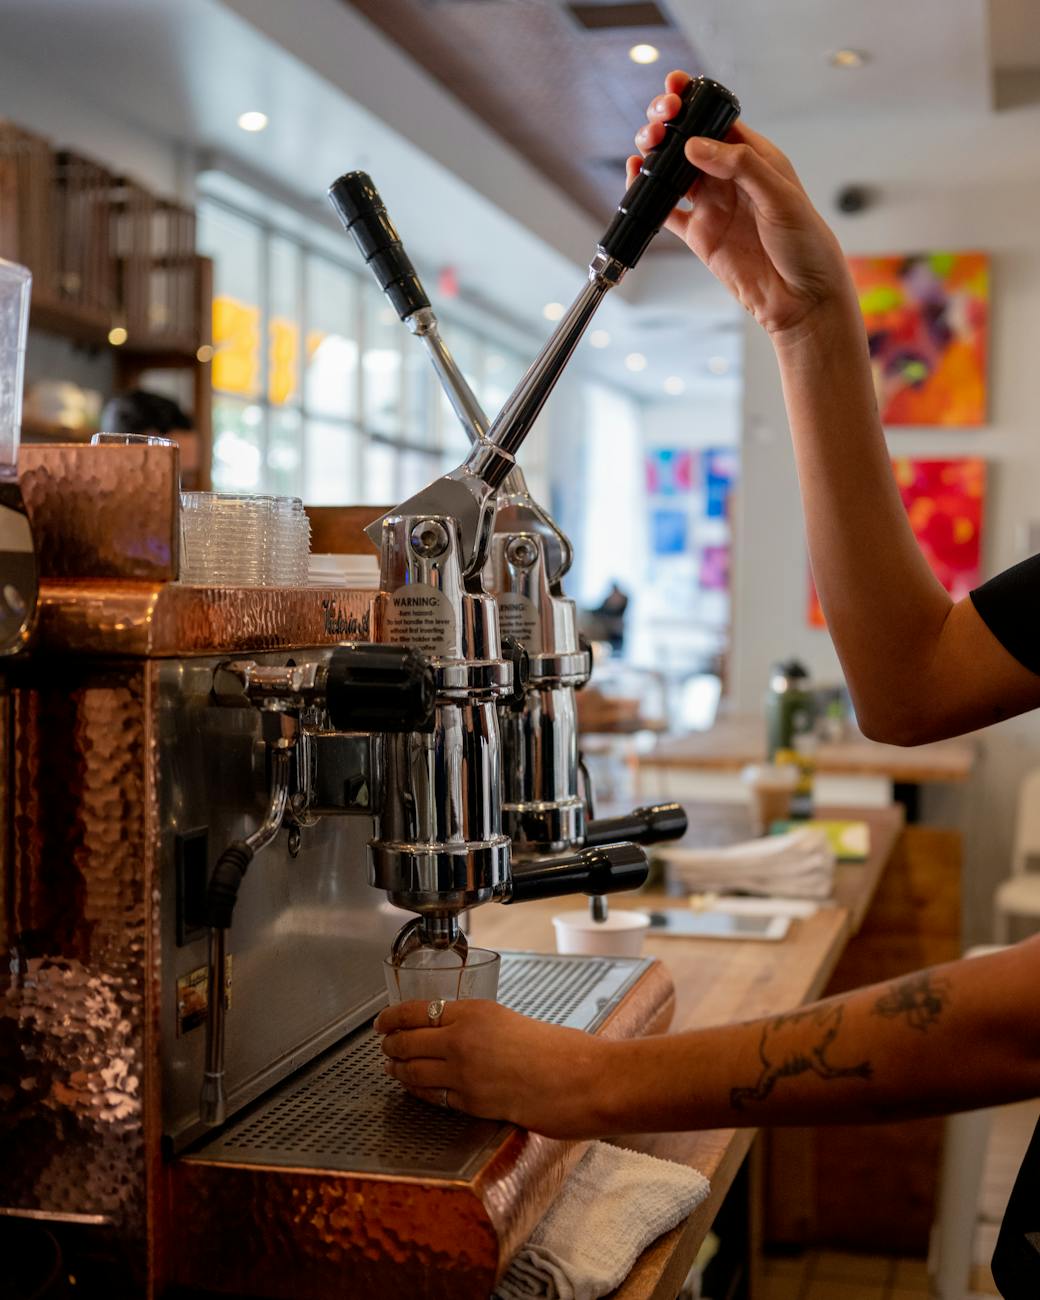
Before you can manipulate pressure, you must first understand what’s happening during a standard extraction. A manual lever pull isn’t a single act but a sequence of distinct stages, each playing a crucial role in the final taste of your espresso. While the specifics can vary between a direct lever machine (like a Flair or La Pavoni), where you provide all the force, and a spring-piston lever (like a Londinium), where a spring provides the force, the core principles remain the same.
The typical espresso extraction can be broken down into four key phases:
- Pre-infusion: This is the initial, low-pressure phase where hot water is introduced to the dry coffee grounds. The goal is to gently and evenly saturate the puck, allowing it to swell and release trapped CO2. A proper pre-infusion is the foundation of a good shot, as it helps prevent channeling (where water punches a hole through the puck) and promotes a more uniform extraction. With a lever, you can feel the puck becoming saturated as resistance builds.
- Ramp-up: Following pre-infusion, you begin to apply more force, increasing the pressure inside the group head. How quickly or slowly you ramp up to your target pressure has a significant impact. A slow, gentle ramp-up is often preferred, as it further settles the coffee bed and avoids shocking the puck, which can cause it to fracture.
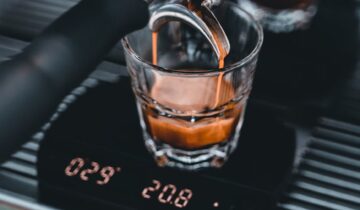
- Peak pressure: This is the main extraction phase, typically sitting somewhere between 6 and 9 bars of pressure. During this stage, the majority of the oils, sugars, and solids that constitute espresso are dissolved and extracted. The duration you hold this peak pressure influences the body and intensity of the shot.
- Ramp-down: In the final stage, the pressure naturally declines. On a spring-piston machine, this is a graceful, built-in feature. On a direct lever, you consciously reduce your force. This declining pressure at the end of the shot helps to reduce the extraction of bitter compounds, leading to a sweeter and more balanced finish.
Exploring classic pressure profiles and their flavors
Once you understand the stages, you can start combining them in different ways to create specific “profiles.” A pressure profile is simply the graph of pressure over time during your shot. Different profiles are suited to different beans and can dramatically alter the balance of acidity, sweetness, and bitterness in your cup. There is no single “best” profile; the goal is to find what works for your coffee and your palate. Here are a few foundational profiles to start experimenting with.
| Profile Name | Pressure Curve Description | Impact on Flavor | Best For |
|---|---|---|---|
| Classic Lever | A gentle pre-infusion, a quick ramp to peak pressure (around 9 bars), followed by a steady, gradual decline throughout the rest of the shot. | Creates a well-rounded, full-bodied shot with a rich crema. The declining pressure mitigates bitterness, resulting in a sweet, mellow finish. | Medium to dark roasts, traditional espresso blends. |
| Slayer Shot | A very long, low-pressure pre-infusion (e.g., 2-3 bars for 15-20 seconds) until the first drops appear, followed by a ramp to a lower peak pressure (e.g., 6-8 bars). | Highlights acidity and sweetness while reducing bitterness. It leads to a shot with incredible clarity, a syrupy body, and pronounced fruit or floral notes. | Lightly roasted single-origin coffees. |
| Blooming Espresso | A low-pressure pre-infusion for 5-10 seconds, followed by a complete drop to zero pressure for a few seconds (the “bloom”), then a ramp-up to peak pressure for the main extraction. | Allows trapped gasses to escape, promoting a more even extraction. Can increase complexity and create a very clean cup, similar to pour-over coffee. | Very fresh coffee beans (less than 7 days off-roast). |
How to control pressure and dial in your shot
This is where theory meets practice. Your ability to execute these profiles depends on your machine type and your technique. The key is to remember that with a manual lever, you are the pump. Your senses—sight, sound, and especially touch—are your most important tools.
For direct lever users, control is entirely in your hands. To achieve a gentle pre-infusion, lift the lever to let water in and apply just enough downward pressure to feel the water start to saturate the puck. You can use a bathroom scale under your machine to get a numerical reading of the force you’re applying, which can be converted to bars of pressure. Watching for the first drops to appear at the bottom of the portafilter is your cue to begin the ramp-up. Apply smooth, consistent pressure with your arm and body weight, avoiding jerky movements. To execute a declining profile, simply ease off your pressure slowly and steadily after reaching your peak.
For spring-piston lever users, the spring dictates the main pressure curve. However, you still have significant control, primarily during pre-infusion. You can control the duration of pre-infusion by how long you hold the lever in the down position. For an extended, “Slayer-style” pre-infusion, you can perform a partial pull and hold, letting water saturate the puck for longer before fully releasing the lever. You can also “ride the lever” on its way up, using your hand to slightly resist the spring’s force to achieve a lower peak pressure if desired.
Regardless of your machine, puck preparation is non-negotiable. An even grind, proper distribution (using a WDT tool), and a level tamp are prerequisites. Without a well-prepared puck, any attempt at pressure profiling will be undermined by channeling.
Troubleshooting your extraction with pressure profiling
When your espresso doesn’t taste right, your pressure profile is one of the first places you should look. It’s an incredibly powerful diagnostic tool. Instead of just changing your grind size, consider how pressure might be the culprit and the solution.
- Is your shot sour and thin? This is a classic sign of under-extraction. Your first instinct might be to grind finer, but you could also be rushing the shot. Try extending your pre-infusion time. Giving the water more low-pressure contact time with the coffee allows for a fuller saturation, making it easier to extract the sweet solids during the main pull. A longer, slower pull can often solve sourness without touching the grinder.
- Is your shot bitter and astringent? This points to over-extraction. This can happen if you apply too much pressure for too long, especially at the end of the shot. A classic lever profile with a distinct declining pressure is designed to prevent this. Make sure you are easing off the pressure in the last third of the pull. This gentle finish extracts the good stuff without pulling out the harsh, bitter compounds that come with it.
- Are you seeing spurts or uneven flow (channeling)? This often happens when high pressure is applied to a puck that isn’t fully and evenly saturated. The water finds the path of least resistance and blasts through it. The solution is almost always a gentler, longer pre-infusion and a slower ramp-up. Don’t go from zero to nine bars instantly. A slow, controlled increase in pressure helps the puck maintain its integrity and ensures water flows through the entire bed evenly.
Remember to change only one variable at a time. If you change your grind, dose, and pressure profile all at once, you’ll never know what fixed the problem. Be methodical, taste everything, and trust your palate.
Mastering pressure profiling with a manual lever machine is a deeply rewarding endeavor that transforms espresso making from a simple routine into a creative craft. By moving beyond a one-size-fits-all approach, you gain an intimate understanding of how extraction works. We’ve seen that by breaking down the pull into its core stages—pre-infusion, ramp-up, peak, and ramp-down—you can begin to build and execute profiles like the classic declining curve or the modern Slayer shot. This level of control allows you to troubleshoot issues like sourness or bitterness with precision and tailor every single shot to the specific coffee bean you’re using. The journey requires patience and practice, but the result is a cup of espresso that is truly yours and a connection to your coffee that is unparalleled.

 No products in the cart.