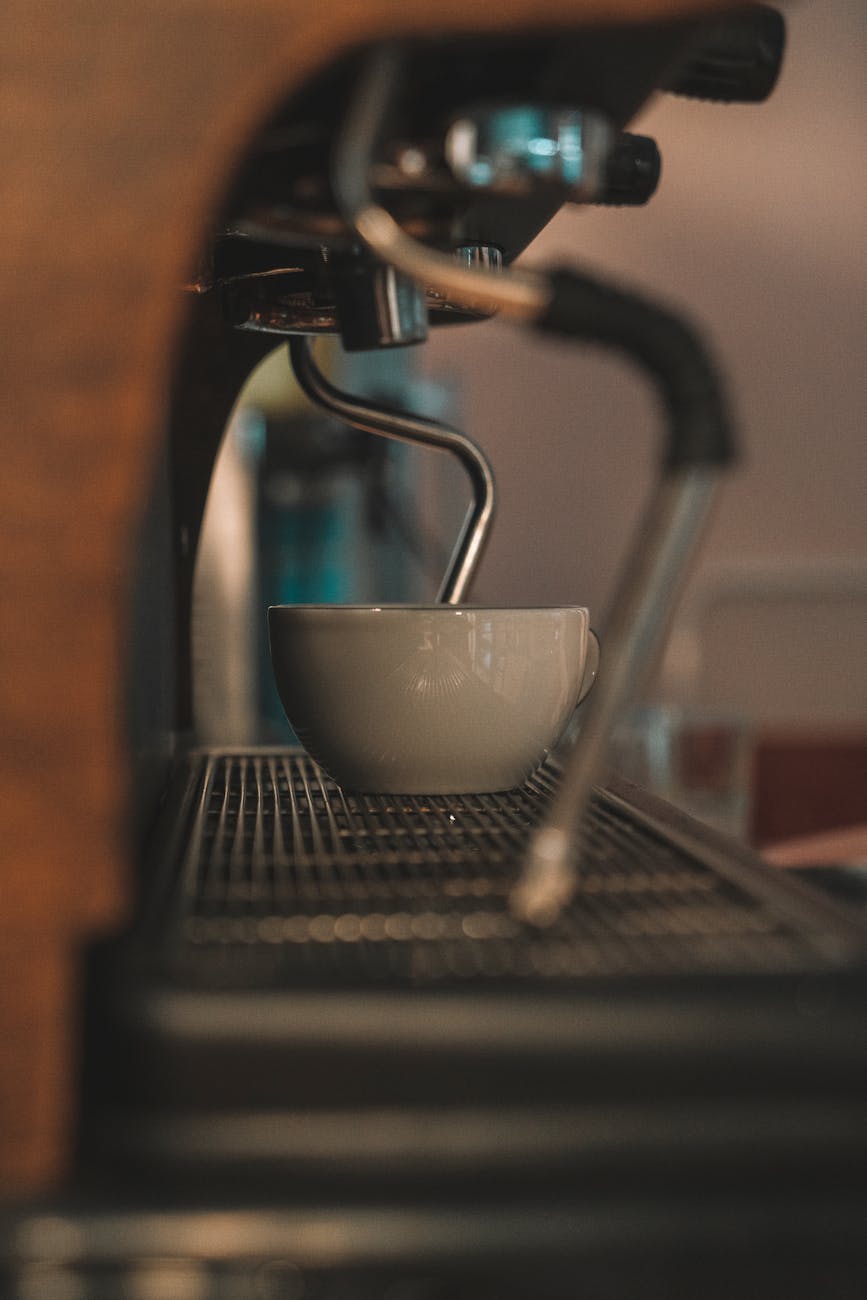
The Profitec Go has quickly become a favorite among home baristas for its compact size, rapid heat-up time, and PID-controlled temperature stability. As a single-boiler dual-use (SBDU) machine, it offers incredible value and performance. However, this design presents a unique challenge: pulling multiple shots in quick succession, especially when milk is involved. Serving coffee for guests or handling a morning rush for your family can seem daunting. This guide is here to demystify the process. We will explore the best practices and optimized workflows for pulling consistent, delicious back-to-back espresso shots on your Profitec Go, transforming a potential point of frustration into a smooth and rewarding ritual for any home barista.
Understanding the Profitec Go’s single boiler
To master back-to-back shots, you must first understand the heart of your machine: its single boiler system. A single boiler is responsible for heating water for both brewing espresso and creating steam for milk. These two functions require vastly different temperatures. Brewing is best done at a precise temperature, typically around 93°C (200°F), which you set on the Go’s excellent PID controller. Steaming, on the other hand, requires water to be well above boiling, closer to 135°C (275°F), to generate powerful, dry steam.
The challenge arises from this temperature gap. After you pull an espresso shot, the boiler refills with cooler water from the reservoir, causing a temporary temperature drop. The heater must then work to bring the water back to your target brew temperature. While the Profitec Go’s recovery is impressively fast thanks to its 0.4L brass boiler and strong heating element, it’s not instantaneous. If you steam milk, the process is more involved. You must raise the boiler temperature significantly and then, crucially, cool it back down before you can pull another shot at the correct temperature. This process of managing temperature swings is the key to consistency with any single boiler machine.
The optimal workflow for espresso-only shots
If you’re hosting an espresso tasting or your guests prefer Americanos, the workflow is relatively straightforward. The goal here is minimizing the time between extractions while ensuring the brew temperature is stable for every single shot. An organized approach is your greatest ally.
Follow this streamlined process for back-to-back espressos:
- Prepare everything in advance. Before you pull the first shot, get your entire station ready. Weigh out the coffee doses for every shot you plan to make. Have your cups, tamp, WDT tool, and scale within arm’s reach. This “mise en place” approach is critical for a smooth workflow.
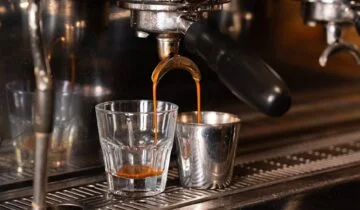
- Pull your first shot. Dial in your grind and pull your first shot as you normally would, aiming for your target recipe of ratio and time.
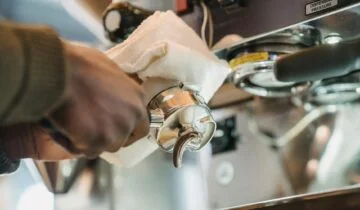
- Act immediately after extraction. As soon as your first shot is finished, remove the portafilter, knock out the used coffee puck, and give the basket a quick wipe with a dry cloth. This prevents old grounds from baking onto the basket.
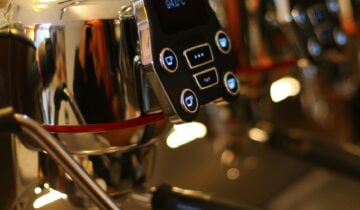
- Monitor the PID. This is the most important step. As you prep the next shot, glance at the PID display. You will see the temperature dip and then climb back up as the heater engages. Your goal is to wait for the number on the display to return to and stabilize at your set brew temperature. With the Go, this recovery is often less than a minute.
- Prepare and pull the next shot. Use that brief recovery time to dose your portafilter, distribute, and tamp. By the time you are ready to lock the portafilter back into the group head, the temperature should be perfectly stable. Lock it in and begin your next extraction. This rhythm of pull, clean, prep, wait for temp, pull ensures every shot is brewed with the same level of thermal precision.
Navigating back-to-back milk drinks
Introducing milk steaming into the equation adds a layer of complexity. The large temperature difference between brewing and steaming means you must actively manage the boiler’s state. There are two primary methods for tackling multiple milk drinks, each with its own set of pros and cons.
Method 1: Brew all shots, then steam all milk
This method prioritizes espresso consistency above all else. You follow the espresso-only workflow from the previous chapter to pull all your required shots back-to-back. Once all the espresso is extracted, you flip the machine into steam mode, wait for it to heat up, and then steam the milk for all the drinks. This is the most efficient way to maintain a perfectly stable brew temperature for each shot. The main drawback is that your first espresso shots will cool down while you’re preparing the last ones and steaming the milk. This is often the best choice for serving a group simultaneously.
Method 2: The classic brew-steam-cool-repeat cycle
This is the traditional single-boiler “dance” and ensures every drink is served at its peak freshness and temperature. It takes longer overall but is ideal for making one or two drinks in succession.
- Pull your first espresso shot into a cup.
- Immediately engage the steam switch. The Go will heat to steaming temperature very quickly.
- While it heats, pour your milk into a pitcher. Once ready, steam your milk to the desired texture and temperature and prepare your drink.
- This step is critical: You must now cool the boiler back down to brew temperature. Turn the steam switch off. Place an empty vessel under the group head and engage the brew pump. This “flushing” will run superheated water and steam out of the group, feeding cooler water into the boiler. Watch the PID display—run the water until you see the temperature fall a few degrees below your target brew temp.
- Now, wait for the PID to stabilize back at your set brew temperature. Use this time to prepare your next dose of coffee.
- Once the temperature is stable, you are ready to pull your second shot and repeat the cycle.
Workflow summary and pro tips
Choosing the right workflow depends on your situation. To simplify the decision, here is a direct comparison. Remember that no matter which method you choose, an organized workspace is non-negotiable. Keeping your tools clean and ready will make the process feel less frantic and more controlled.
| Workflow | Best for | Pros | Cons |
|---|---|---|---|
| Espresso only | Making 2+ espressos or Americanos | Fast, simple, highly consistent brew temperature for all shots. | Not applicable for milk drinks. |
| Brew all, then steam | Serving 3+ milk drinks at the same time | Guarantees identical brew temperature for every shot. | First shots cool down while preparing the rest. |
| Brew-steam-cool-repeat | Making 1-2 milk drinks sequentially | Each drink is served immediately, fresh and hot. | Longest overall time due to cooling flushes. |
A few final tips to enhance your experience:
- Trust the PID: The Profitec Go’s greatest strength is its temperature controller. Don’t rush; always wait for the display to show your target temperature before starting an extraction.
- Use a second portafilter: If you frequently make multiple drinks, having a second portafilter can dramatically speed up your prep time.
- Purge the group head: Before your very first shot of the day, it’s good practice to run the pump for 2-3 seconds to stabilize the group head temperature.
In conclusion, the Profitec Go is a remarkably capable machine for handling back-to-back drinks, provided you respect its single boiler design. The key to success is not a secret accessory, but a solid understanding of temperature management and the adoption of a clean, methodical workflow. By mastering the quick espresso-only cycle, you can serve multiple guests with ease. When milk is required, you can choose between prioritizing espresso consistency or serving each drink at its absolute freshest. Whichever path you choose, the process of cooling and reheating the boiler is a crucial skill. With a little practice, these workflows will become second nature, allowing you to confidently and consistently serve delicious, café-quality coffee to friends and family from your Profitec Go.
 No products in the cart.