How to adjust the Profitec Go OPV for perfect extraction pressure
The Profitec Go has quickly become a favorite among home baristas, and for good reason. It’s a compact, feature-rich single-boiler espresso machine that punches well above its weight. With its PID temperature control, shot timer, and rapid heat-up time, it offers incredible control over your brewing. One of its most significant but often overlooked features is the easily adjustable Over-Pressure Valve, or OPV. Many machines, including the Go, ship from the factory with the pressure set higher than the industry standard of 9 bars. This simple adjustment is one of the most impactful changes you can make to improve your espresso, moving you from good shots to truly exceptional ones. This guide will walk you through exactly why and how to adjust your Profitec Go’s OPV for a perfectly balanced extraction.
Understanding the OPV and why 9 bars matters
Before you grab a screwdriver, it’s important to understand what you’re adjusting and why it’s so critical for flavor. The Over-Pressure Valve is a component inside your machine that regulates the maximum amount of pressure the pump can deliver to the group head. Its primary purpose is to protect the pump and boiler, but for espresso lovers, its secondary function is far more interesting: it sets the ceiling for your extraction pressure.
Most espresso machines, the Profitec Go included, are set at the factory to around 11 or 12 bars. While this ensures the machine can handle any situation, this high pressure can be detrimental to your coffee. It can force water through the coffee puck too aggressively, leading to a phenomenon called channeling, where water finds small cracks and bypasses most of the coffee. This results in an uneven extraction that is simultaneously bitter and sour. By lowering the pressure, you allow for a gentler, more even saturation of the coffee puck. The widely accepted gold standard for espresso is 9 bars of pressure. This pressure level provides the ideal force to extract the desirable oils and sugars from the coffee grounds, creating a sweet, balanced, and complex shot without the harshness associated with higher pressures.
Tools and preparation
The good news is that adjusting the OPV on the Profitec Go is a straightforward process that requires minimal tools. It’s one of the easiest machines on the market to perform this tweak on. Here’s what you’ll need to get started.
Required tools:
- Your portafilter
- A blind basket (also known as a backflush disk)
- A medium-sized flat-head screwdriver
- A towel to place under the machine or to wipe up any minor drips
Before you begin, you need to prepare your machine. Turn it on and let it heat up fully for at least 15 minutes. This is crucial because pressure readings can change as the machine’s components expand with heat. A fully heated machine will give you an accurate reading. Ensure the water tank is full, as you’ll be running the pump several times. Once the machine is hot, turn it off, remove the drip tray and water tank, and carefully place it on its back or side on a soft towel to prevent scratches. This will give you access to the machine’s underside where the pump and OPV are located.
The step-by-step adjustment process
With your machine prepped and tools at the ready, you’re just a few moments away from dialing in your pressure. Profitec made the OPV incredibly accessible, so there’s no need to remove any body panels. Follow these steps carefully.
- Locate the OPV: With the water tank removed, look inside the machine’s reservoir area. You will see the vibration pump and, connected to it, a brass valve with a flat-head screw slot on top. This is your OPV adjustment screw.
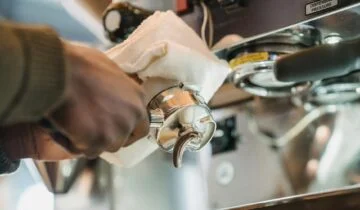
- Prepare for measurement: Place the blind basket into your portafilter and lock it into the group head, just as you would when pulling a shot. Put the water tank back in place temporarily for the test.
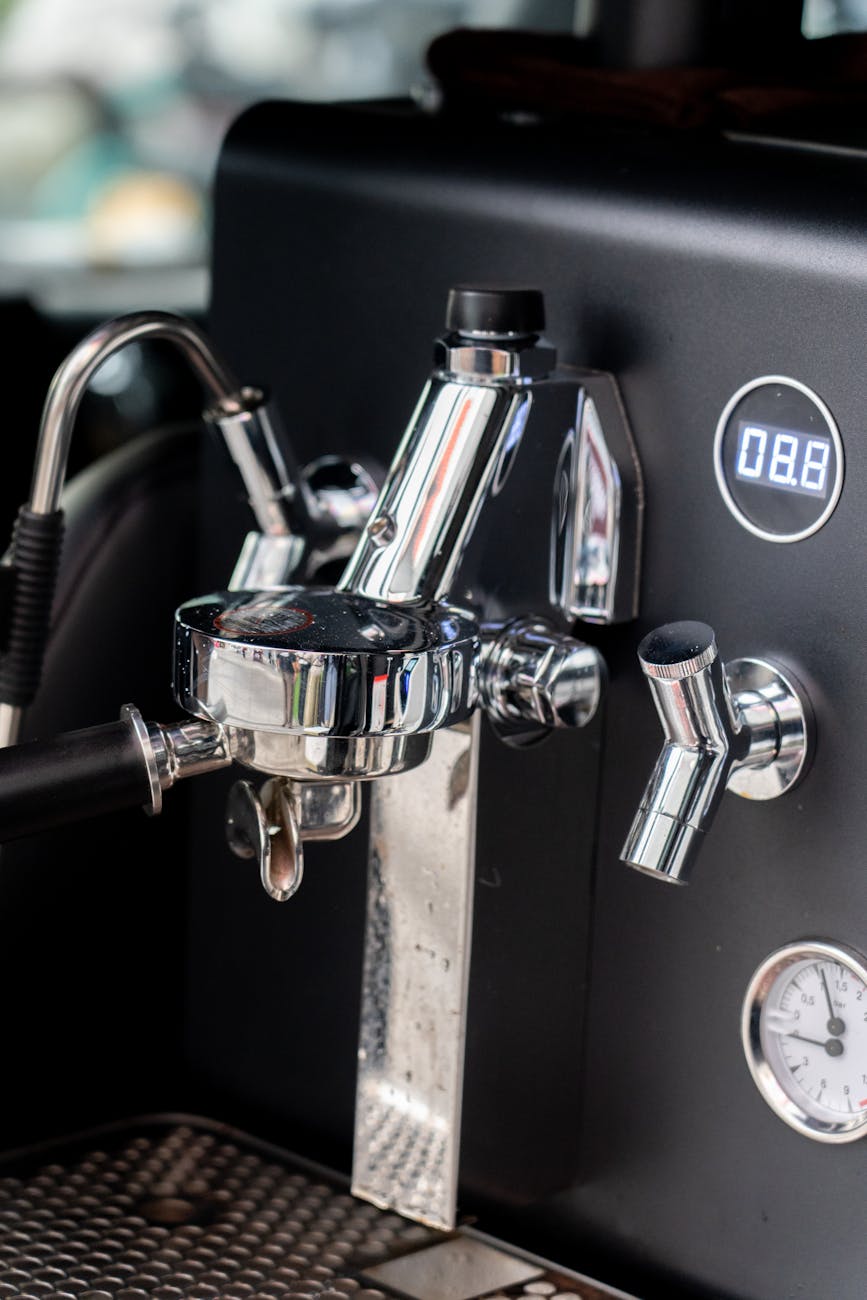
- Check the initial pressure: Turn the machine on and lift the brew lever to engage the pump. Watch the pressure gauge on the front of the machine. It will climb rapidly and settle at its maximum pressure. Make a note of this number; it’s likely to be around 11 bars. Run the pump for about 10 seconds, then stop.
- Make the adjustment: Now for the main event. Using your flat-head screwdriver, turn the brass screw on the OPV. The rule is simple: turning counter-clockwise (left) decreases pressure, and turning clockwise (right) increases pressure. Make a small adjustment at first, about a quarter-turn counter-clockwise.
- Re-check and repeat: Engage the brew lever again and watch the gauge. You should see the pressure has dropped. Continue this process of making small, quarter-turn adjustments and re-checking the pressure until the gauge reads your desired target.
A crucial point to remember is that the pressure shown on the gauge with a blind basket is static pressure. During a real extraction, as water flows through the coffee puck, the actual pressure will be about 0.5 to 1 bar lower. Therefore, to achieve 9 bars at the puck, you should aim for a reading of 9.5 to 10 bars on your gauge when using the blind basket.
Fine-tuning your brew and what to expect
Congratulations, you’ve successfully adjusted your machine’s pressure! But the work isn’t quite done. Changing a major variable like pressure means you will almost certainly need to adjust your grinder. Because there is less force pushing water through the coffee, you will likely need to grind finer to achieve the same shot time you had before (e.g., 25-30 seconds). Don’t be surprised if you have to adjust your grinder several steps finer than you’re used to. This is completely normal and is a sign that the adjustment worked.
Now comes the best part: tasting the results. Pull a shot with your newly dialed-in grind size and notice the difference. The shot should taste noticeably sweeter, less bitter, and more balanced. The harsh, aggressive edge that can come with high-pressure extractions should be gone, replaced by a smoother, richer body and more distinct flavor clarity. You’ve unlocked a new level of control over your espresso.
| Pressure Setting | Potential Taste Profile | Recommended Grind Adjustment |
|---|---|---|
| 11-12 Bar (Factory) | Can be harsh, bitter, and prone to channeling. | Requires a coarser grind to prevent choking the machine. |
| 9.5-10 Bar (Blind Filter) | The sweet spot. Balanced, sweet, complex, and forgiving. | Your new baseline. Adjust finer from your old setting. |
| 7-8 Bar (Blind Filter) | Softer, brighter profile. Can highlight acidity. Good for light roasts. | Requires a significantly finer grind to build resistance. |
Conclusion
Adjusting the OPV on your Profitec Go is one of the simplest, most effective modifications you can perform to elevate your home espresso game. It’s a free upgrade that takes just a few minutes but has a profound impact on the final taste in your cup. By moving away from the high factory pressure setting and embracing the 9-bar industry standard, you gain more control and consistency. You’ll find it easier to dial in new beans, reduce the chances of channeling, and produce shots that are consistently sweeter and more balanced. This small tweak truly unlocks the full potential of this fantastic machine, putting the power of a professional-quality extraction right on your kitchen counter. Now go enjoy the delicious results of your work.

 No products in the cart.