The Cafelat Robot is a marvel of manual espresso engineering, celebrated for its simplicity, durability, and the exceptional quality of coffee it produces. Its minimalist design means fewer points of failure, but the heart of its operation lies in a crucial component: the piston and its silicone gasket. This duo is responsible for creating the immense pressure needed to extract true espresso. Proper care is essential for maintaining a perfect seal and ensuring your Robot continues to pull delicious, consistent shots for years to come. This guide will provide a comprehensive overview of how to clean, inspect, lubricate, and ultimately replace your Cafelat Robot’s piston and gasket, empowering you to keep your machine in peak condition.
Understanding the piston and gasket’s role
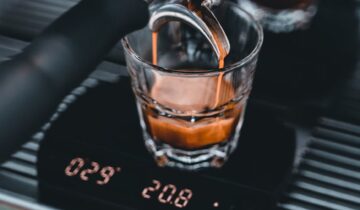
Before diving into maintenance, it’s important to understand why these parts are so critical. The Cafelat Robot operates on a simple principle: you push hot water through a puck of finely-ground coffee under high pressure. The piston is the component you control with the lever arms, and its job is to displace the water. However, the real hero is the blue or red silicone gasket fitted around the piston’s edge. This gasket creates an airtight and watertight seal against the inside walls of the Robot’s basket chamber. Without this perfect seal, water would simply bypass the coffee puck, and you would never be able to generate the 6-9 bars of pressure required for proper espresso extraction. Over time, coffee oils, microscopic coffee grounds (fines), and simple wear and tear can compromise this seal, leading to poor performance.
Routine cleaning and inspection
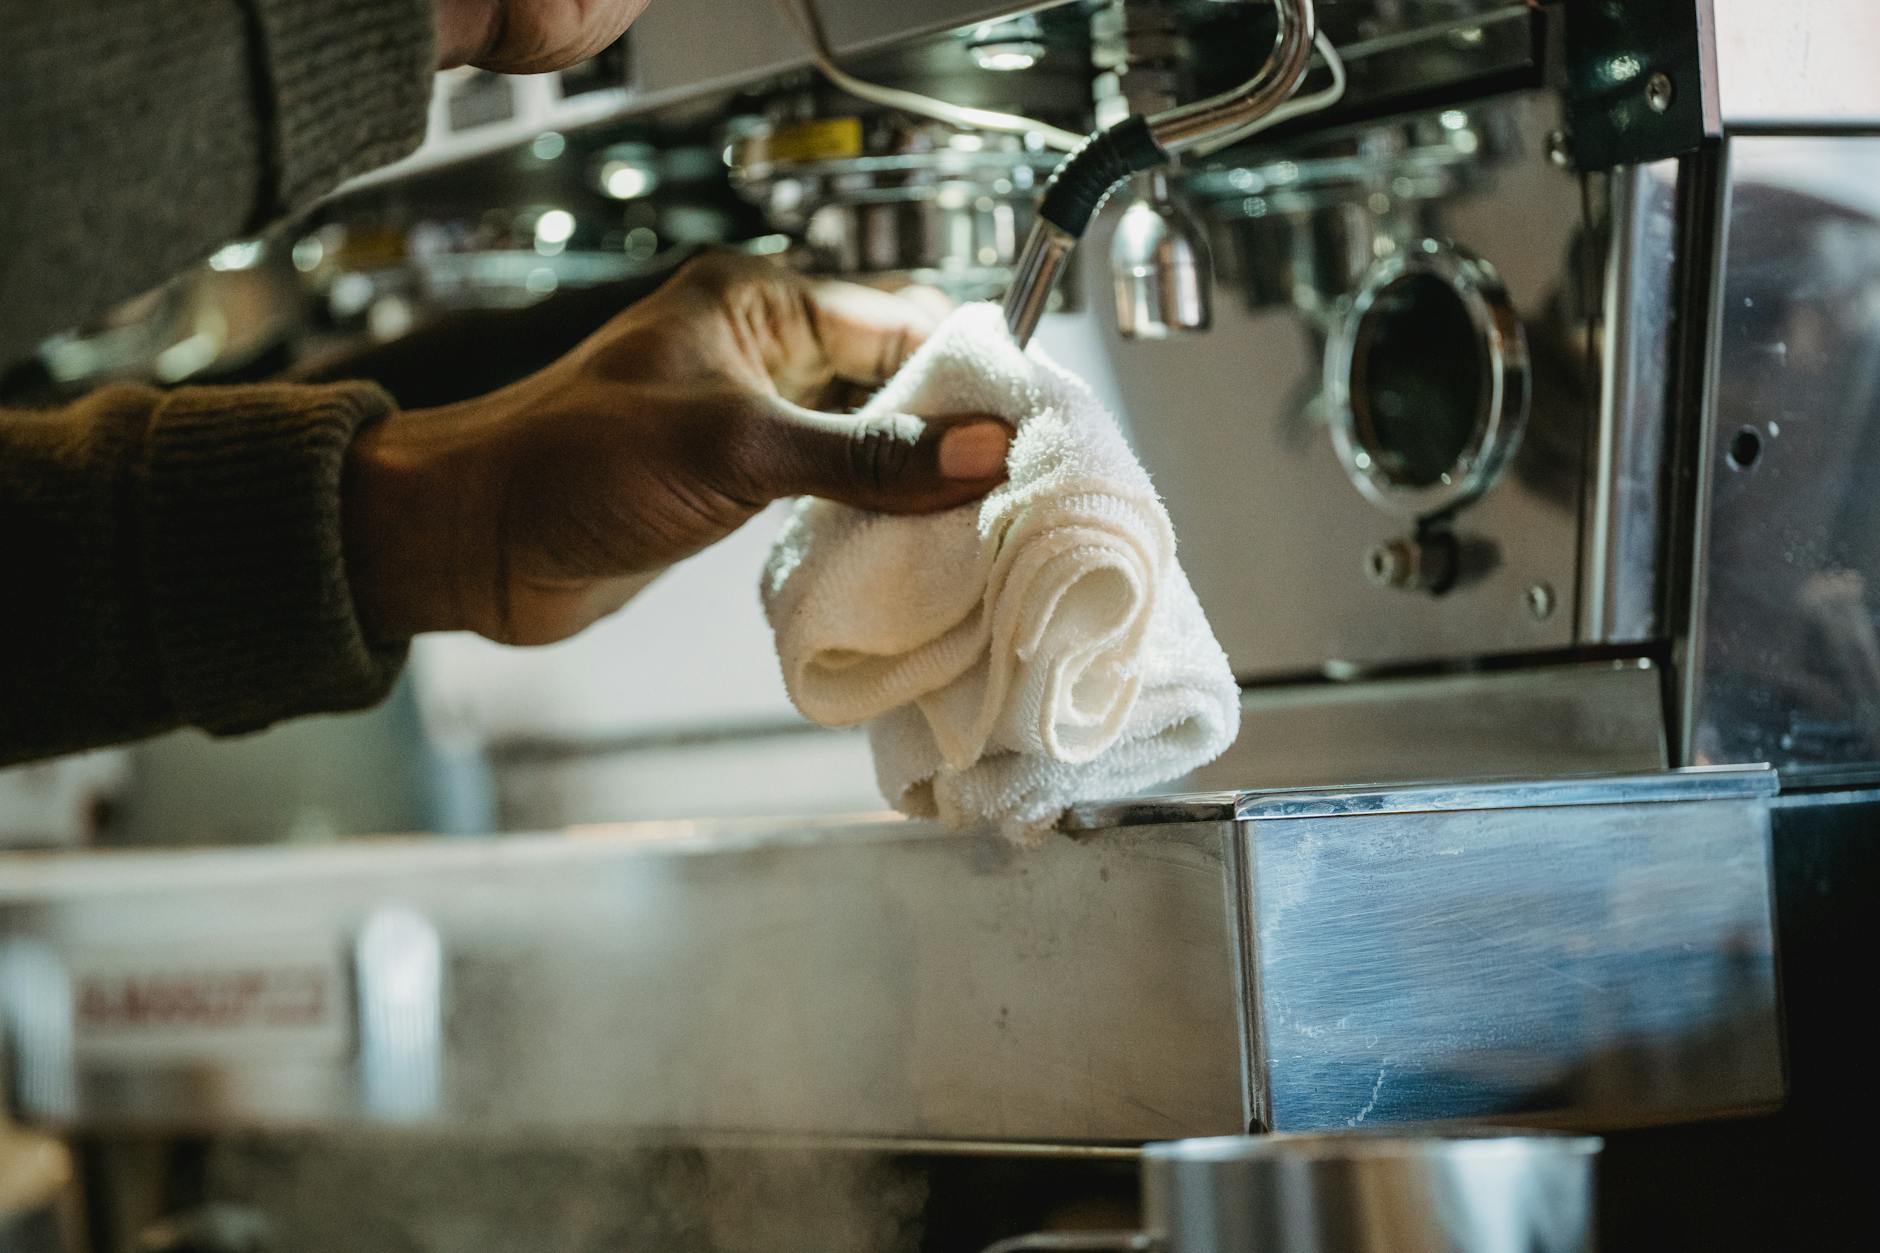
Consistent, simple maintenance is the key to longevity. Getting into a good routine will prevent most issues before they start. After each shot, once the basket has cooled, simply rinse the piston’s shower screen and wipe the gasket with a damp cloth to remove any residual coffee grounds. This daily step prevents buildup.
A deeper clean should be performed weekly or bi-weekly, depending on usage. Coffee oils can accumulate on the gasket and piston, which can affect the taste of your coffee and the smoothness of the lever action.
- Disassemble: Carefully remove the piston from the Robot’s main body. You can gently push the piston out from the bottom.
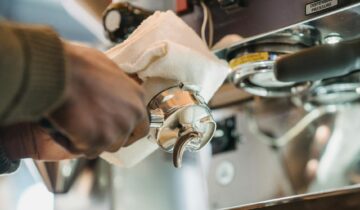
- Clean: Using a soft cloth and a dedicated espresso machine cleaner (like Cafiza) or a very mild dish soap, thoroughly clean the piston, the shower screen, and the gasket. Pay special attention to the groove where the gasket sits.
- Inspect: This is the perfect time for a close inspection. Look at the gasket for any nicks, tears, or signs of it becoming hard or brittle. Check the piston’s shower screen to ensure none of the tiny holes are clogged. A clean, supple gasket and a clear screen are essential for optimal performance.
This regular check-up allows you to catch potential problems early and ensures every component is clean and ready for action.
The importance of lubrication
One of the most overlooked aspects of Robot maintenance is lubrication. A properly lubricated gasket not only ensures a smoother, more pleasant workflow but also extends the life of the gasket itself. It keeps the silicone supple and helps it create a better seal against the chamber walls. The key is to use the right product—a food-safe silicone lubricant. Products like Molykote 111 (or Dow 111) are industry standards and are perfect for this application. Never use petroleum-based lubricants like Vaseline or cooking oils like olive oil, as they can damage the silicone and turn rancid.
Application is simple. After a deep clean, ensure the piston and gasket are completely dry. Apply a very small, rice-grain-sized amount of the food-safe lubricant onto your finger and spread a thin, even film over the entire surface of the gasket. You don’t need much; a little goes a long way. Once coated, carefully place the gasket back into its groove on the piston. You’ll immediately notice the lever action is significantly smoother. This only needs to be done every few months or whenever the action starts to feel less fluid.
When and how to replace the gasket
Despite its durability, the silicone gasket is a wearable part and will eventually need to be replaced. Knowing the signs of a failing gasket is crucial to avoiding frustrating espresso sessions. The most obvious sign is water leaking past the piston and up the sides during an extraction. This indicates the seal is no longer complete, and you are losing pressure.
Other signs include the gasket feeling hard and inflexible to the touch or having visible cracks or tears. If you’re experiencing channeling or inconsistent shots that you can’t attribute to your puck preparation, a worn-out gasket could be the culprit.
Replacing it is straightforward:
- Order an official replacement gasket from Cafelat or a certified reseller to ensure a perfect fit.
- Carefully pry the old gasket off the piston. A small, non-sharp tool can help, but often your fingers are enough.
- Thoroughly clean the piston and the empty gasket groove.
- Apply a very thin layer of food-safe silicone lubricant to the new gasket.
- Gently and evenly seat the new gasket in the groove, making sure it isn’t twisted or pinched.
Here is a quick troubleshooting table to help diagnose common issues related to the piston and gasket:
| Problem | Possible Cause | Solution |
|---|---|---|
| Water leaking past the piston | Worn, damaged, or dry gasket. | Inspect the gasket. Lubricate if dry; replace if damaged or worn out. |
| Lever action is stiff or jerky | Lack of lubrication or coffee oil buildup. | Perform a deep clean and apply a thin layer of food-safe silicone lubricant to the gasket. |
| Unable to reach proper pressure | Compromised gasket seal. | Ensure the gasket is seated correctly and is not damaged. Replace if necessary. |
| Espresso has an “off” taste | Rancid coffee oil buildup on components. | Perform a deep clean of the piston, screen, and gasket using an appropriate cleaner. |
By keeping this vital component in top shape, you ensure your Robot’s performance remains flawless.
In conclusion, maintaining your Cafelat Robot’s piston and gasket is a simple yet vital process that guarantees the longevity and performance of your manual espresso maker. The health of this simple seal is directly tied to the quality of coffee in your cup. By incorporating a routine of regular cleaning, periodic deep cleans with inspection, occasional lubrication with a food-safe silicone grease, and knowing when to replace the gasket, you are taking the necessary steps to protect your investment. These proactive measures are not demanding, but they pay huge dividends in consistency, flavor, and the sheer joy of pulling a perfect shot. Treat your Robot’s piston and gasket with a little care, and it will reward you with countless exceptional espressos for many years.
 No products in the cart.