The Cafelat Robot is a masterclass in simplicity and engineering, offering coffee lovers a completely manual way to pull café-quality espresso shots. Its direct-lever design provides unparalleled feedback and control over the entire extraction process. However, this full control also means the user is responsible for every variable. For newcomers and even seasoned users, this can sometimes lead to frustrating extraction issues. A shot that gushes out in ten seconds or one that chokes the machine entirely can be disheartening. This guide is designed to be your go-to resource for troubleshooting the most common Cafelat Robot extraction problems, helping you diagnose the cause and implement the right solution to pull consistently delicious espresso.
Understanding the core variables
Before diving into specific problems, it’s crucial to understand that every shot you pull on the Cafelat Robot is a result of several interconnected variables. Unlike a semi-automatic machine, the Robot doesn’t manage pre-infusion or pressure for you. You are in complete control. Mastering your technique starts with understanding these key elements:
- Grind size: This is arguably the most important variable. The fineness of your coffee grounds dictates the level of resistance the water will encounter as you press down on the levers.
- Dose: The amount of coffee you put in the basket, measured in grams. A larger dose provides more resistance and a smaller dose provides less.
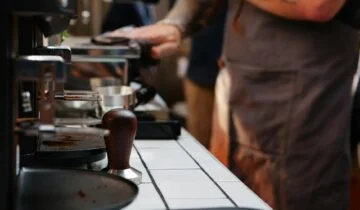
- Puck preparation: This includes how you distribute the coffee grounds in the basket and how you tamp them. An even, level coffee bed is essential for a balanced extraction.
- Water temperature: The temperature of your brew water directly impacts which flavor compounds are extracted from the coffee. Hotter water extracts more efficiently.
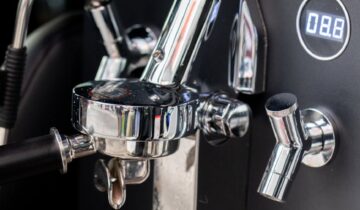
- Pressure profiling: This is how you apply force to the levers throughout the shot. This includes the initial low-pressure “pre-infusion” and the main extraction pressure, typically around 6-9 bars.
Nearly every extraction issue can be traced back to one or more of these variables being out of balance. The following chapters will explore how they manifest as common problems and how to correct them.
Solving the gushing shot: When espresso flows too fast
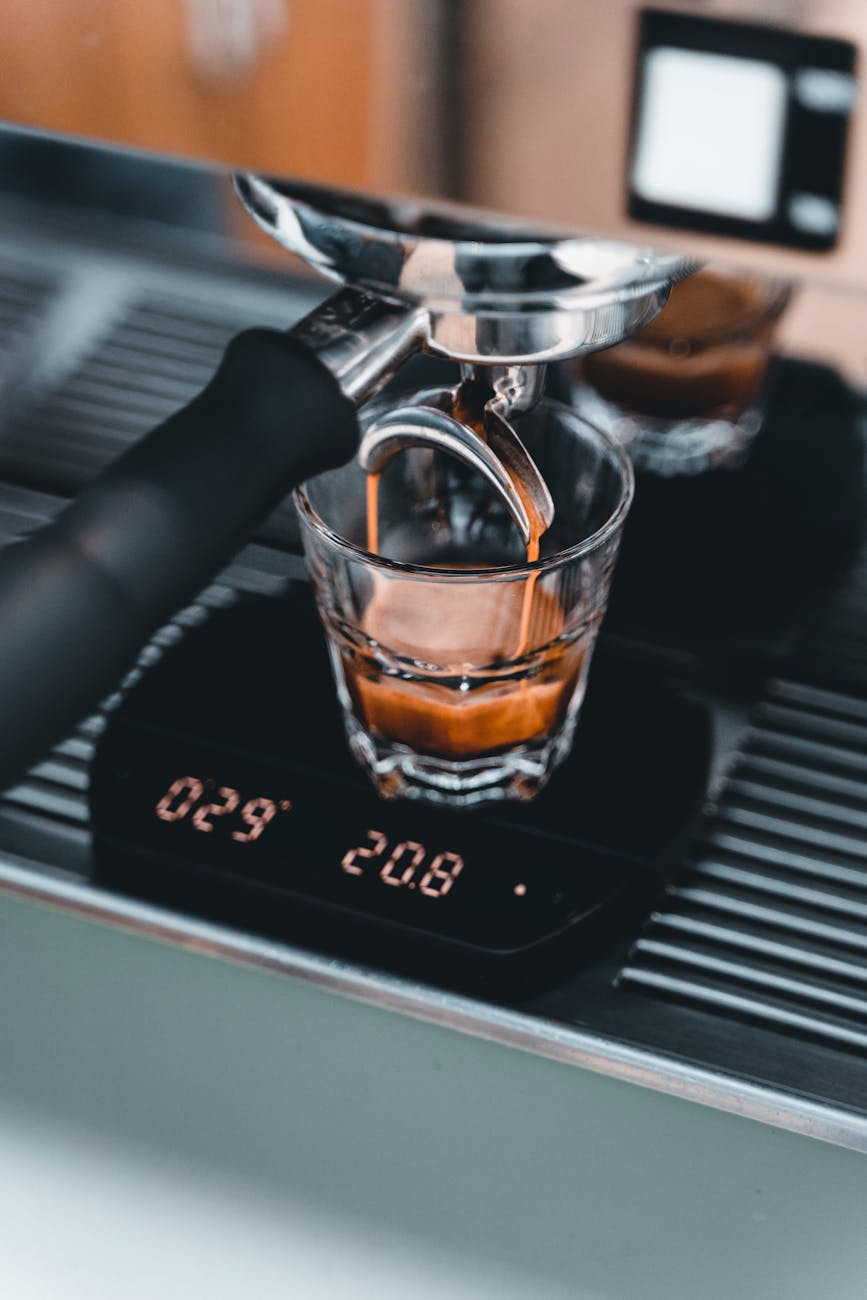
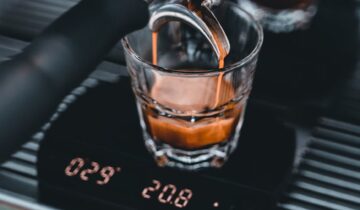
One of the most frequent issues for new Robot users is a shot that flows way too quickly. You press the arms down, feel very little resistance, and a watery, blonde liquid fills the cup in under 15 seconds. This results in a classic under-extracted shot, which will taste sour, thin, and lack sweetness and body.
The primary culprit is almost always grind size. If your espresso gushes out, your coffee is too coarse. The large gaps between the coffee particles create “superhighways” for the water to pass through without properly extracting the coffee’s soluble solids. The solution is simple: grind finer. Adjust your grinder to a slightly finer setting and try again. It often takes a few small, incremental adjustments to find the sweet spot.
Another cause could be poor puck preparation, leading to channeling. If the coffee grounds are not distributed evenly in the basket, water will find the path of least resistance and rush through those areas. To fix this, use a Weiss Distribution Technique (WDT) tool—even a simple paperclip will work—to break up clumps and distribute the grounds evenly before tamping. A firm, level tamp is the final step to ensure the puck is uniformly compressed.
Tackling the choked shot: When nothing comes out
The opposite problem is the choked shot. You pre-infuse, begin to press the levers, and meet extreme resistance. The pressure gauge (if you have one) may shoot up past 10 bars, yet only a few dark, syrupy drips emerge. Pushing harder feels like you might break something. This is a sign of an over-extracted shot, which will taste intensely bitter and astringent.
Again, grind size is the most likely cause. You’ve simply gone too fine. The coffee particles are so small and compacted that water cannot find a path through. The solution is to grind coarser. Make a small adjustment on your grinder and re-pull the shot. You’re looking for a pressure of around 6-9 bars that allows for a steady, controlled flow of espresso.
An overly large dose can also contribute to this problem. If you put too much coffee in the basket, there won’t be enough headspace between the coffee puck and the metal shower screen. When you add water, the coffee expands and can press directly against the screen, creating a seal that is very difficult for water to penetrate. Try reducing your dose by a gram or two to see if it alleviates the pressure.
Fine-tuning flavor: From sour and bitter to balanced
Once you’ve moved past gushing or choked shots and are achieving extraction times in the 25-35 second range, the next step is to dial in the taste. The flavor of your espresso provides the ultimate feedback on extraction quality. The two main off-flavors you’ll encounter are sourness and bitterness, which are signs of under-extraction and over-extraction, respectively.
A sour shot, as mentioned, is under-extracted. The water hasn’t had enough contact time or energy to extract the sweet sugars that balance the natural acids in coffee. To fix a sour shot:
- Grind finer to slow down the extraction and increase contact time.
- Increase your water temperature. Lighter roasts especially benefit from water just off the boil (around 96-99°C or 205-212°F).
- Try a longer pre-infusion (e.g., 10-15 seconds at 2 bars) to ensure the puck is fully saturated before ramping up to full pressure.
A bitter shot is over-extracted. The water has pulled too much from the coffee, including unpleasant, bitter compounds. To correct a bitter shot:
- Grind coarser to speed up the flow and reduce contact time.
- Lower your water temperature. Darker roasts are more soluble and often taste better with cooler water (around 90-93°C or 195-200°F).
- Reduce your dose slightly while keeping the grind the same.
Here is a simple table to summarize the troubleshooting process:
| Problem | Indication | Primary Solution |
|---|---|---|
| Fast Shot / Sour Taste | Under-extracted (Shot time < 20s) | Grind finer; ensure good puck prep (WDT) |
| Choked Shot / Bitter Taste | Over-extracted (Flow is dripping or stalled) | Grind coarser; reduce coffee dose |
| Channeling | Spurting streams from the basket | Improve distribution with WDT; ensure a level tamp |
| Persistently Sour | Decent shot time but still tastes acidic | Increase water temperature; extend pre-infusion |
Mastering the Cafelat Robot is a journey of understanding and refinement. It strips away automation and puts every aspect of the espresso-making process directly into your hands. While this can present a learning curve, it’s also what makes it so rewarding. This guide has covered the most common extraction issues, from gushing and choked shots to the nuances of taste. Remember that most problems boil down to the relationship between grind size, dose, and puck preparation. By adopting a methodical approach—changing only one variable at a time—you can quickly diagnose issues and correct your course. Embrace the process, taste everything, and be patient. With a little practice, your Robot will reward you with exceptional espresso that is truly your own creation.
 No products in the cart.