Mastering pressure profiling on a manual lever machine: A complete guide
The allure of a manual lever espresso machine lies in its beautiful simplicity and the unparalleled control it offers. It’s an intimate, hands-on brewing experience where you, the barista, are in complete command. The most powerful tool in your arsenal is the ability to manipulate pressure throughout the extraction, a technique known as pressure profiling. This isn’t just about pulling a lever; it’s about painting a flavor portrait of your coffee beans. Moving beyond the rigid 9-bar standard of many semi-automatic machines, pressure profiling unlocks nuanced sweetness, tames unwanted acidity, and builds a rich, syrupy body. This guide will walk you through the art and science of pressure profiling, helping you transform your espresso shots from good to truly exceptional.
Understanding the fundamentals of pressure
At its core, pressure profiling is the intentional manipulation of water pressure at different stages of the espresso extraction. While many machines aim for a constant 9 bars of pressure, a lever machine allows for a dynamic and fluid approach. This control is what enables you to cater the extraction specifically to the coffee beans you’re using. To master this, you first need to understand the distinct phases of the pull.
- Pre-infusion: This is the initial, low-pressure stage (typically 1-3 bars). As you gently introduce water to the coffee puck, it begins to saturate evenly from the bottom up. This critical phase helps reduce the risk of channeling (where water finds a path of least resistance, leading to uneven extraction), and allows the coffee to “bloom,” releasing trapped CO2. A proper pre-infusion sets the stage for a balanced and flavorful shot.
- Ramp-up: This is the transition from low-pressure pre-infusion to your target peak pressure. How quickly or slowly you build this pressure can significantly impact the body and clarity of your espresso. A fast ramp can build a heavier body, while a slower, more gentle ramp might bring out more delicate flavors.
- Peak pressure: This is the main extraction phase, where the majority of the coffee’s soluble compounds are dissolved. With a lever machine, you are not locked into 9 bars. You might choose a lower peak pressure of 6-7 bars for a delicate light roast to avoid harshness, or a higher 8-9 bars for a traditional, chocolatey medium roast to build body.
- Ramp-down: In the final stage of the pull, the pressure naturally declines. This is an inherent and desirable characteristic of spring-lever machines, and a technique to be emulated on direct-lever machines. As the puck’s integrity degrades, reducing the pressure helps prevent the extraction of bitter, astringent compounds, resulting in a sweeter and cleaner finish.
The mechanics of manual control
How you apply pressure depends entirely on the type of manual lever machine you own. The two main categories, direct lever and spring lever, offer fundamentally different user experiences, though the goal remains the same: controlled extraction.
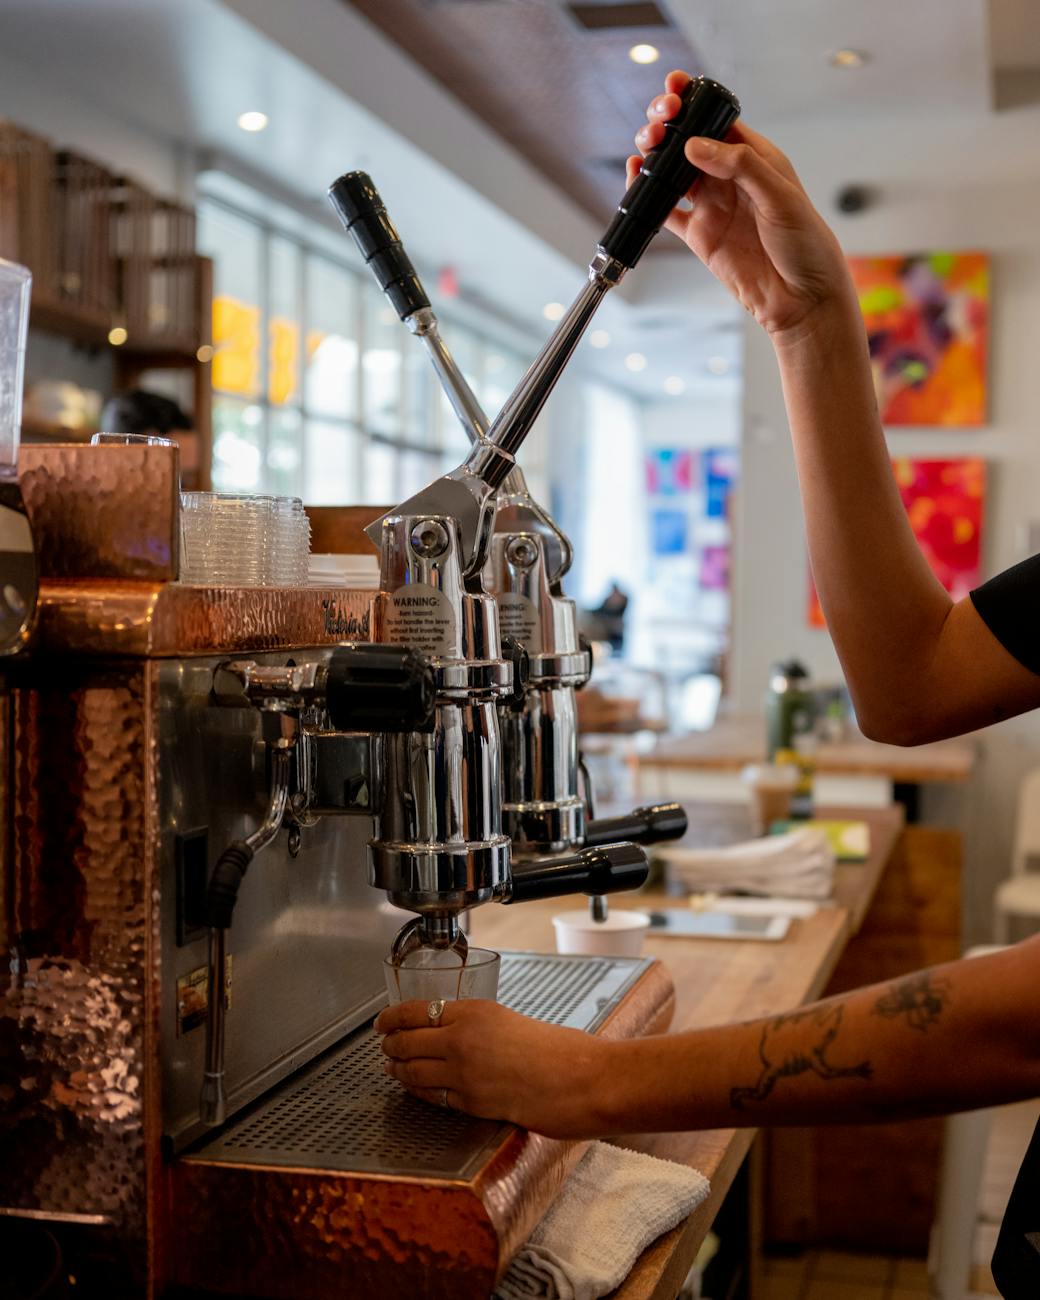
A direct lever machine, like a La Pavoni or Flair, puts you in complete physical control. You are the spring. The pressure you apply to the lever is directly translated to the coffee puck. This provides incredible tactile feedback but also requires more practice to achieve consistency. To master a direct lever, you must learn the feel of the right resistance. Many users supplement their feel with tools like an Acaia scale to monitor flow rate in real-time or a pressure gauge attachment (like the Smart Espresso Profiler) to get a visual reading of the pressure you are applying. These tools transform the art into a repeatable science.
A spring lever machine, such as a Londinium or Profitec Pro 800, uses a powerful internal spring to generate pressure. Your primary control points are at the beginning and end of the shot. You engage the lever, filling the brew chamber and controlling the length of the pre-infusion. When you release the lever, the spring takes over, delivering a strong but gracefully declining pressure profile. This makes them inherently consistent and excellent at producing balanced, syrupy shots. Your influence is more subtle, focused on managing pre-infusion time to saturate the puck perfectly before the spring does its work.
Common pressure profiles and when to use them
Once you understand the phases and your machine, you can start experimenting with different profiles to suit your coffee. There is no single “best” profile; the ideal approach depends on the bean’s origin, roast level, and age. The goal is to highlight the best characteristics of your chosen coffee.
For example, a classic, chocolatey medium-dark roast often benefits from a profile that emulates a spring lever. A long pre-infusion builds sweetness and body, while the declining pressure softens the finish, preventing bitterness. Conversely, a bright, acidic, and floral light roast can be challenging. A standard 9-bar shot might taste harsh and sour. By using a “low and slow” profile with an extended pre-infusion and a lower peak pressure, you can tame that acidity, increase sweetness, and allow the delicate floral notes to shine through.
Here is a table outlining a few popular starting points:
| Profile name | Best for (roast level) | Pre-infusion | Peak pressure | Flavor impact |
|---|---|---|---|---|
| Classic declining | Medium to Dark | 8-12 seconds at 2 bars | 8-9 bars (declining) | Rich, syrupy body, balanced, high sweetness, muted acidity. |
| Low-pressure slayer | Light | 15-30 seconds at 1.5-3 bars | 6-7 bars | Highlights delicate floral/fruity notes, increases sweetness, tames acidity. |
| Fast ramp traditional | Medium / Espresso Blends | 3-5 seconds at 2 bars | 9 bars | Heavy body, classic crema, bold “espresso” flavor. |
Troubleshooting and refining your technique
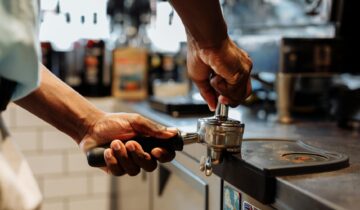
Pressure profiling does not exist in a vacuum. It is deeply interconnected with your other variables, especially your grind size and puck preparation. Using a bottomless portafilter is invaluable, as it gives you a direct window into the effectiveness of your technique. If you see spritzing or one side of the basket extracting faster than the other (channeling), the first step isn’t to change your pressure profile, but to revisit your puck prep. Ensure you are distributing the grounds evenly and tamping level.
Taste is your ultimate guide. Is your shot unpleasantly sour? This is a sign of under-extraction. You can try grinding finer, increasing your pre-infusion time to allow for more saturation, or even increasing your peak pressure slightly. Is your shot bitter and drying? This points to over-extraction. Consider grinding a bit coarser or, more effectively, focusing on a declining pressure profile that tapers off more aggressively at the end of the shot to avoid extracting those bitter compounds. Every adjustment you make to your pressure profile will teach you something new about your coffee. Keep notes, trust your palate, and don’t be afraid to experiment.
Conclusion
Mastering pressure profiling on a manual lever machine is a journey of discovery. It elevates you from a machine operator to a coffee craftsman, giving you the ability to fine-tune every extraction for the specific beans in your grinder. By understanding the fundamental phases of extraction, from the gentle saturation of pre-infusion to the final, tapering ramp-down, you gain ultimate control. Whether you’re wrangling the raw power of a direct lever or guiding the consistent force of a spring lever, the principles remain the same. Experiment with different profiles, observe the results in your cup, and trust your taste. This process is the heart of the manual espresso experience, a rewarding ritual that connects you more deeply to your coffee and unlocks flavor possibilities you never knew existed.

 No products in the cart.