Programming automatic pre-infusion on an Arduino Gaggia
For the dedicated home barista, moving from a standard consumer machine to a modified Gaggia Classic or Pro represents a significant step toward greater control. One of the most impactful modifications is the integration of an Arduino microcontroller to manage brewing variables. This allows for precision that factory settings cannot offer. This article explores the principles and practical steps of programming automatic pre-infusion on a Gaggia machine equipped with an Arduino. By automating this critical phase of extraction, users can achieve a new level of consistency and unlock nuanced flavors in their espresso, moving beyond simple manual techniques to a repeatable, data-driven process that elevates the entire craft.
Understanding the goal of pre-infusion
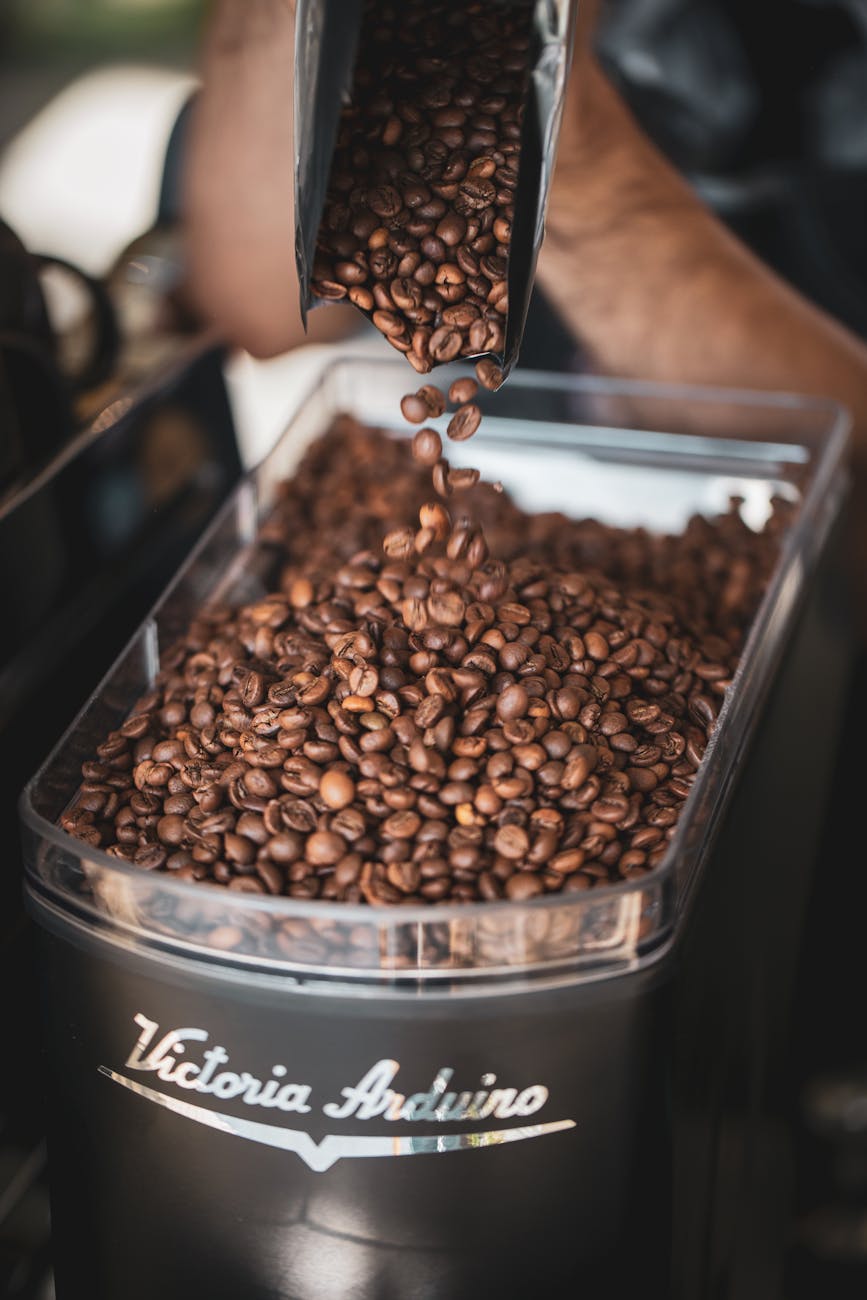
Pre-infusion is the process of gently soaking the coffee puck at a low pressure before applying the full nine bars of extraction pressure. The primary goal is to ensure the entire puck is saturated evenly, which helps prevent channeling. When high-pressure water hits a dry, compressed bed of coffee, it can fracture the puck and create small channels, or paths of least resistance. Water will disproportionately flow through these channels, leading to an uneven extraction where some grounds are over-extracted and others are under-extracted. A properly executed pre-infusion phase allows the coffee grounds to swell and settle, creating a more uniform and stable structure that can better withstand the force of full-pressure brewing.
Hardware requirements for automation
Automating pre-infusion requires several key hardware components integrated with the Gaggia. The brain of the operation is an Arduino microcontroller, such as a Nano or Uno, which will execute the programmed commands. To control the brew process, the Arduino interfaces with a relay module that turns the machine’s vibratory pump on and off. For precise pressure control, which is essential for true low-pressure pre-infusion, a pressure transducer is installed in the hydraulic system. This sensor provides real-time pressure feedback to the Arduino. Additionally, a solenoid valve can be added to manage water flow more effectively, and a dimmer circuit is often used to modulate the power sent to the pump, allowing for variable pressure profiles instead of a simple on/off state.
Structuring the pre-infusion logic in code
The core of this project lies in the Arduino code. The program is essentially a sequence of timed events based on sensor inputs. A typical pre-infusion sequence might look like this:
- Phase 1: Pump On (Low Power) – The user activates the brew switch. The Arduino sends a signal to the pump via the dimmer circuit to operate at a reduced power level (e.g., 30%), allowing water to gently enter the group head.
- Phase 2: Dwell Time – After a set duration (e.g., 5 seconds) or once the pressure transducer reads a target pressure (e.g., 2 bars), the Arduino cuts power to the pump entirely. This “dwell” phase allows the water to saturate the puck without additional pressure.
- Phase 3: Full Pressure Extraction – Following the dwell period (e.g., 3-5 seconds), the Arduino signals the pump to operate at full power, ramping up to the standard nine bars of pressure to complete the extraction.
Each of these parameters—pre-infusion time, target pressure, and dwell time—is defined as a variable in the code, making them easy to adjust and fine-tune without needing to rewrite the entire program.
Implementation and calibration
Once the hardware is installed and the code is uploaded to the Arduino, the calibration process begins. This is where theory meets practice. The initial variables set in the code are starting points. The first step is to observe the machine’s behavior with a portafilter and a pressure gauge attached. Is the pre-infusion pressure stable? Does the puck appear evenly saturated? You will likely need to adjust the pump power percentage and timing to achieve the desired effect. For example, a very finely ground coffee may require a longer, gentler pre-infusion to avoid immediate channeling when full pressure is applied. Keeping detailed notes of your parameters and the resulting shot quality is crucial for developing a repeatable and effective pre-infusion profile for different coffees and roast levels.
Conclusion
Integrating an Arduino to control pre-infusion on a Gaggia espresso machine transforms it from a capable entry-level machine into a highly precise brewing instrument. By automating the delicate initial phase of extraction, baristas can eliminate a significant variable and achieve superior shot-to-shot consistency. The process requires a foundational understanding of electronics and programming, but the rewards are substantial. It allows for a deeper exploration of how pressure dynamics affect flavor, turning every espresso shot into a controlled experiment. For those interested in pursuing such modifications, various components and tools to support these projects can be found at papelespresso.com, enabling a more technical approach to home espresso.


 No products in the cart.