Workflow tips for the Gaggia Classic Pro: From power-on to first sip
The Gaggia Classic Pro is a capable single-boiler espresso machine that rewards a methodical and consistent workflow. For the experienced home barista, mastering its manual controls and thermal behavior is the key to unlocking its full potential. This article outlines a repeatable workflow, moving from initial machine preparation to the final extraction. The focus here is on technical precision and practical steps that address the machine’s specific characteristics. By establishing a stable and repeatable process, the user can minimize variables and focus on the nuances of grind size, dose, and yield to achieve exceptional espresso. This guide avoids shortcuts, instead emphasizing the deliberate actions that build a foundation for quality and consistency in every shot.
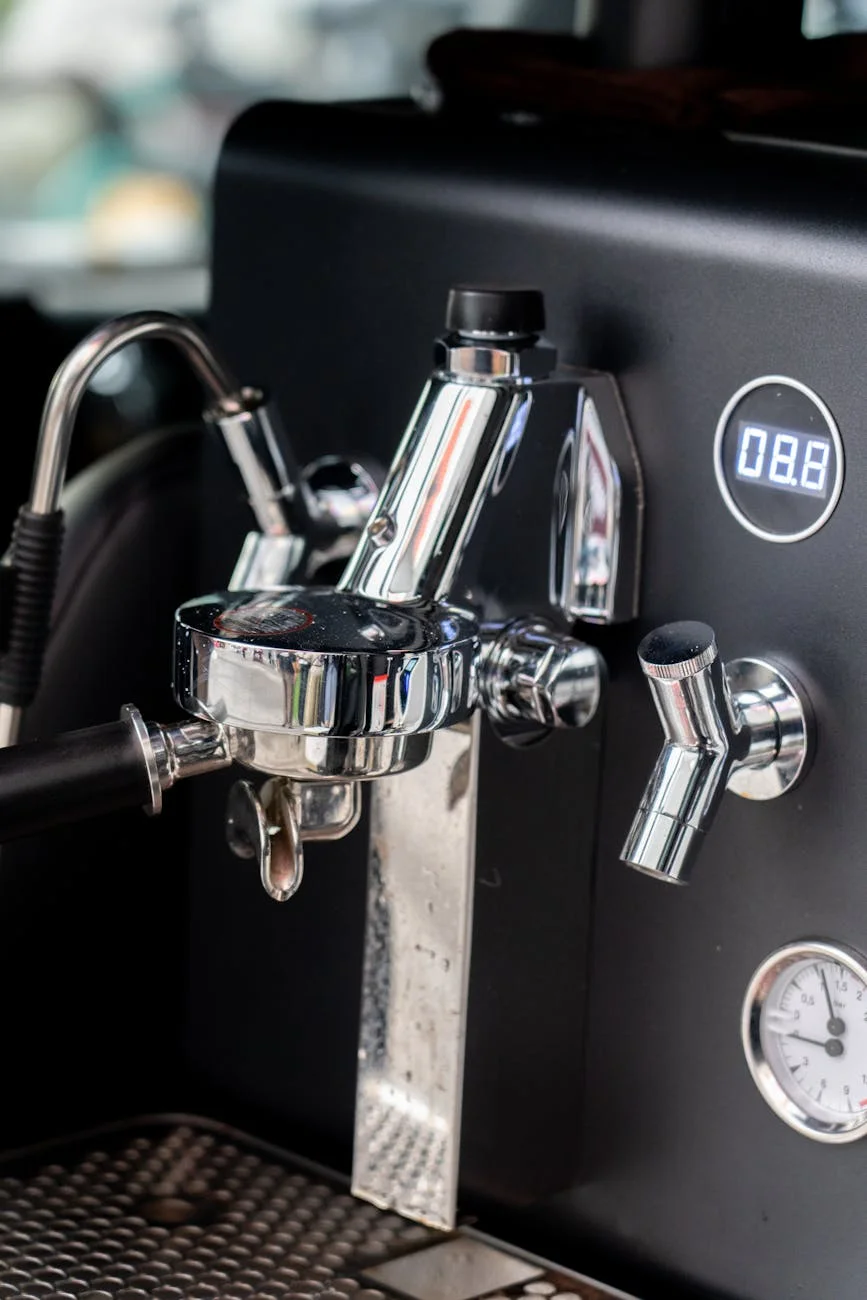
Machine warm-up and thermal stabilization
Properly heating the Gaggia Classic Pro is the first critical step. The machine’s small boiler and large metal group head require sufficient time to reach thermal equilibrium. A common mistake is to pull a shot as soon as the brew-ready indicator light turns off. This initial heating cycle only indicates that the water in the boiler has reached temperature, not that the portafilter, group head, and internal pathways are stable. A thoroughly heated machine provides a more stable brewing environment, preventing a sharp drop in temperature when the brew water contacts the cooler components. A minimum warm-up time of 15 to 20 minutes with the portafilter locked in is recommended. Running a blank shot through the system just before preparing your first puck can also help to normalize the temperature of the entire brew path.
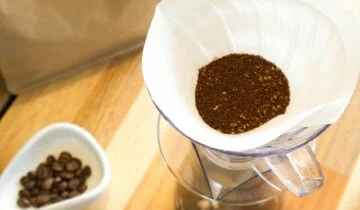
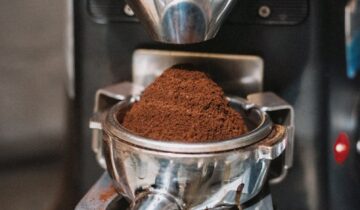
Dose preparation and puck integrity
With the machine stabilizing, attention turns to preparing the coffee bed, or “puck.” The goal is to create a uniformly dense and level surface to ensure the brew water flows through it evenly, preventing channeling and promoting a balanced extraction. Start by dosing your freshly ground coffee into the portafilter basket. Whether you use a timed grinder or single-dose weighing, consistency in your dose weight is crucial. Once dosed, distribute the grounds to break up any clumps and settle the coffee bed. Tamping should be a simple, repeatable action. The objective is to fully compress the grounds into a level puck; excessive force is not necessary. A calibrated tamper can help ensure consistent pressure, but a firm, level press is what matters most for repeatability shot after shot.
Temperature management and the brewing cycle
The Gaggia Classic Pro’s single boiler requires active temperature management, often called “temperature surfing,” to hit a precise brew temperature. Because the heating element cycles on and off to maintain a range, the water temperature fluctuates. To achieve consistency, it is best to initiate the shot at the same point in the heating cycle every time. A common technique involves engaging the steam switch for a few seconds to force the boiler to heat up. Once the machine is up to a higher temperature, you can then flush water through the group head until the heating element kicks back on (indicated by the ready light turning off). From this known starting point, you can then time your shot, starting the brew cycle after a specific number of seconds to target your desired brew temperature. This method gives the user direct control over one of the most critical variables in espresso extraction.
Executing the shot and evaluating the result
With the puck prepared and the machine at the target temperature, the final step is pulling the shot. Engage the brew switch and start a timer simultaneously. Observe the first drops of espresso; they should appear after several seconds, forming slowly and uniting into a steady, viscous stream. Your target is a specific brew ratio, such as 1:2 (e.g., 18 grams of ground coffee yielding 36 grams of liquid espresso), typically achieved within 25 to 35 seconds. Using a scale to measure the liquid yield in the cup is the most accurate way to maintain consistency. After stopping the shot, analyze the result. Note the flavor, aroma, and mouthfeel. A balanced shot will harmonize sweetness, acidity, and bitterness. If the shot is sour, it may be under-extracted; if it is bitter, it may be over-extracted. This feedback loop is essential for making informed adjustments to your next shot, primarily by changing the grind size.
Conclusion
Mastering the Gaggia Classic Pro is a process of building a deliberate and repeatable workflow. From a thorough warm-up routine to active temperature management and precise puck preparation, each step directly influences the quality of the final extraction. By understanding the machine’s thermal behavior and controlling variables such as dose, yield, and time, the home barista can move beyond hoping for a good shot to producing one consistently. The process requires patience and attention to detail, but the reward is direct control over the craft of making espresso. The workflow outlined here provides a solid technical foundation, allowing you to fine-tune your technique and explore the full potential of your coffee. For those looking to enhance their process with precision tools, resources are available at a variety of retailers, including papelespresso.com.

 No products in the cart.